
Tutorial for Colorblock LOVE – Putting it Together
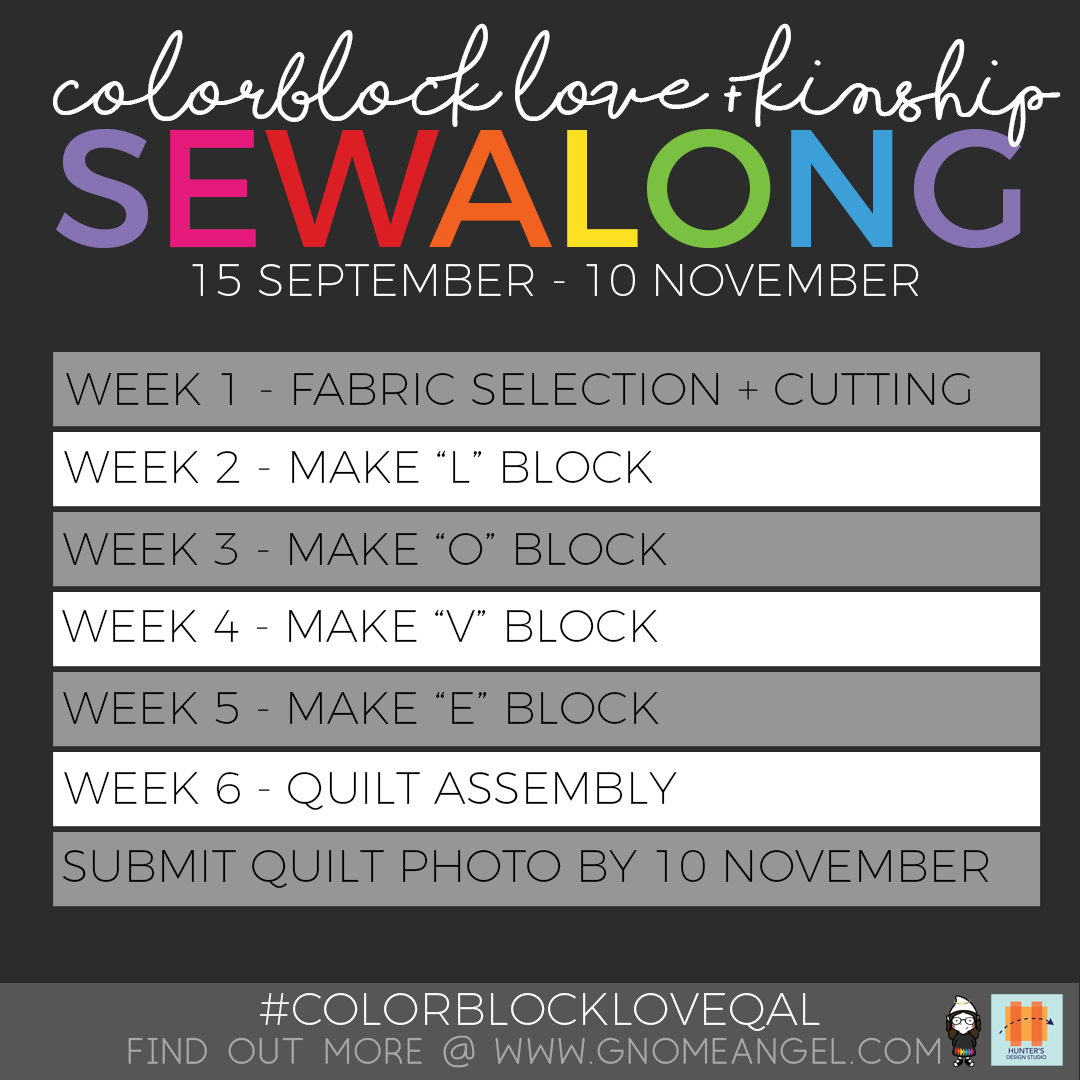
This a tutorial for the Colorblock LOVE pattern, specifically how to assemble the 4 blocks into a quilt top! This post is also part of the Colorblock Love QAL! Please refer to the pattern for [...]

This a tutorial for the Colorblock LOVE pattern, specifically how to assemble the 4 blocks into a quilt top! This post is also part of the Colorblock Love QAL! Please refer to the pattern for [...]
This a tutorial for the Colorblock LOVE pattern, specifically the E block. This post is also part of the Colorblock Love QAL! Please refer to the pattern for all measurements! If you're making [...]
This a tutorial for the Colorblock LOVE pattern, specifically the V block. This post is also part of the Colorblock Love QAL! Please refer to the pattern for all measurements! If you're making the [...]

This a tutorial for the Colorblock LOVE pattern, specifically the O block. This post is also part of the Colorblock Love QAL! Please refer to the pattern for all measurements! If you're making [...]

This a tutorial for the Colorblock LOVE pattern, specifically the L block. This post is also part of the Colorblock Love QAL! Please refer to the pattern for all measurements! If you're making the [...]
This post is also part of the Colorblock LOVE tutorial series, and the Colorblock Love QAL! There comes a time in your quilt-making adventure where a pattern will call upon you to make a cut [...]
https://youtu.be/fS4Ksz-9x6M This post is the first in the 2019 Back to School Blog Hop, and also a tutorial for the Colorblock LOVE QAL! This is a tutorial for sewing long seams on any quilt. What's [...]
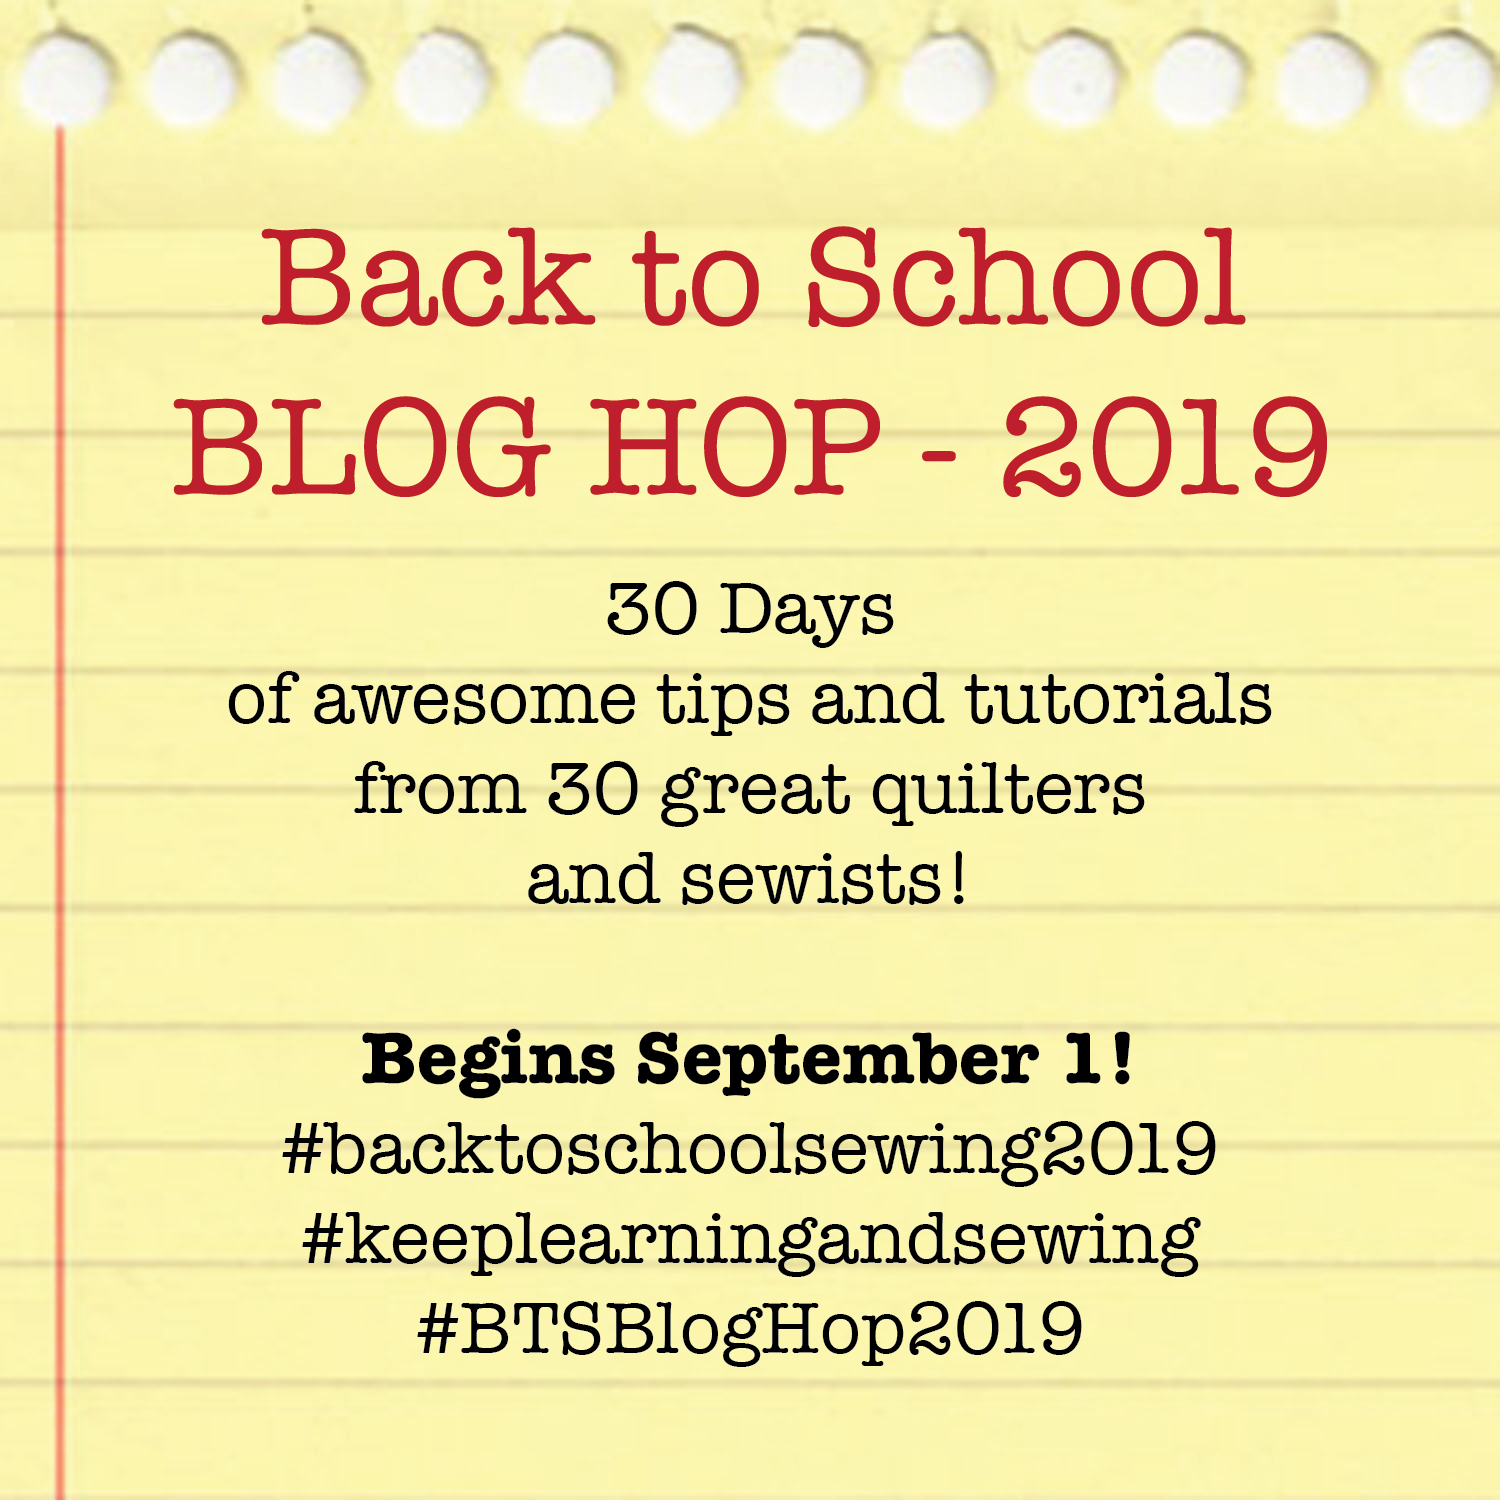
I'm delighted to announce that the Back to School Blog Hop will be back for 2019! I've lined up 30 stops with a great group of my industry friends and colleagues for the month of [...]
Colorblock LOVE doesn't have a complicated color story, but like most quilts, it will sing brighter when you get your fabric choices tuned in. So here are some tips for choosing your fabrics. This post [...]
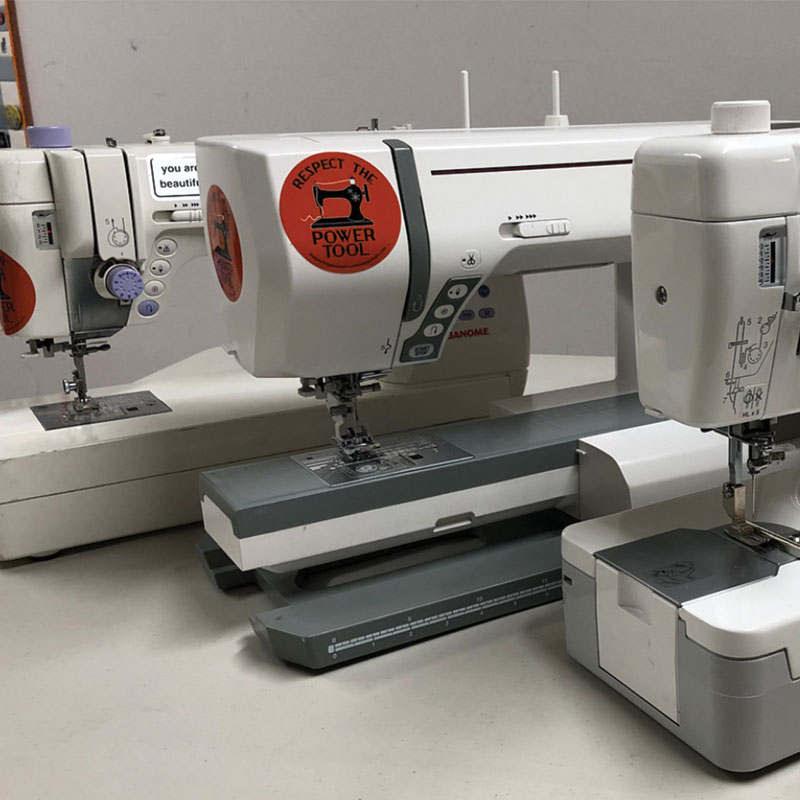
Last week I was chatting with my friend Sarah, and she shared with me that she was avoiding sewing because she has "too much sewing machine." She's the owner of a high-end hotrod - you [...]