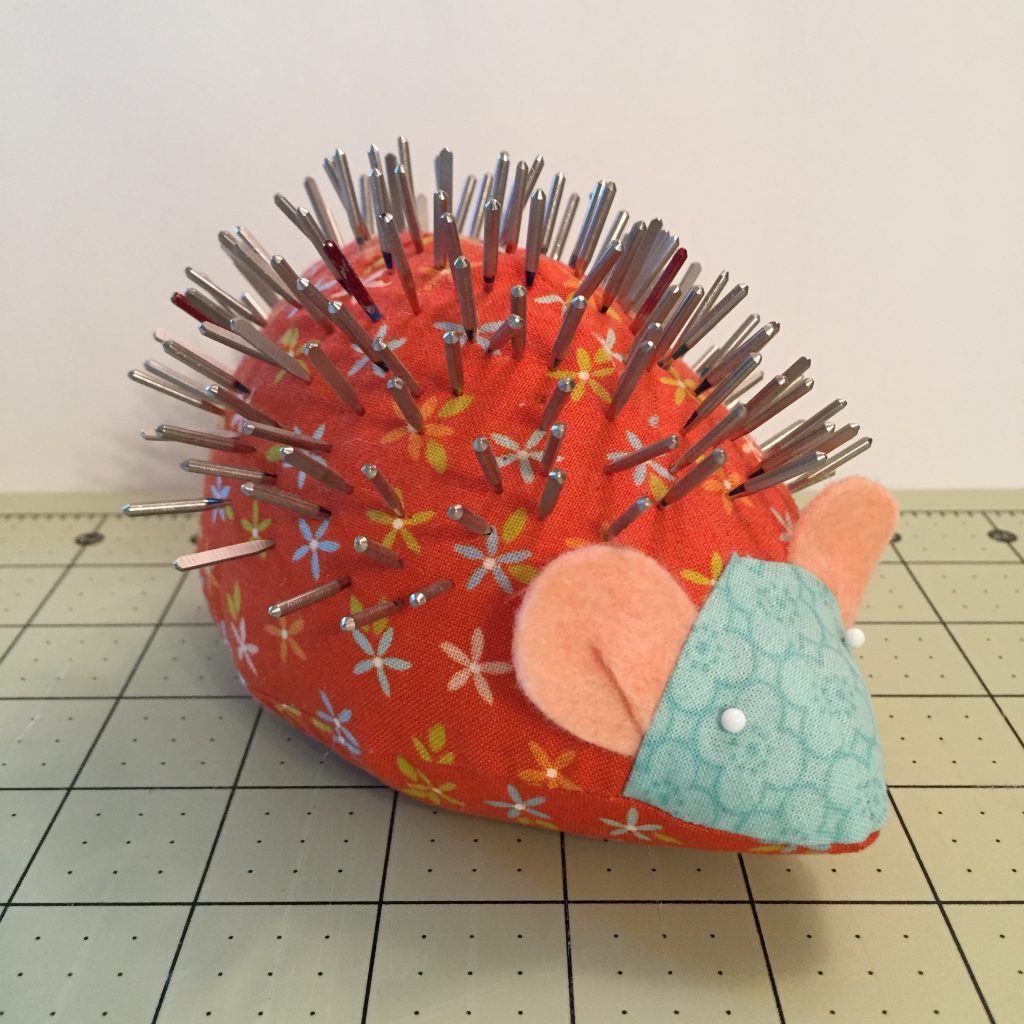
I don’t like to dispose of sharp metal in the trash – I’m always worried that it might hurt someone. I usually put all my dead needles into an old pincushion – so I thought it might be fun to make one where the needles become part of the design. A hedgehog is the perfect needle-y critter, and so the Hedgie Pincushion pattern was born!
I made this particular hedgie pincushion pattern a couple of years ago for Janome. Since then, mine has beefed up his collection of needles, and is looking very hedgehog-like!

I decided to tidy up the Hedgie Pincushion pattern a bit, and put it in the shop here. The pattern doesn’t look like the ones I usually write – it’s a photo tutorial instead, with step by step images, which I think do a nice job of showing you the important little details. The hedgie is about 5” long, nose to tail.
I hope you’re changing your needle regularly – perhaps making one of these will help keep you motivated! Be sure to share with me your photos of your Hedgies on Instagram! I’m @huntersds there! Be sure to use the hashtags #hedgiepincushion and #huntersdesignstudio when you post your photo.


Oh, he is as cute as a button.
He would make a great gift for my guild’s secret santa.
Your pincushion instructions were excellent. I think I should have stuffed it more, but know to do it fuller next time. 🙂
My daughter just giggled over it.
Check it out on my blog.
http://melsquiltingblog.blogspot.com/2016/08/hedgehog-pincushion.html
so stinkin’ cute! I finally downloaded the instructions — love your tip about how to mark the darts… I’ve been sewing for 50 years and never heard of that before! Thanks.