Do you have tips, techniques, tools or hacks that make life in your sewing space easier or more efficient for you? Here are some of my favorite sewing studio hacks… please share yours in the comments! Note, some of the links you see in this blog post are affiliate links, which means I’ll earn a small commission from your purchase–at no cost to you! This goes a long way to support me!
1. Table Extensions
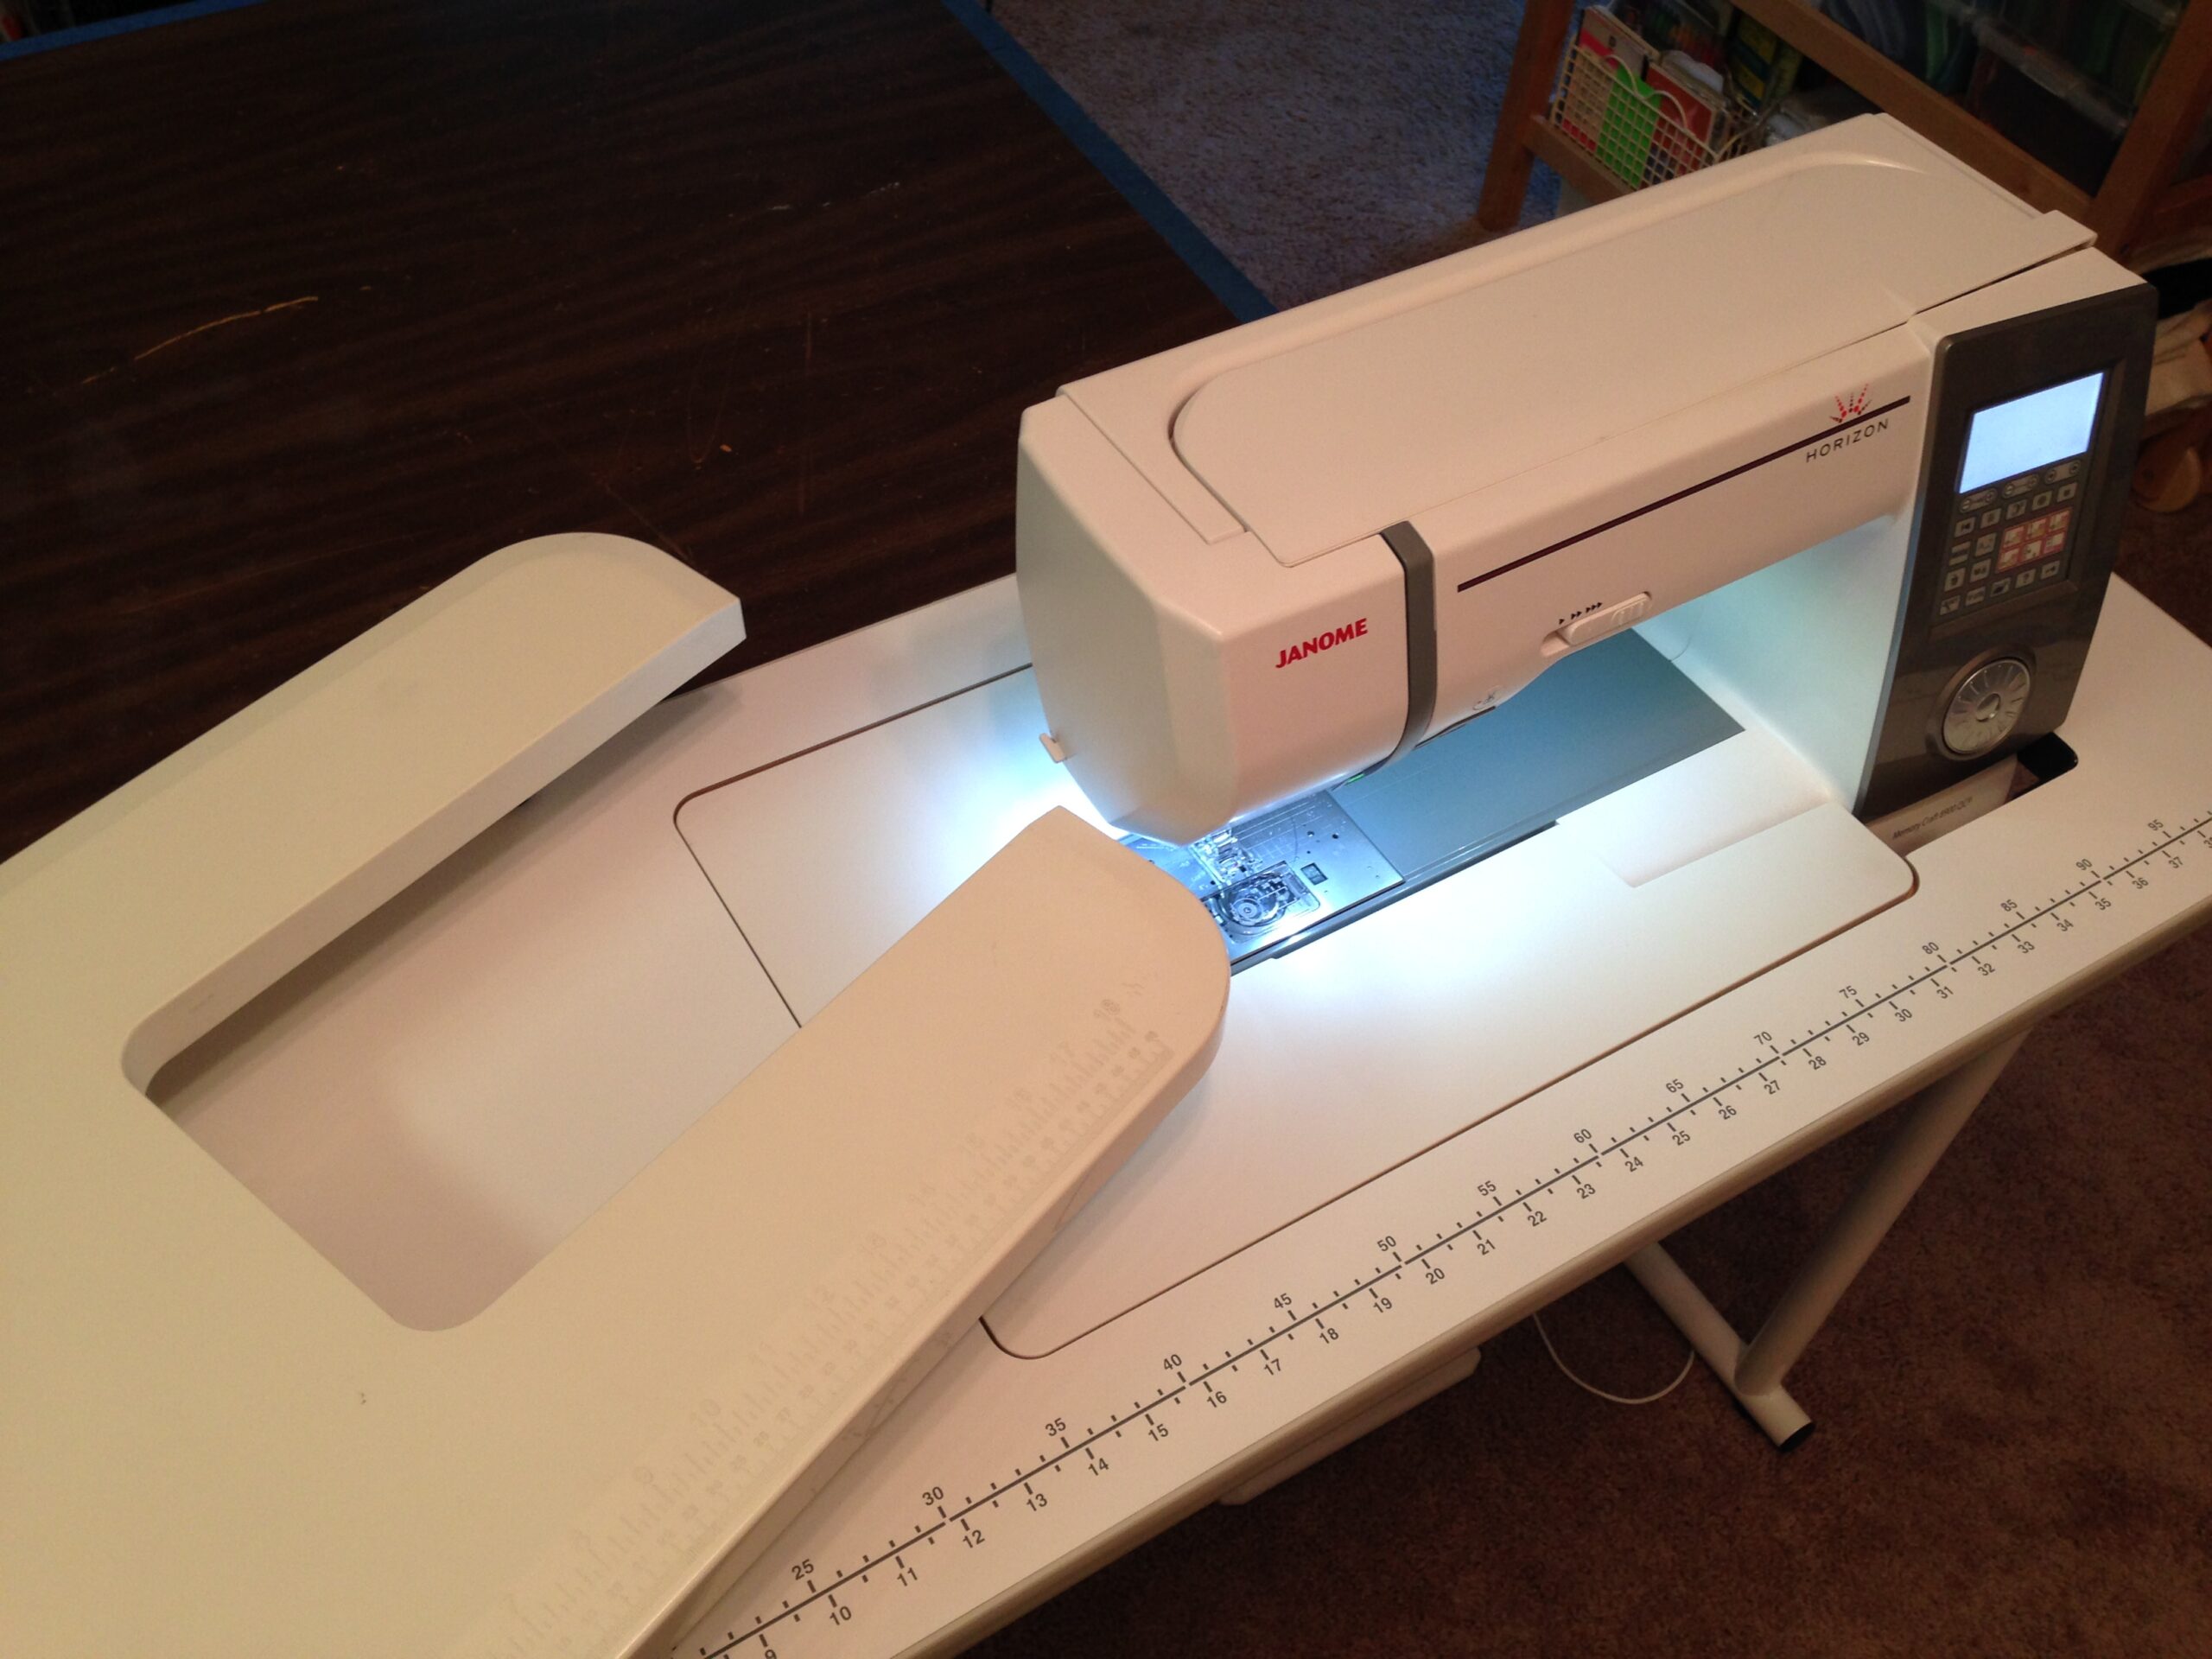
Whether you sink your machine into some kind of sewing furniture (I use both the Janome Table and the Sew-Ezi table), or spring for the portable extension for your machine, having the bed of your machine extended across a table will allow you sew with more accuracy. The table gives you space to line up and straighten out your fabric before it reaches the needle.
2. Velcro on the Foot Pedal
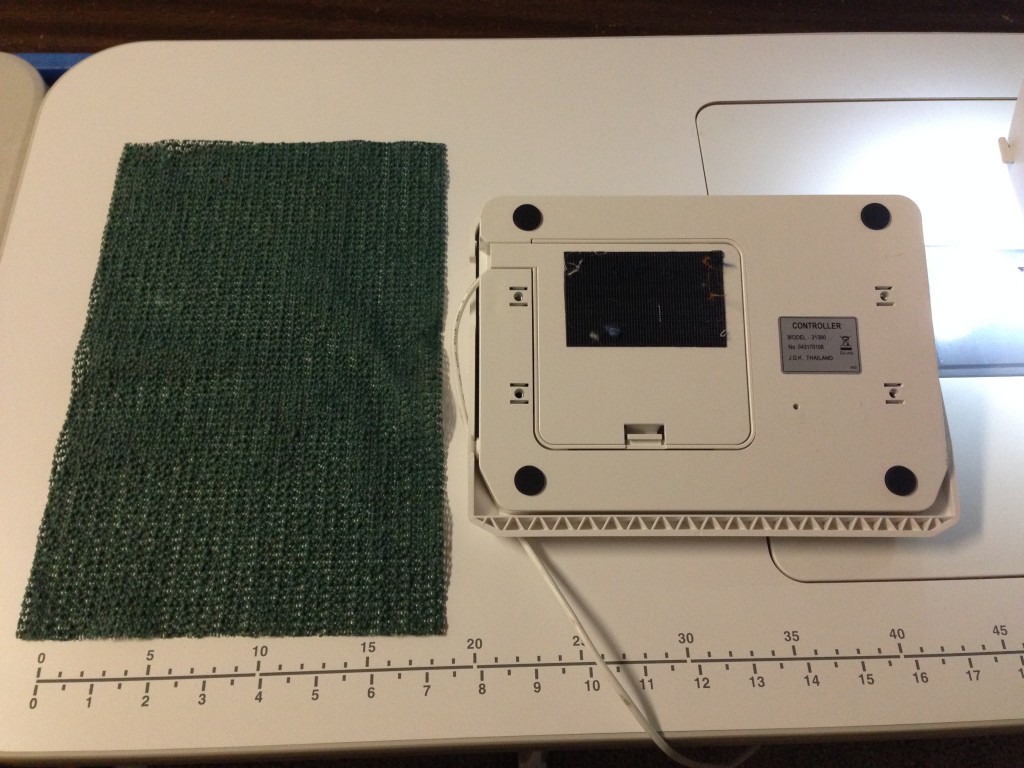
I sew on carpet, so my foot pedal is fond of going walkabout. A chunk of the hook side of sticky-back Velcro allows it to get a grip on the carpet. Your space isn’t carpeted? Try a decent sized square of the rubber mat sold for lining cupboards (I carry one in my portable kit so that if I sew somewhere else I’m ready for either).
3. Noodle on the Knee Lift
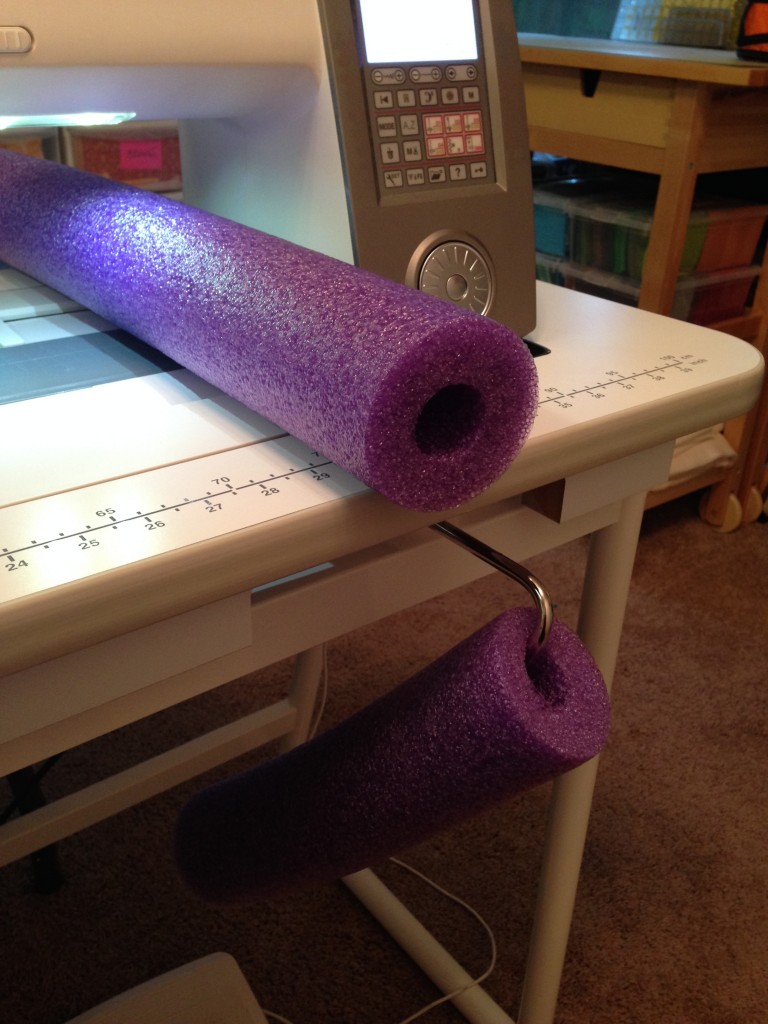
The bigger machines of today all have knee lifts, and as the machine throats (or Harp Space, if we’re getting technical) get bigger, the knee lift gets further out to the right. Reaching it can be a bizarre form of inner thigh stretch. Buy a pool noodle that has a big hole through the middle, saw off a chunk (a bread knife is perfect for this) and slide/tug/push it on. It will bring the knee lift edge closer to you, and you won’t have mismatched thighs! Bonus: One pool noodle will get you three or four pieces so share with a friend!
4. Different Rotary Cutters for Different Uses
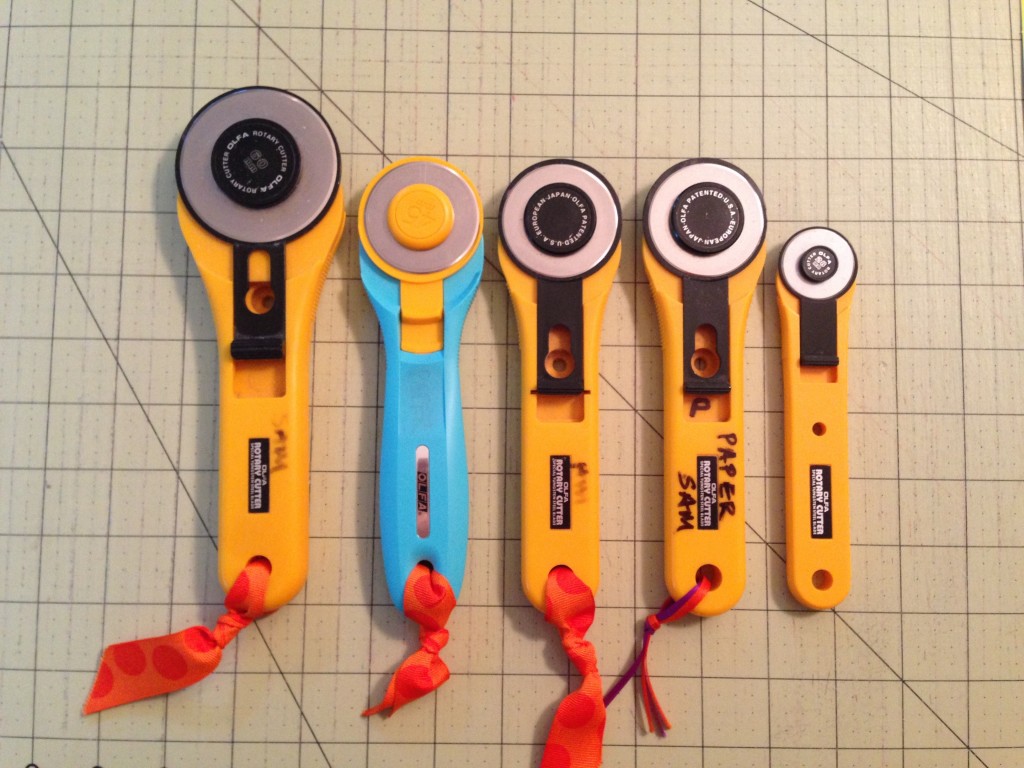
I keep a selection of cutters around so that I can make it easily through different techniques. The 60mm one is for batting, fusible fleece, and when I’m cutting through more than 4 layers of fabric. I have an extra 45mm one specifically for cutting paper, or trimming paper pieced blocks (this gets my older blades). The 28mm is for smaller pieces and curved templates.
My favorite rotary cutters:
5. Cone Stand Hack
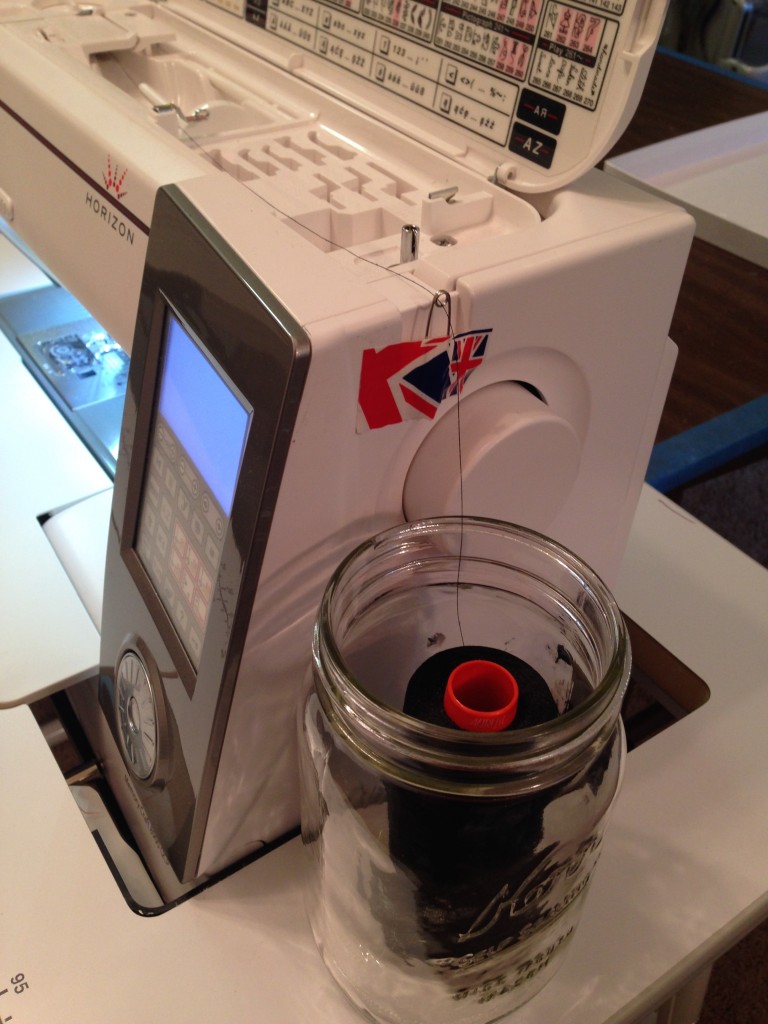
Don’t have a cone stand? Do this instead… Grab a big coffee mug or a big canning jar. The base of the cup or jar needs to be bigger than the spool’s base or it will wedge. If using the jar, go wide-mouth so you can get your hand in if needed. Pop the thread into it and set it up next to your machine. Tape a safety pin (closed, sharp point down) to the edge of your machine such that you can go from the jar into your thread path in as straight a line as possible. Thread through the end hole in the safety pin and into the thread path.
6. Slider on the Machine
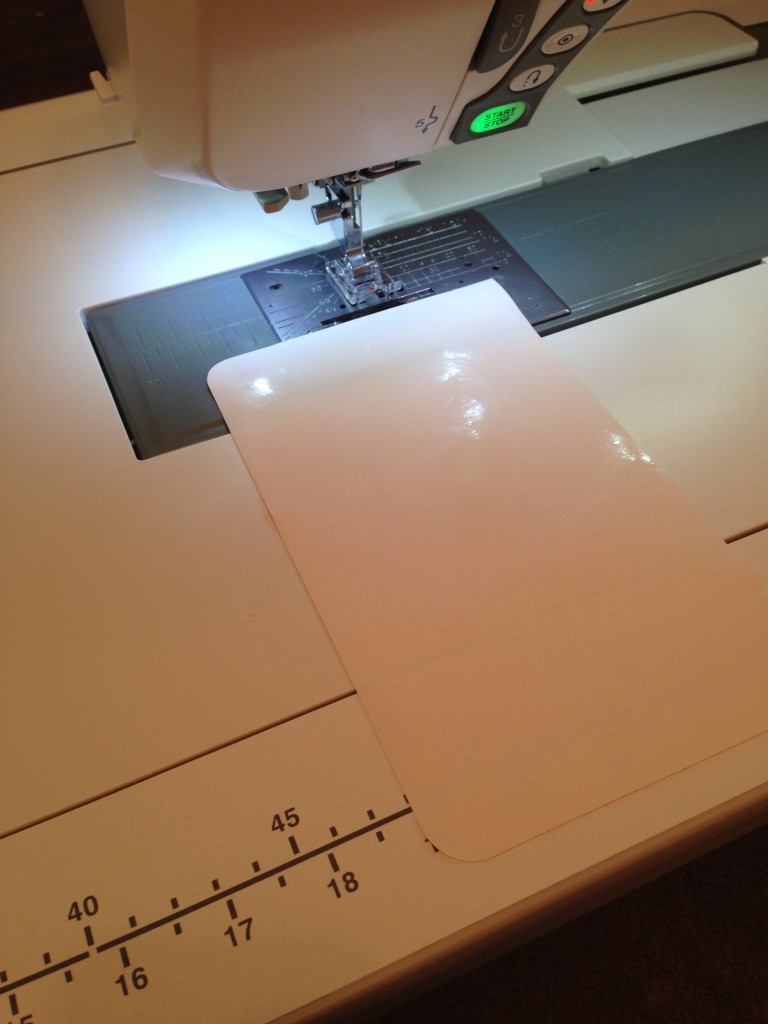
Cover the path to the needle of your machine with a chunk of Supreme Slider (I had a damaged one that I cut in half for this). It will help stop seams from flipping the wrong way underneath as you come into the needle. For paper-piecing, it helps the paper slide across the machine bed, and stops the dreaded flip of the underneath piece. Tip: rinse the slider off at the beginning of every sewing session to keep it sticking on the bed.
Get yours here:
7. Needle Threader
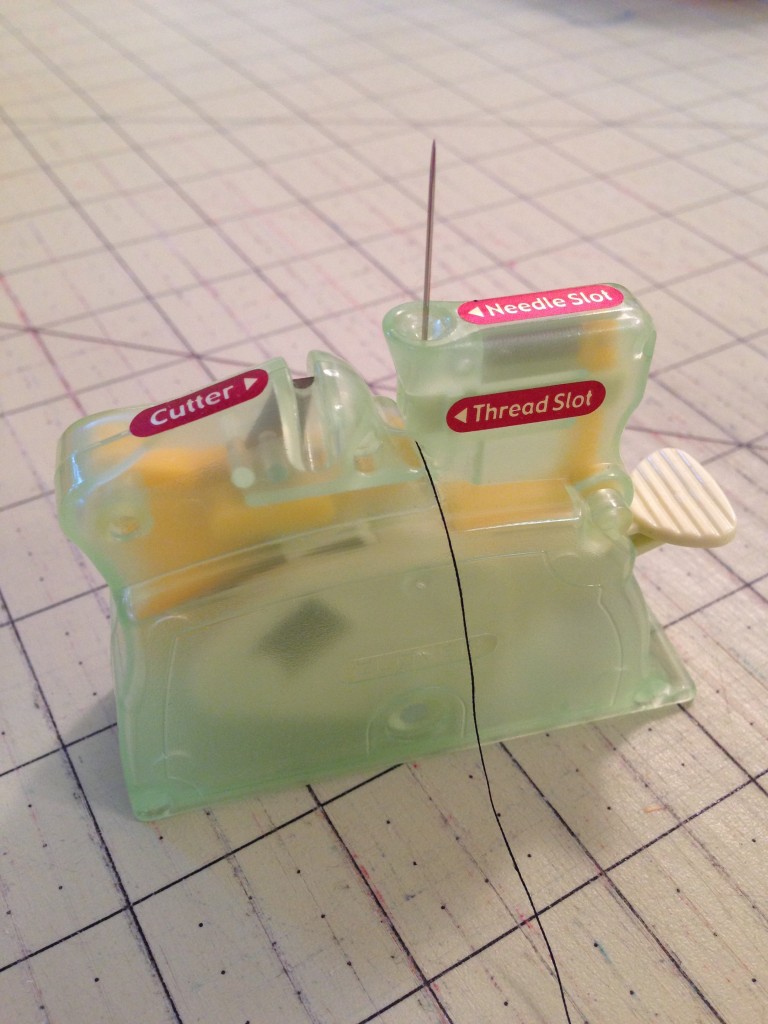
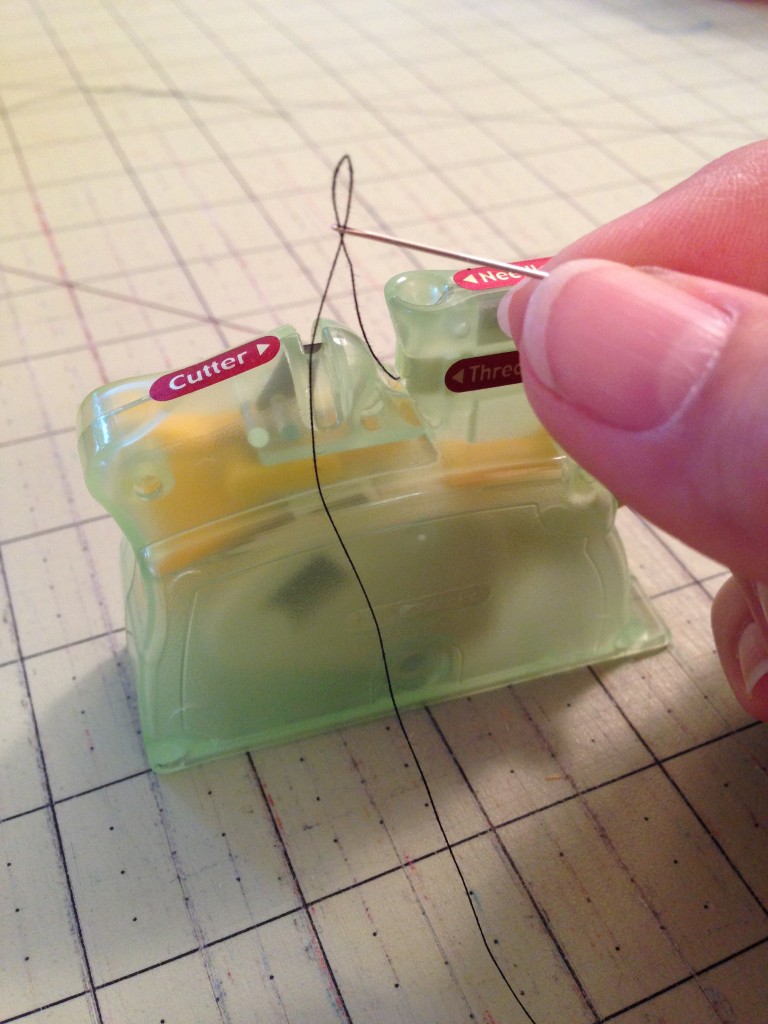
If you can see to thread a needle easily, huzzah! File this away for the day after your 40th birthday for when, suddenly, your arms need to be longer to read anything. This little goody is the Desk Needle Threader made by Clover. Put the needle in eye down, lay thread across the path, push the lever, pull out the threaded needle. It also has a cutter across the top so you don’t have to risk your scissors to the capriciously enforced rules of the TSA.
Purchase your needle threader here:
8. Sticky Notes
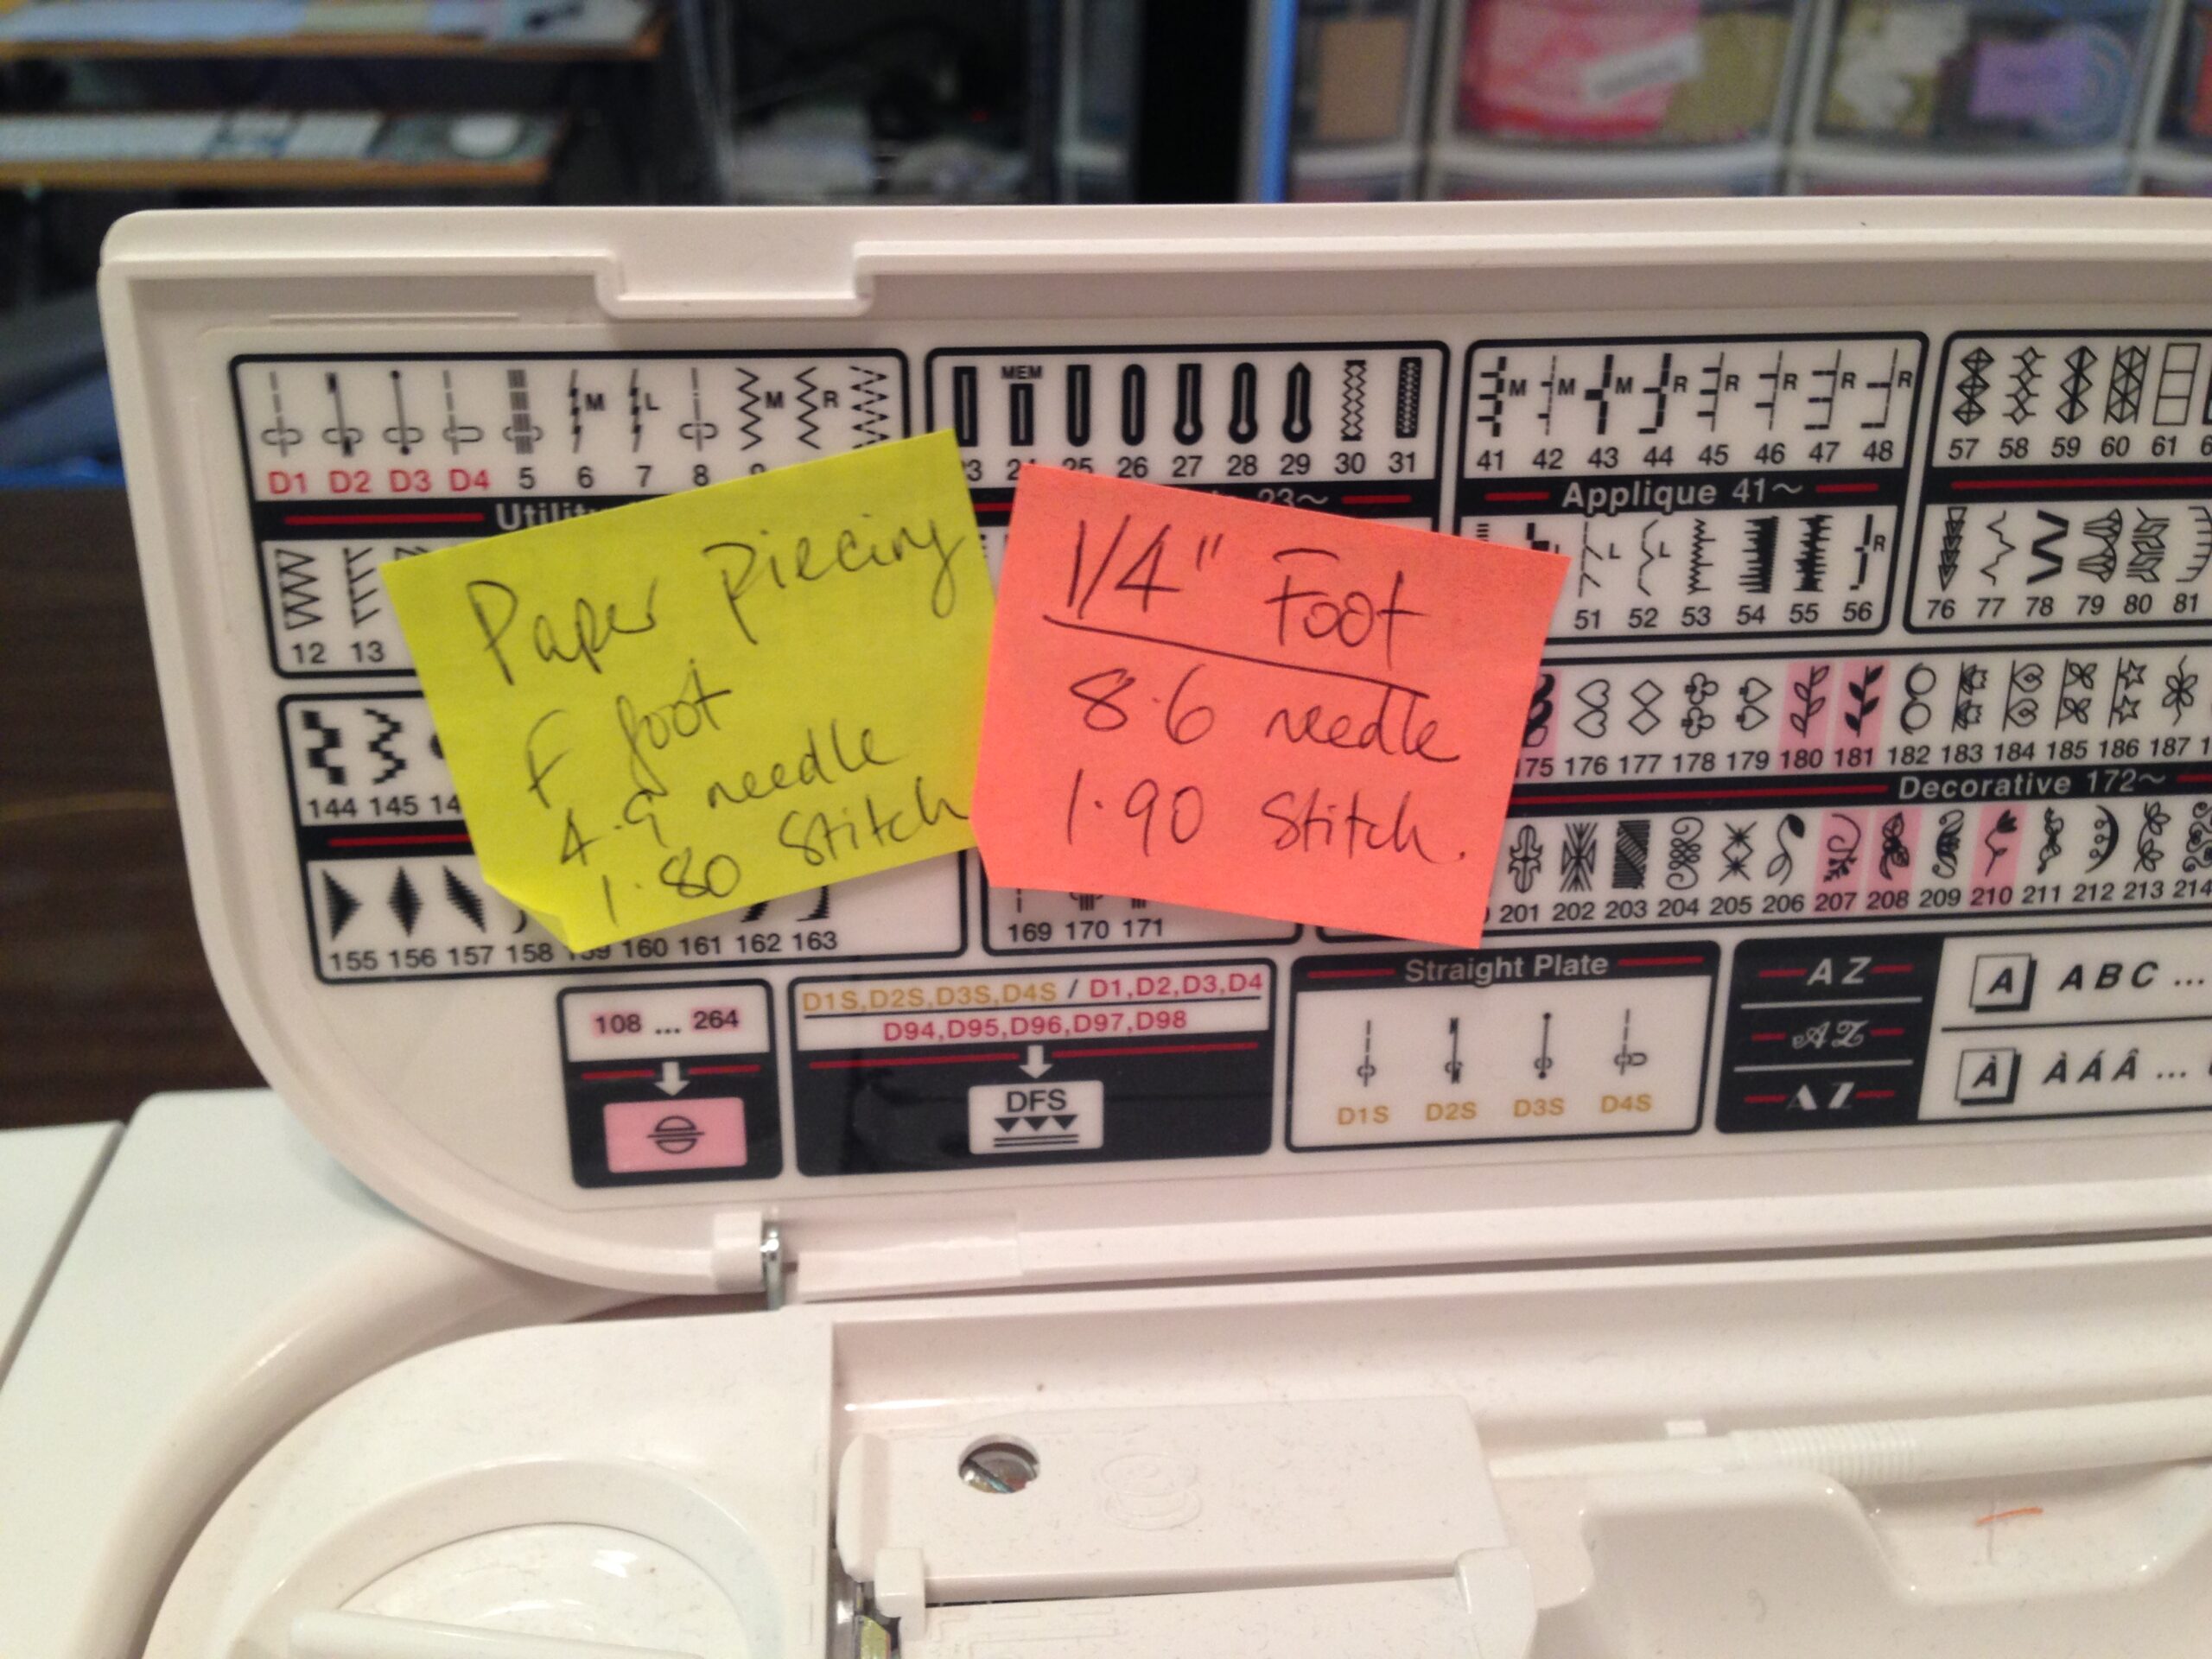
Do you go back to same machine settings over and over? Keep them close by on sticky-notes. I also use them to mark cuts of fabric when I need to keep it all straight.
9. Zippy Bags
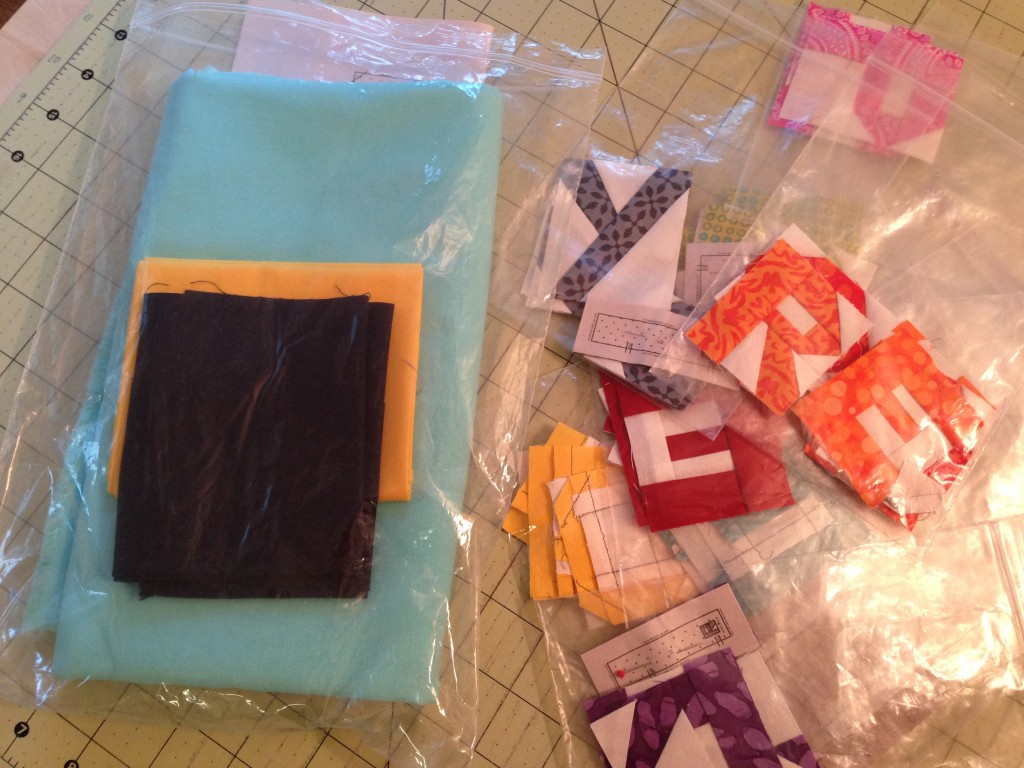
I use these relentlessly to corral projects and their parts. Being as I paper-piece a lot of words (and always precut for them), I bag the parts for each word as I’m cutting. I play a lot less 52-pick-up when I move things around in bags.
10. Tweezers
I keep two sets on hand – one has teeth in the tip, the other has flat ends. I use the first mostly for pulling paper out of paper-pieced seams, and the flat ones for pulling up threads at the machine.
11. Non-sticky Hand Lotion
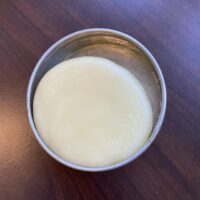
Fabric will steal the moisture from your hands, so I use these little tins of hand lotion bars. Lavishea and LoLo Bar make my two faves, and I like the citrusy smells. Dump the bar into your hands, give it a quick rub, pop it back into the tin, and massage the lotion into your hands. Neither of these products leave a sticky residue! Bonus: when your hands have some moisture, you’ll be able to grip the fabric better, and pick up single pieces from stacks.
12. Scrap Pillow Case
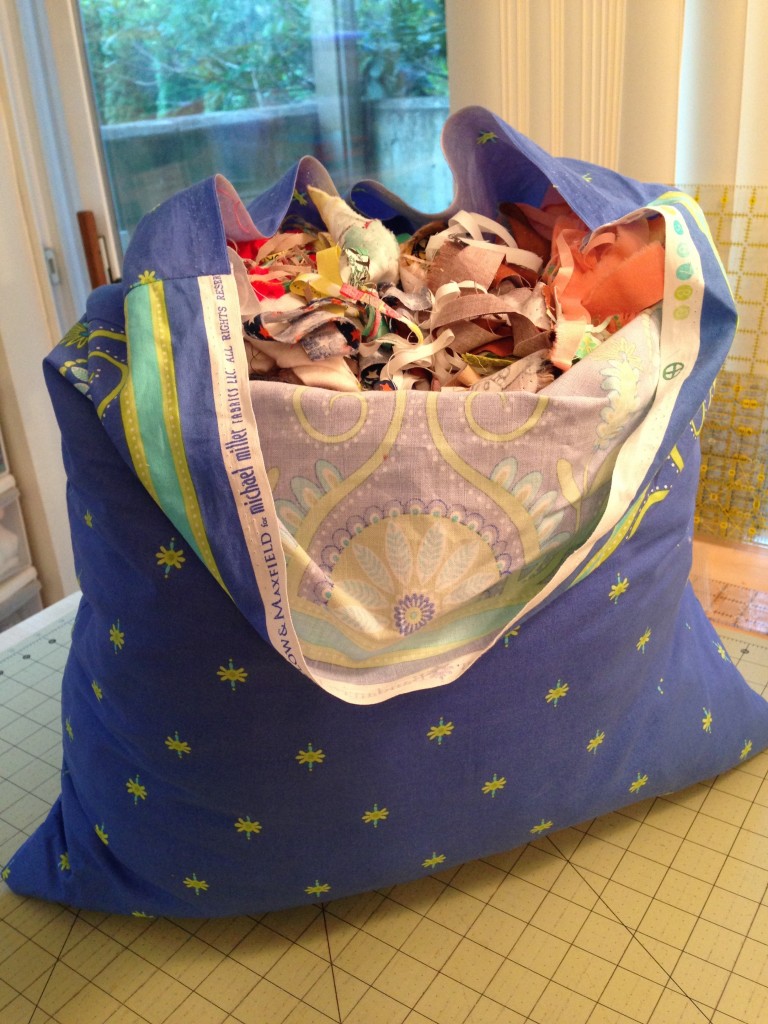
No matter how many scraps you keep, there’s still a point at which you’ll toss out the smallest bits of fabric. Put together a simple pillow case from that “what was I thinking?” fabric you bought a while back, and throw your scraps into it. When it’s full, run a sturdy seam down the edge, and drop it by your local animal shelter next time you’re out running errands.
Ooops – that was twelve sewing studio hacks! No matter!


Love your tip for using cone thread. I do, more and more often. I have a bobbin winder for my long-arm, which involves unplugging, moving from other room, pushing a couple of things out of the way… It works but less well than I’d like. NOW I will never have that problem again! 🙂
Also the needle threader. [sigh…]
My tips mostly involve basic maintenance. Clean the fuzz out from under your needle plate. Clean your iron. Wipe down the ironing board. Wipe your cutting mat. Wipe your sewing surface with a damp cloth, or if sticky (lotion residue on surface), use white vinegar on your cloth instead of water. Change your needle. Change your blade. Vacuum/sweep the floor. Put things away… I don’t do any of these things with OCD tendencies. I just I like to work in a clean, clear space. My projects stay clean, which is important to me. And when I maintain my equipment, it works better for me.
I’m with you! I organize not because I’m nutty, but because having organized space lets me get more creative!
What great tips! Thanks for sharing.
My pleasure!
I chase my foot petal all the time, when I have to do the splits to reach it I finally get under the table and move it back. I will get the Velcro on that puppy today. I need that needle threader thing too.
The needle threader thing is a dream!
I have the same safety pins taped to my machine, at the same place. But your tape is a lot prettier than mine !
I have ORANGE animal print too!
Great tips! Why, oh why have I not velcroed my foot pedal yet?!
The lotion bars sound luscious!
Get thee to the velcro store!
The slider tip is new and awesome to me. I HATE that seam flippy thing after I spend so much time pressing the damn things the right was so they nest. I am going to buy some right now. Thank you oh Great Queen Bad Ass Quilter Goddess!
I put vaseline on my hands and slide them into surgical gloves. Keeps my cuticles nice and no bleeding on my Kona Whites!
You made my day with that salutation!
I could read this stuff all day, Sam!
More and different coming soon!
I’m always looking for ways to make sewing easier — these are great tips. I’m not a fan of plastic bags though so I’ve made vinyl bagettes to house all those tiny scraps and WIPs.
I end up with a lot of bags from things that are shipped to me – I repurpose them here.
Now why Have I not thought of the pillowcase scrap bag.. swear I am the queen of scraps. Love those Lolo bars. Love following you.
Hi Reid! I *know* you make good scraps!
Our quilt group all save the scraps and school kids stuff beds for the animal shelter in town as a service project.
Thanks for the post. I love the idea of the pillow case. I always feel guilty throwing away those little pieces of fabric.
I hate the idea of putting fabric in a landfill – a friend told me about doing this so one less guilt!
I kept wondering if it could go out with the recycling. But this is a lovely way of giving back as well.
Love love love your ideas. Always enjoy your posts.
My little idea… I do most of my piecing with a neutral thread color- white, cream, gray…depending on the colors of fabric so I wind 8-10 bobbins at the get-go. Then when I run out of bobbin thread I don’t have to stop & wind one.
Thank you! And I agree Sue! I have boxes of bobbins of all sorts of neutrals…
Oh I am so using the mason jar for the cotton. That one has been driving me crazy for months…but not any more. Thanks Sam.
My pleasure, Cath!
I agree with the other comments, your posts ROCK.
I love the ideas.
The Scrappy Pillow makes me feel so good when I drop them off at my Vet’s office. She loves them. What she doesn’t use she takes to the shelter. Ladies, I also make little quilts for the kitties. They don’t care about color or matching fabric. It’s also a fun way to try out new techniques. You do a real project and learn something new. if you aren’t doing this… please START. It’s a gift to all involved!
Thanks Sam for all these fab ideas!
Love you too KT!
I’ve tried the scraps in a pillow case for my dogs. The next day we had a very, very colorful yard. Our young Labrador chewed a hole and evidently ran with it during the night. I don’t feel guilty about throwing my scraps away anymore!
OMG – that must have been a mess!
Awesome tips, and I love that they aren’t the same old tips I always see – thank you!
My pleasure!
I also use the noodle to cover the straight part of those pants hangers from the dry cleaners – just slice it open and cover the cardboard tube with it. Then I can hang quilt tops over the new cushy rounded surface and they won’t crease as badly!
And I am also a Lavishea addict! I sometimes use my freshly lotioned hands to condition thread before hand sewing!
Great tip Lily! Now if I just had the closet space…. 🙂
Love all these tips! I keep an empty Nuun (drink mix) container or Airborn container with a hole poked in the top for all of my dull needles and pins to go into. When it’s full, I’ll toss it and not have to worry about all the sharp points.
My knee llifter hack:
https://www.flickr.com/photos/130036277@N02/22436492268/in/photolist-AbCTtA-AQAbXV-AwZrCs