
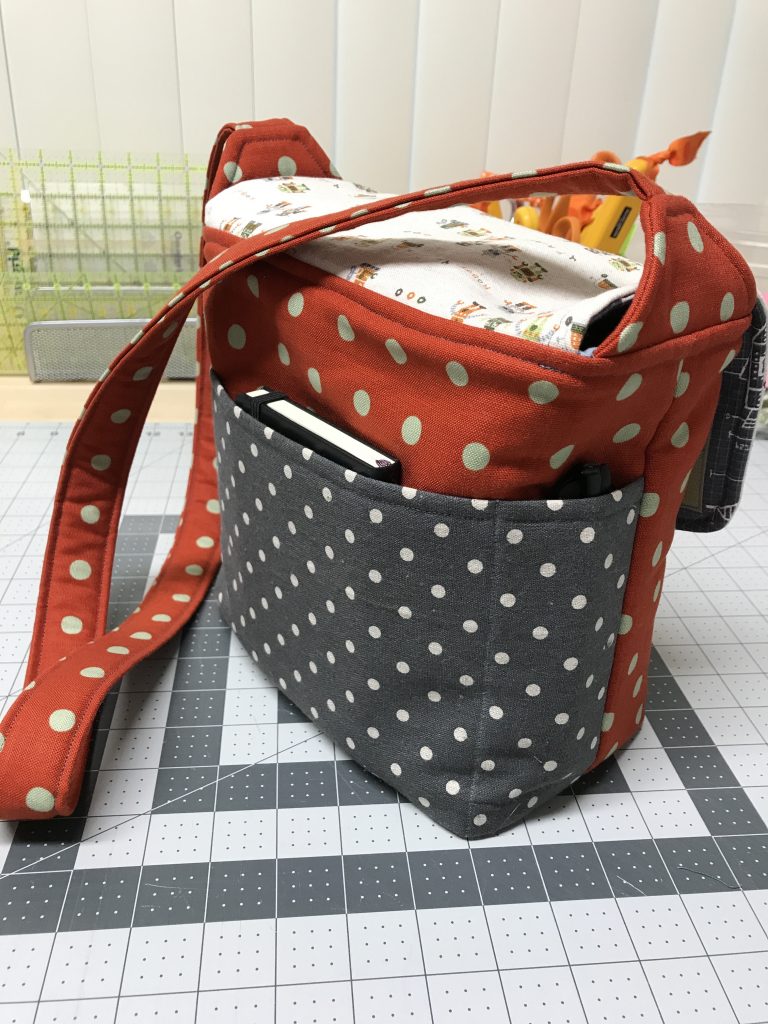
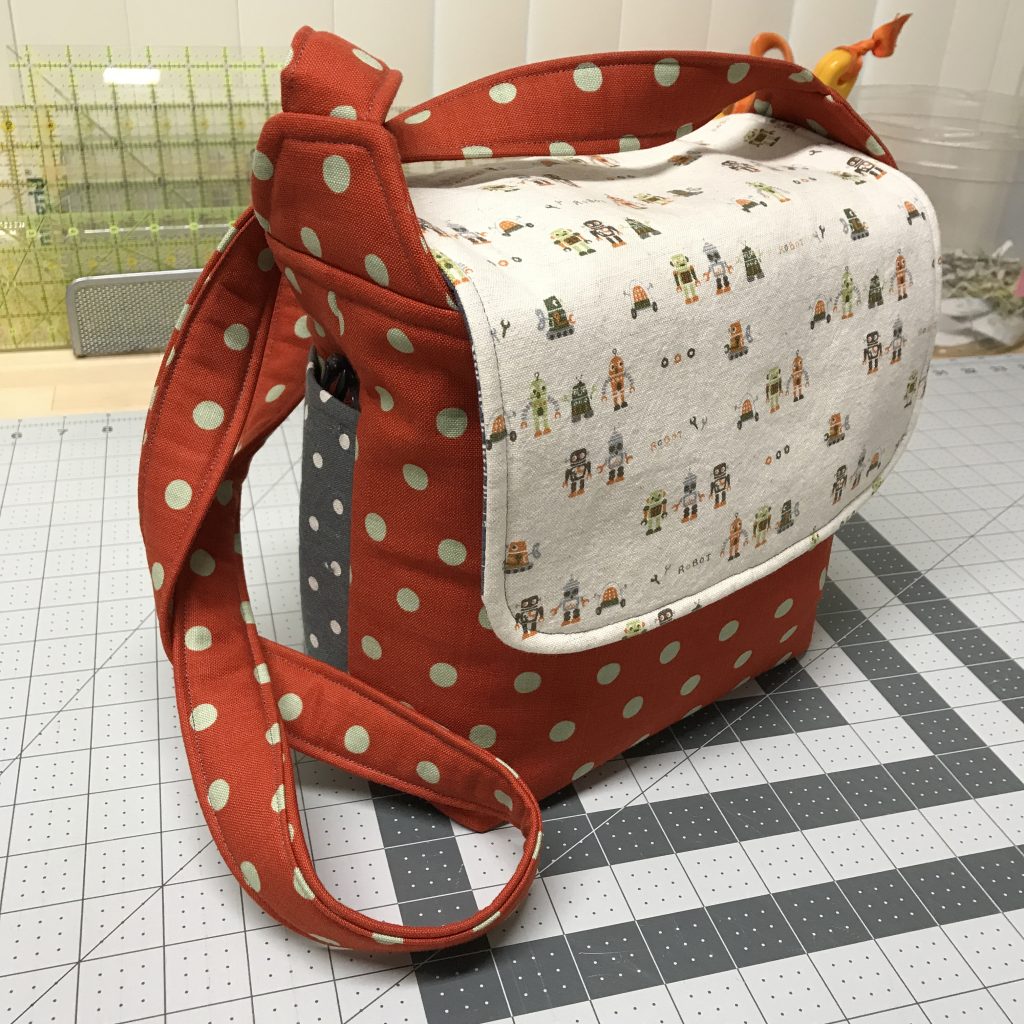
A while back, I decided to adapt a large version of my Chunky Wee Bag pattern to be my travel handbag and a camera bag all in one. In the course of making the bag, I added a bonus pocket modification to the outer back of the bag, to carry things like maps a bit more accessibly. That pocket worked so well I’ve added it to all the Chunky Wee Bags I’ve made since!
It’s such a cool modification, so I thought I would detail it here for you, with pictures. You will still need the Chunky Wee Bag pattern if you make it 🙂 You can get it here. Oh, and here’s a humorous romp through how I designed the bag!
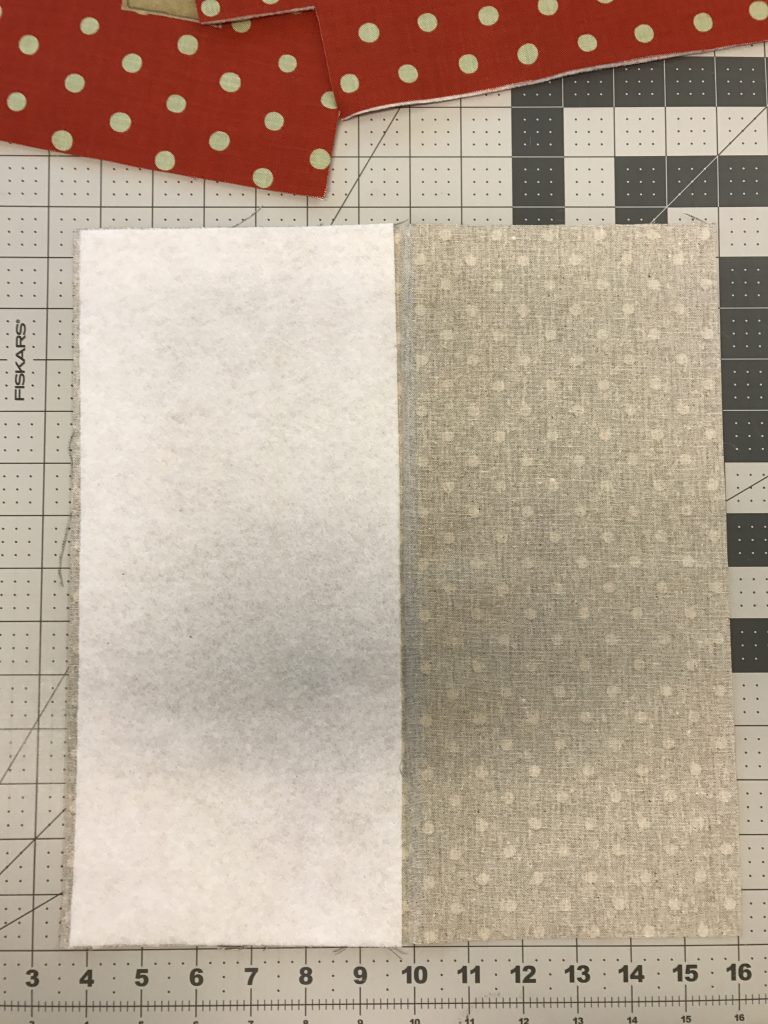
Cut the Outer Pocket fabric and fusible fleece:
- For the LARGE bag, you’ll need a piece of fabric 15 1/2” wide x 17” tall, and a piece of fusible fleece 15 1/2” x 8 1/4”
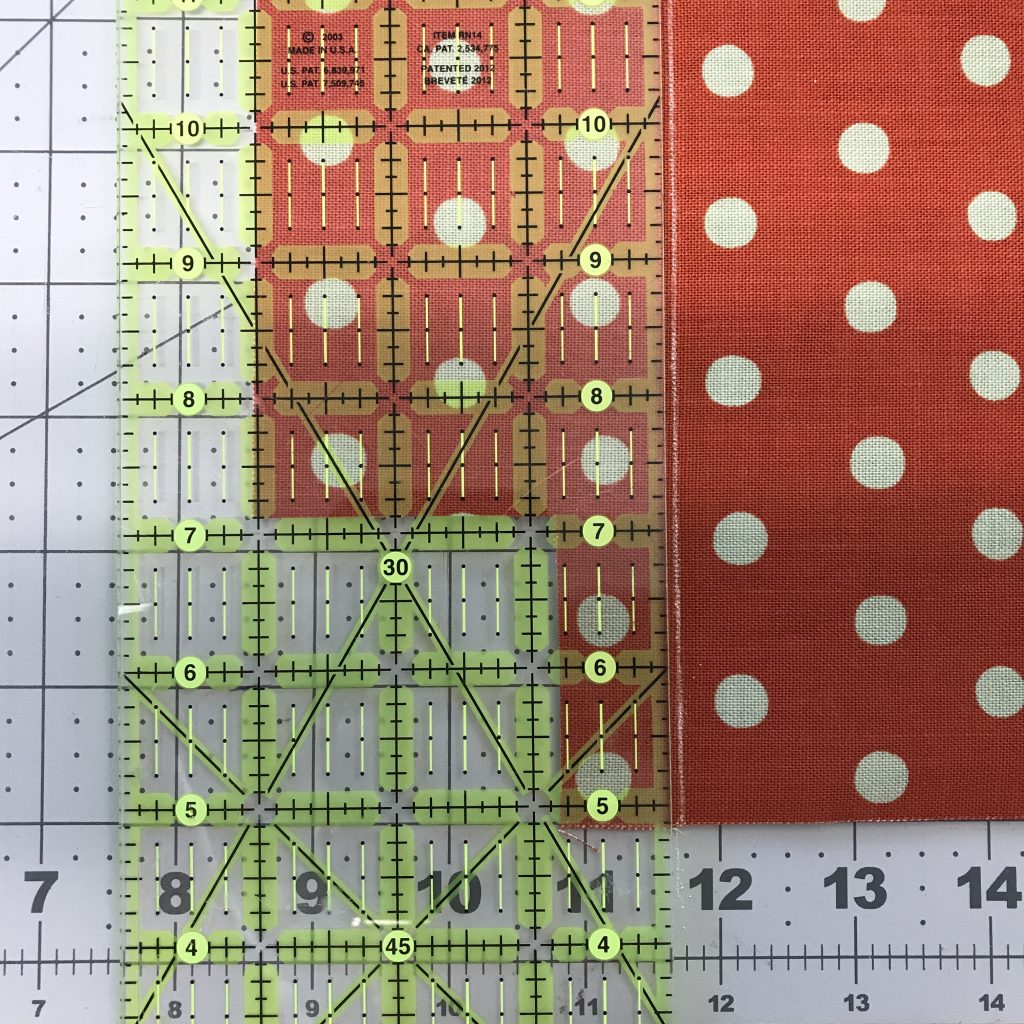
- For the MEDIUM bag, you’ll need a piece of fabric 13 1/2” wide x 12 1/2” tall, and a piece of fusible fleece 13 1/2” x 6”
- For the SMALL bag, you’ll need a piece of fabric 11” wide x 10 1/2” tall, and a piece of fusible fleece 11” x 5”
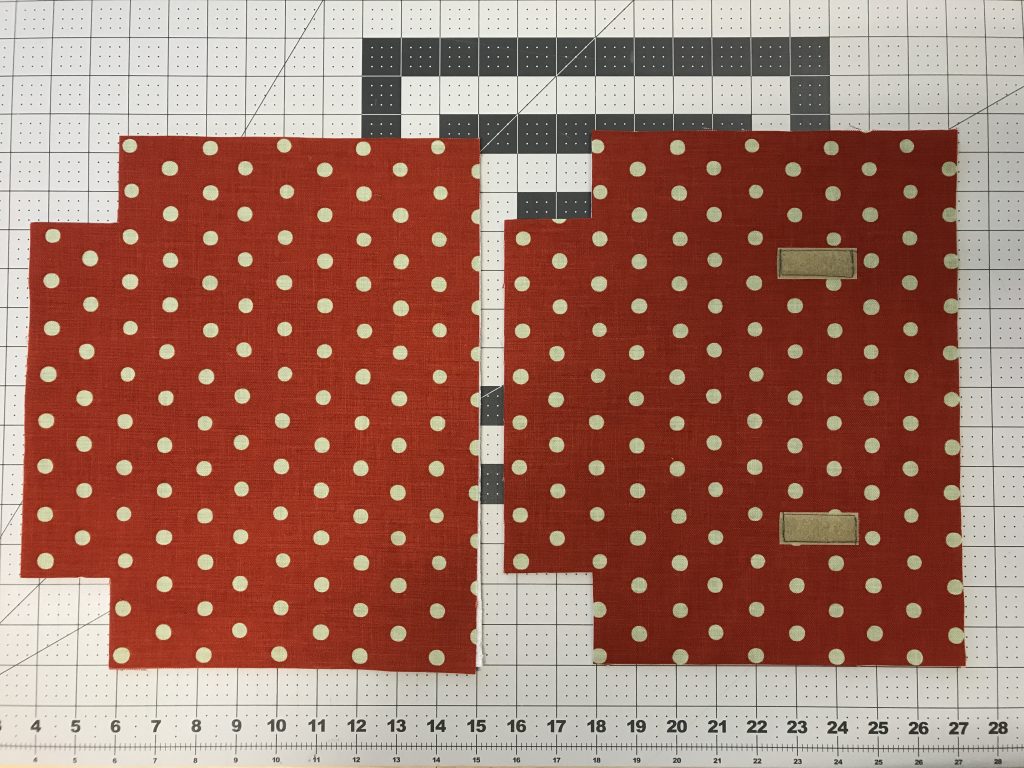
My pix are of the MEDUIM bag – this is my daily handbag… I seem to need a new one every year, partly because I wear them out, and partly because new fabric always temps me – case in point, look at the robots on the flap!
Here we go! Follow the Chunky Wee Bag pattern until you reach step 10B.
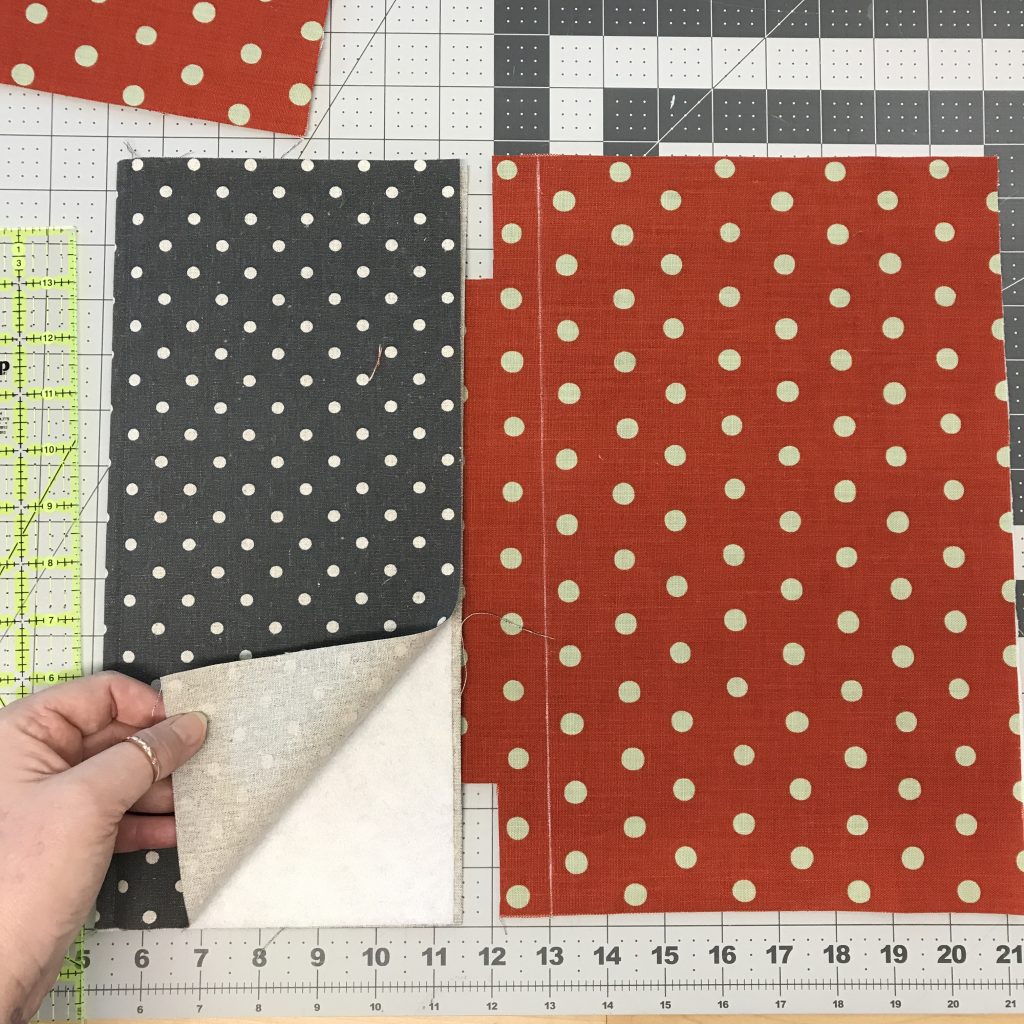
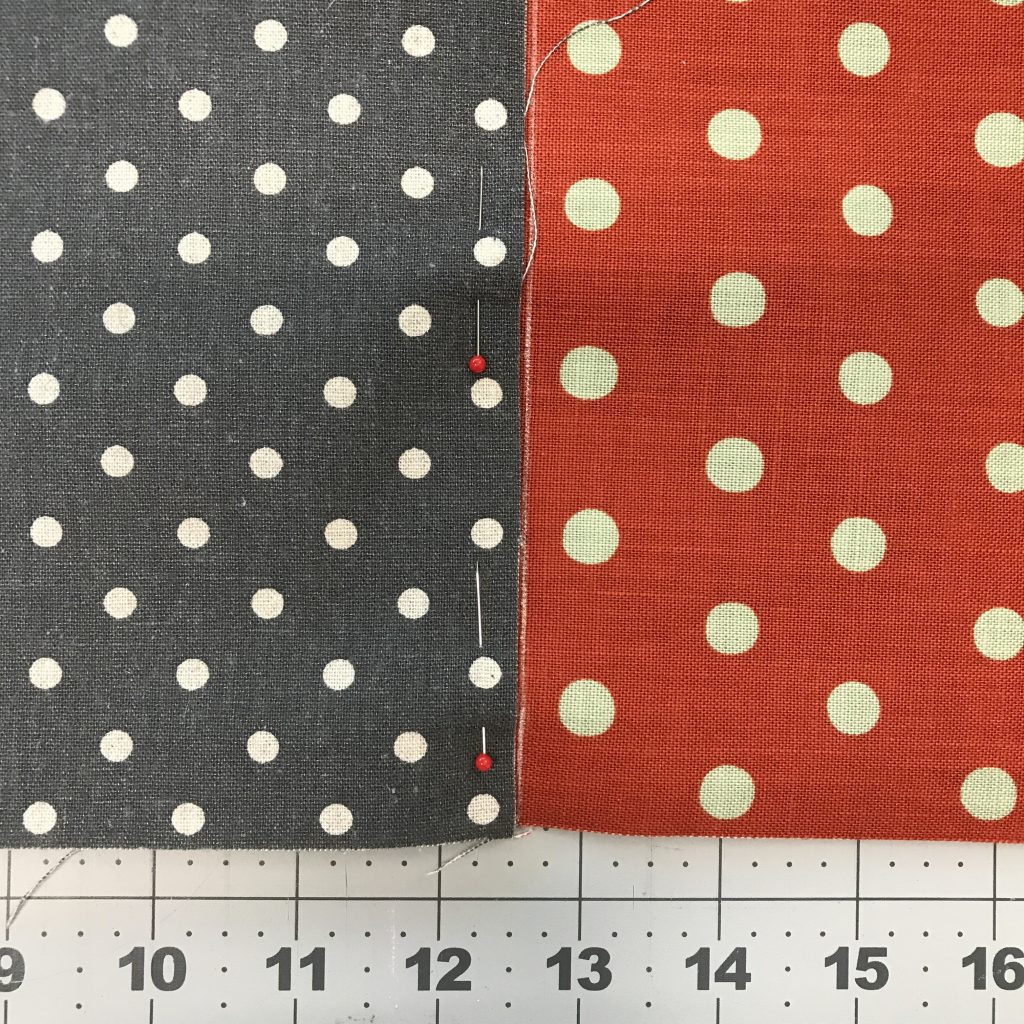
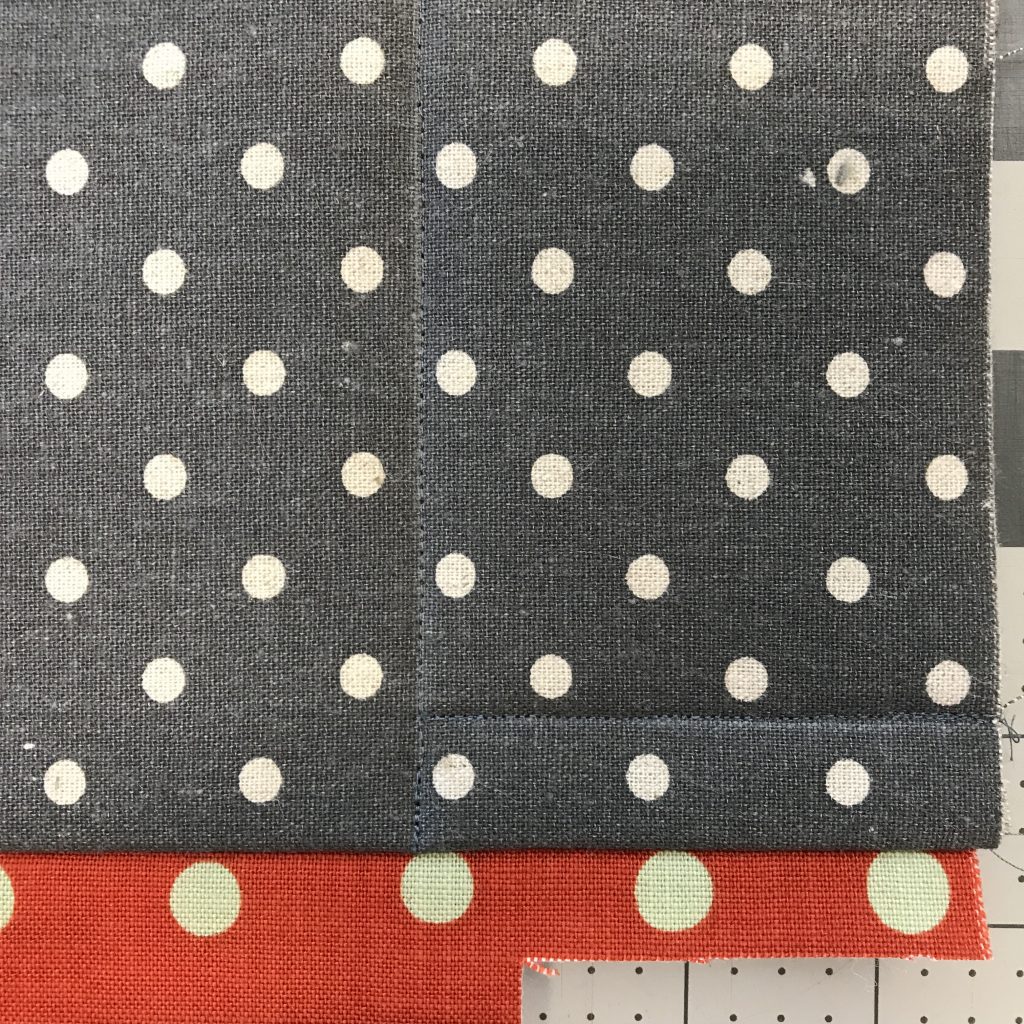
Take the Outer Pocket fabric, fold WRONG sides together parallel to the width of the fabric and press in the crease at the fold. Refer to step 7 in the pattern – you’ll be following the Inner Pocket steps to make this Outer Pocket: nest the fusible fleece up in the fold, and iron it in.
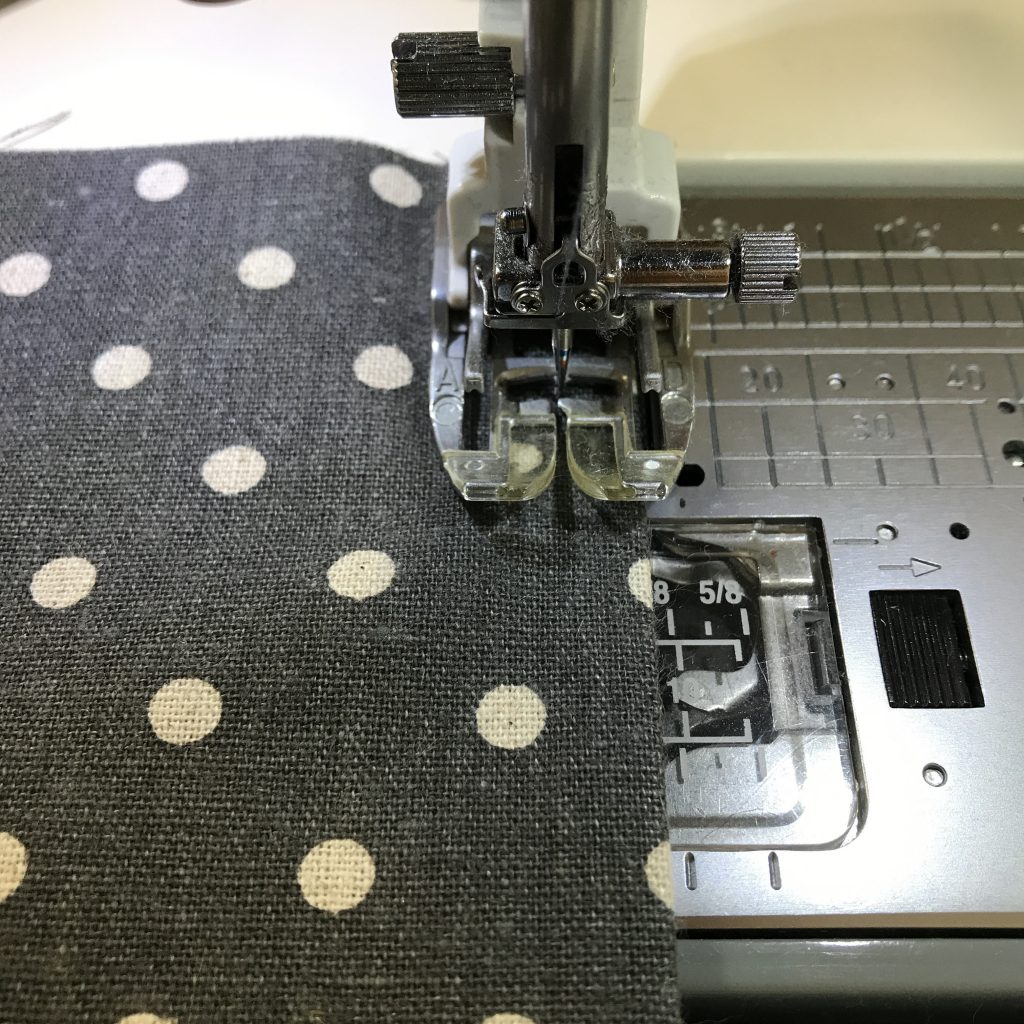
Finish the folded top edge with a top stitch:
Take the Outer Bag section that does NOT have velcro on it – this is the back of the bag. Cut the corner squares from it per the instructions at 10B, first bullet.
Chalk a line 3/4” up from the square cut-outs (just like you did on the Pockets/Inner Bag instructions at step 8).
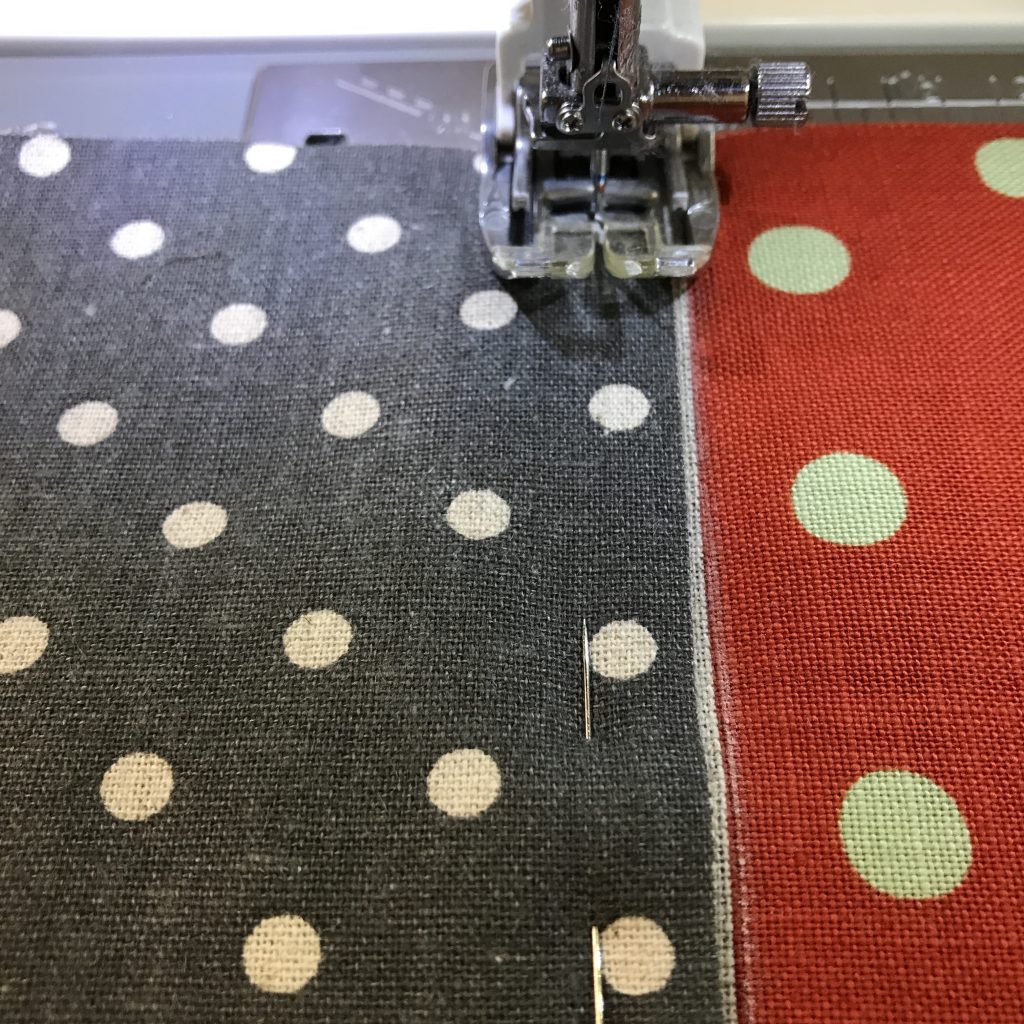
Align the Outer Pocket to the chalked line (just like in step 8), orienting the top-stitching down, and the raw edge up, with the raw edge at the line (and the rest of the back exposed).
Sew along this line a generous 1/4” from the raw edge, trying not to catch the fleece. This makes the pocket fold up more crisply, but it’s also not a huge deal if you do catch the fleece in the seam.
Flip the pocket up.
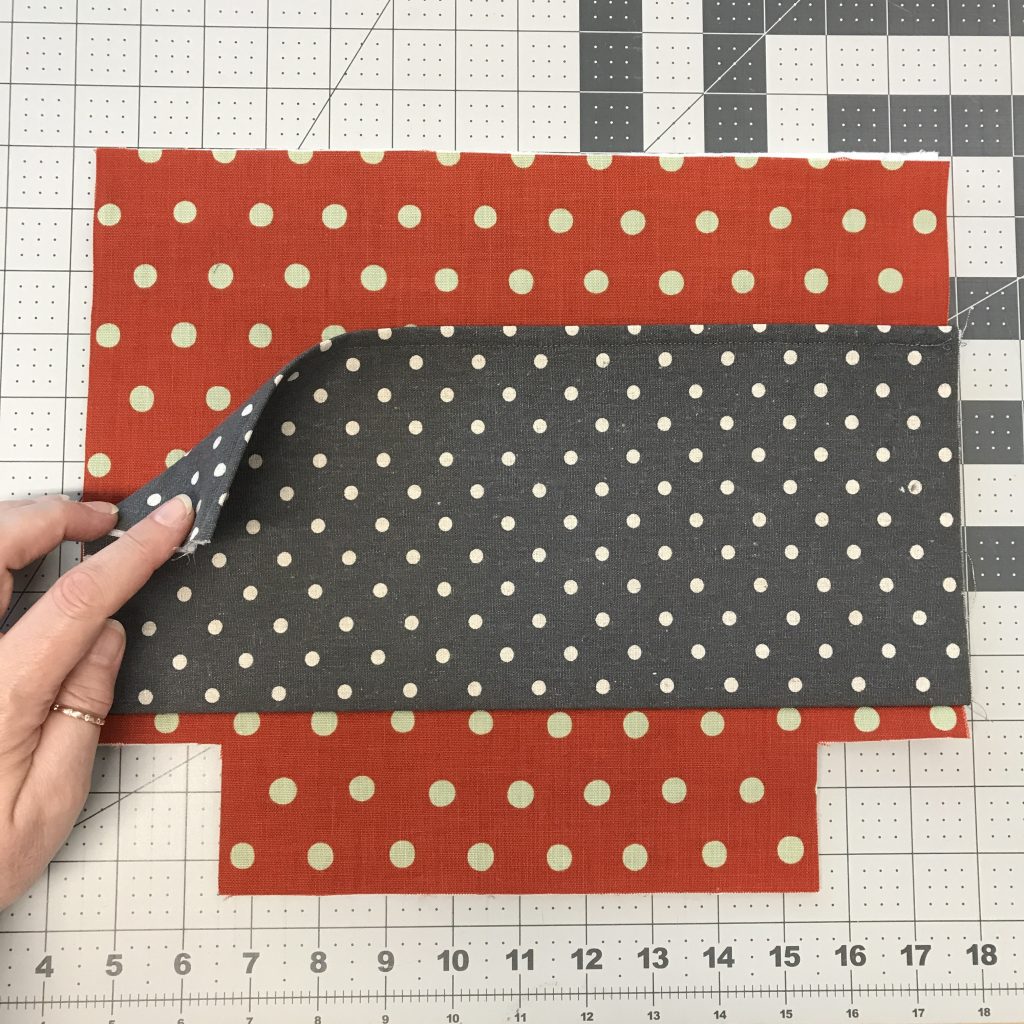
Following the drawing on the lower left of page 6 (step 8), chalk and sew the lines a half-inch in at the corners ONLY. Start from the bottom, and sew towards the top, back-tacking/lock-stitching well.
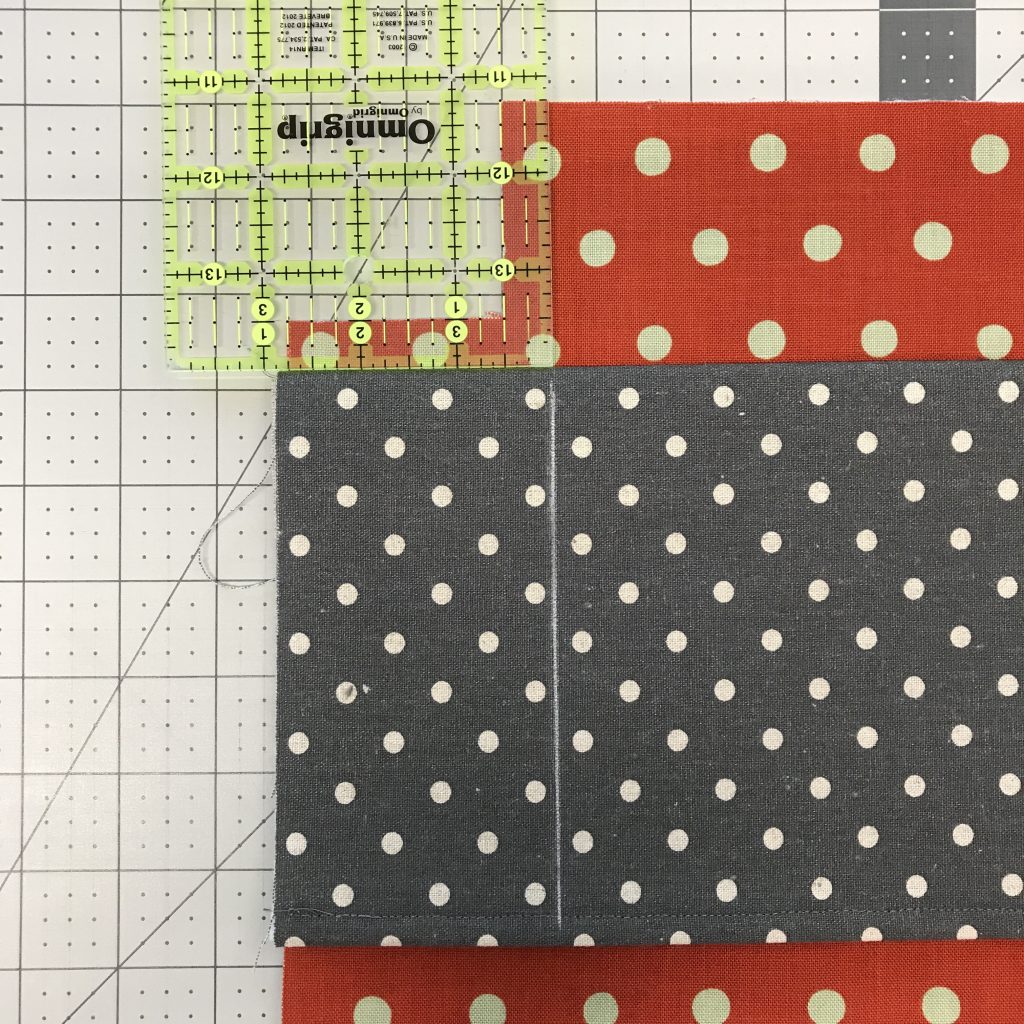
If the side pockets will be used for pens or reading glasses, sew a horizontal seam across the side pockets to make them a bit shallower. Test for the depth you need – I find that 5” works well for my cheater specs and pens.
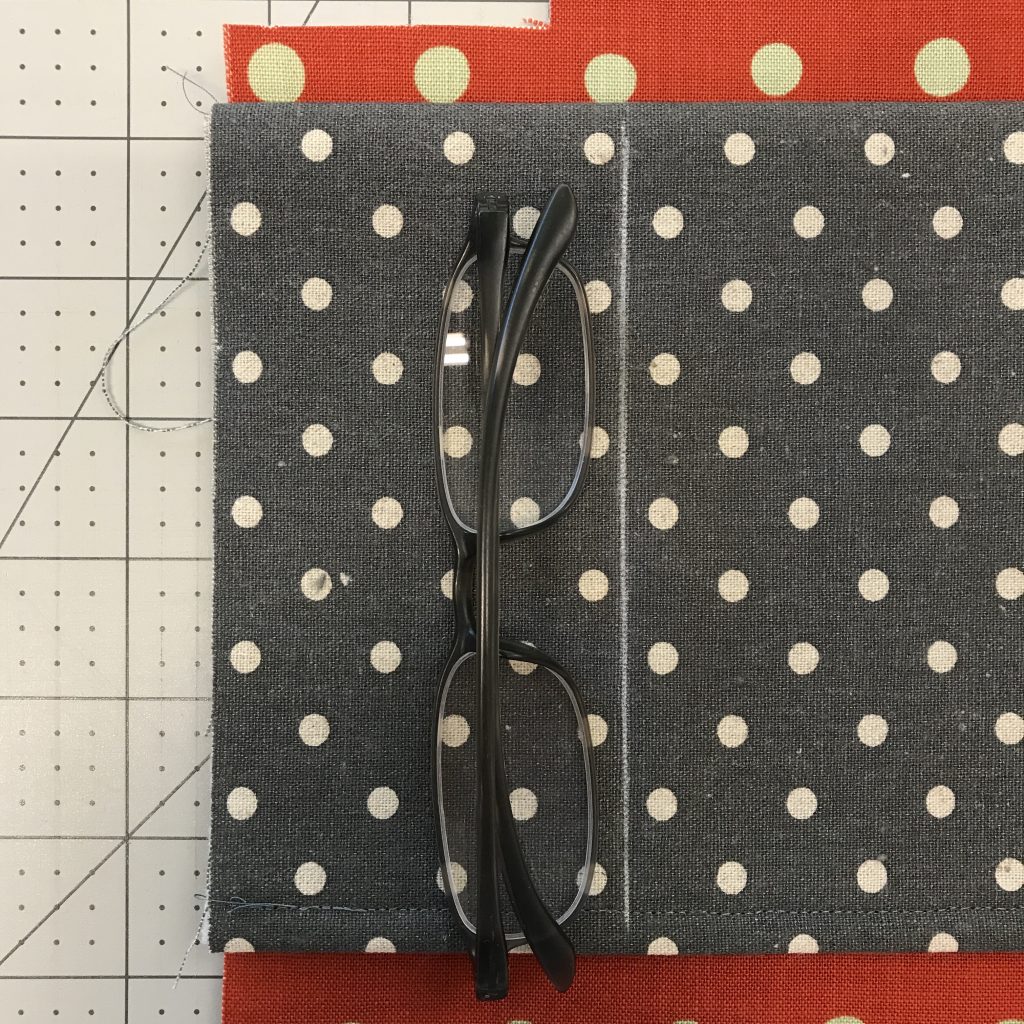
Lock the stitches on that seam well, too.
Further segment the Outer Pocket (just like you did the inner pockets) if you need to. I leave mine the full size so that my sketchbook and e-reader fit in there.
Continue making the bag from step 10b. When you sew the sides of the outer bag together, be sure to catch the sides of the pockets in the seam too, and sew slowly through all those layers so as not to snap your needle!
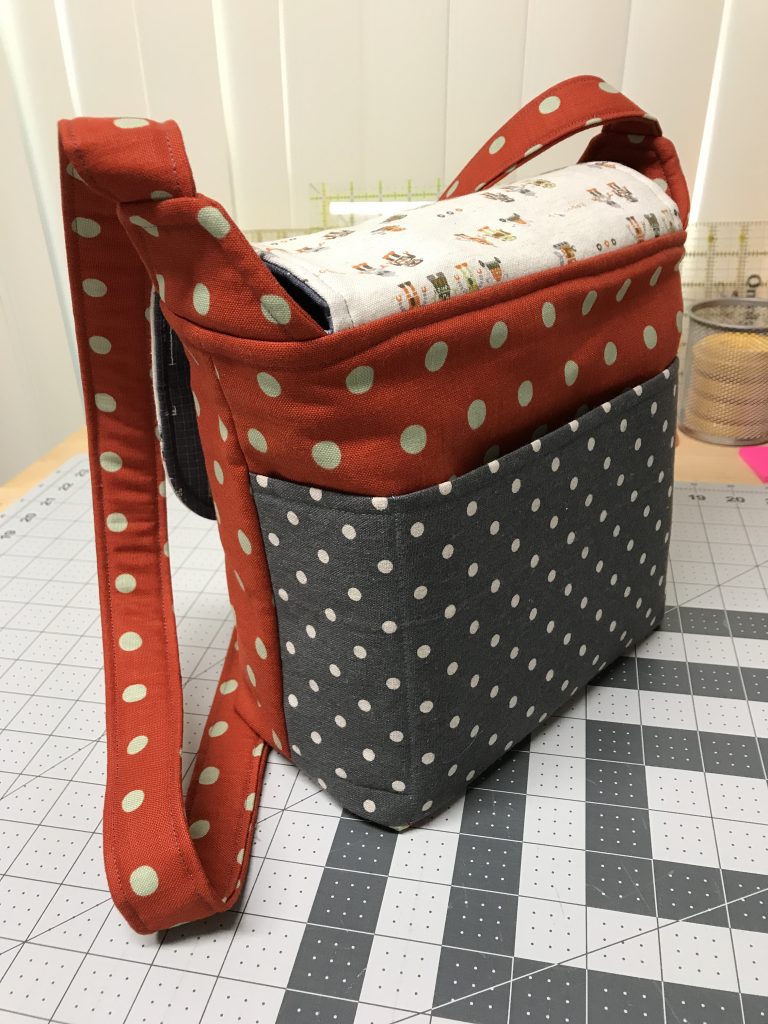

Enjoy!
The Chunky Wee rocks! Just might have to make a new one with this great pocket! Nice add!
I can see making a few of these for the Christmas gifts for all of my nieces, about 12 or so… Nice add Sam!
Fun to see but making bags is not my thing.