Yes, it’s time to clean up my studio again! My friend and creative whirlwind Cheryl Sleboda is again hosting the Spring Clean Your Studio Blog Hop (I love this blog hop project!) and today is my day to show you the latest version of my studio.

I hope you check in on all the participants – see below for a list with links! So many people have some great solutions to working in all kinds of spaces – you’re sure to see a tip or trick that will really inspire you!
To see my studio cleanup in prior years, go here for 2015, here for 2016, and here for 2017. These post also containing links to many of the posts I’ve written about how I keep my studio tidy.
So, to my current space…
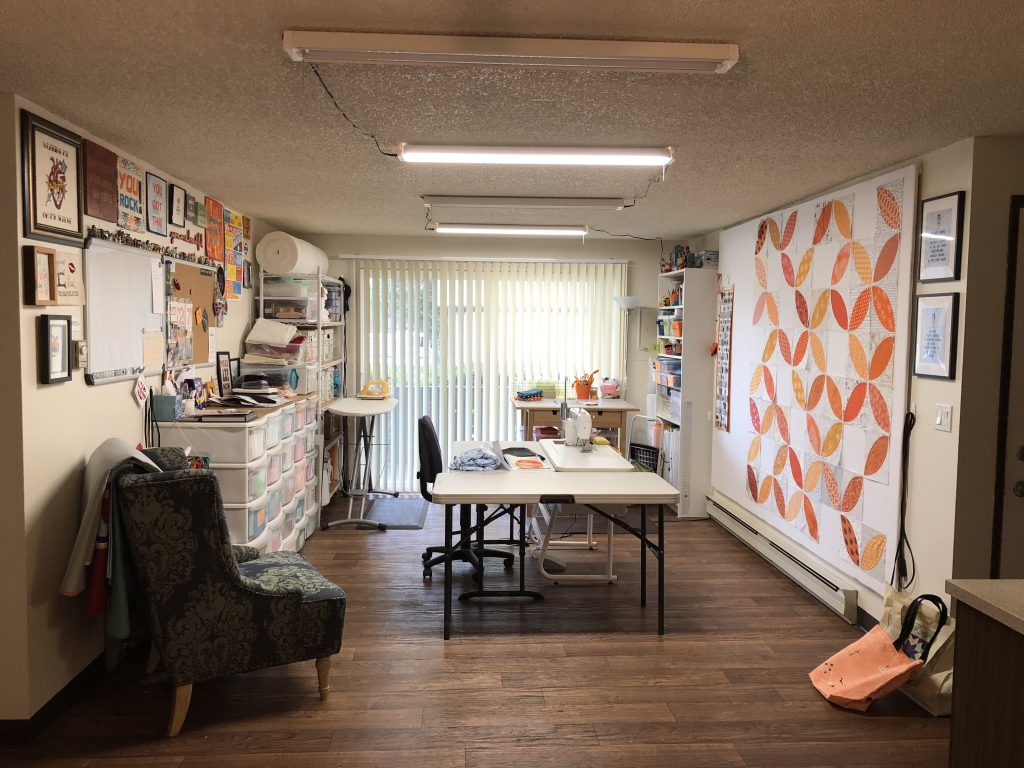
This was what was going on in my studio a month or so ago, when my friends Heather and Chris of RemnantPDX (a vintage furniture company) posted a picture of a fun and funky filing cabinet:
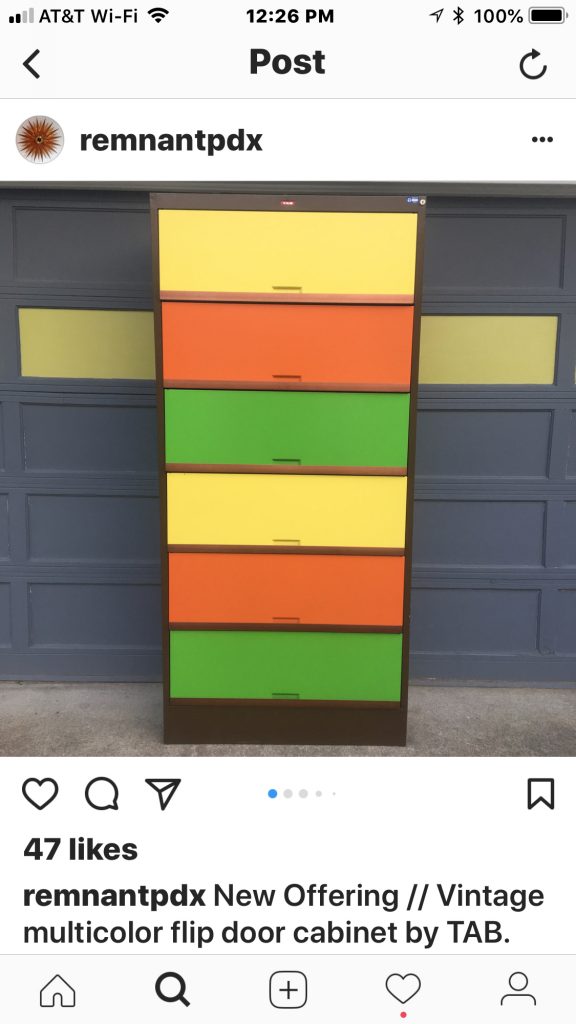
Just look at all that 70s color! And it had ORANGE doors too!
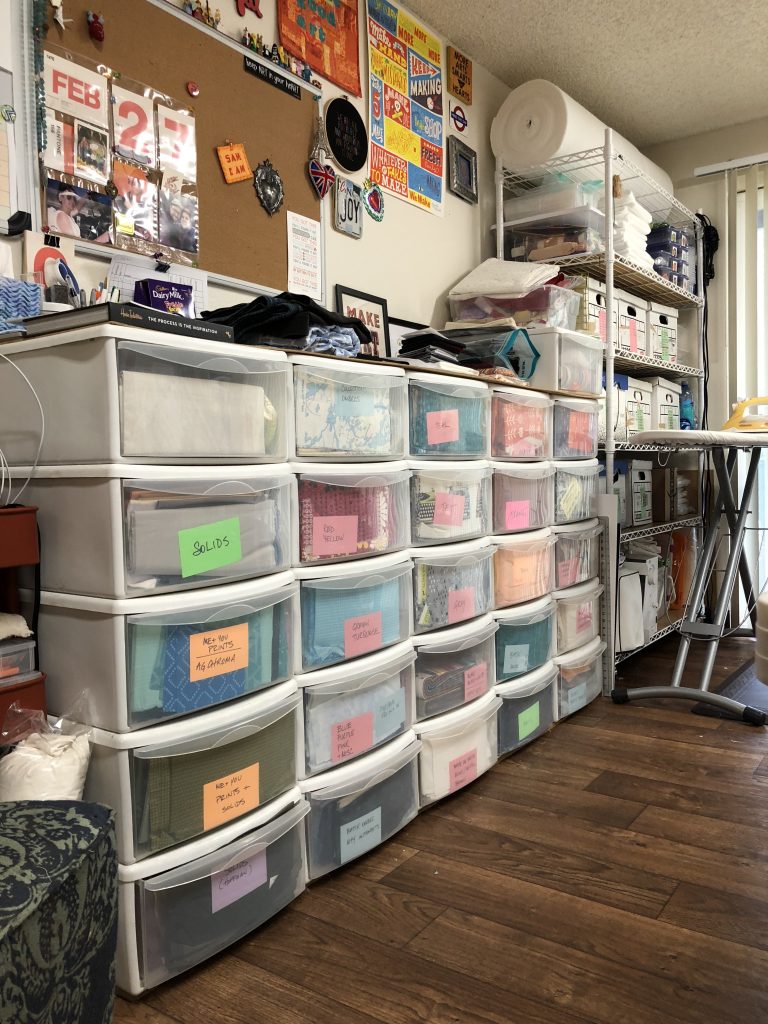
As it happened, I had been pondering how to get more shelf space into my studio, but I wasn’t keen on having another open wire rack. And as usual, the chaos was building up on top of my fabric drawers. This is always the catchall for heaps of studio stuff, and it makes me a little crazy (I don’t like working in clutter). I didn’t need a filing cabinet for paperwork (I keep as much as possible electronically) but the shelving possibilities it had were intriguing.
I was also feeling like the art on my wall was in need of a good shuffle. A quick measurement of the space showed me that the filing cabinet would fit, so I made an appointment to go look at it.
I absolutely loved it! And Chris kindly delivered it the next day!
The first task was to break down the wall art and move everything out of the way. And sweep behind everything I could reach while I had the chance!
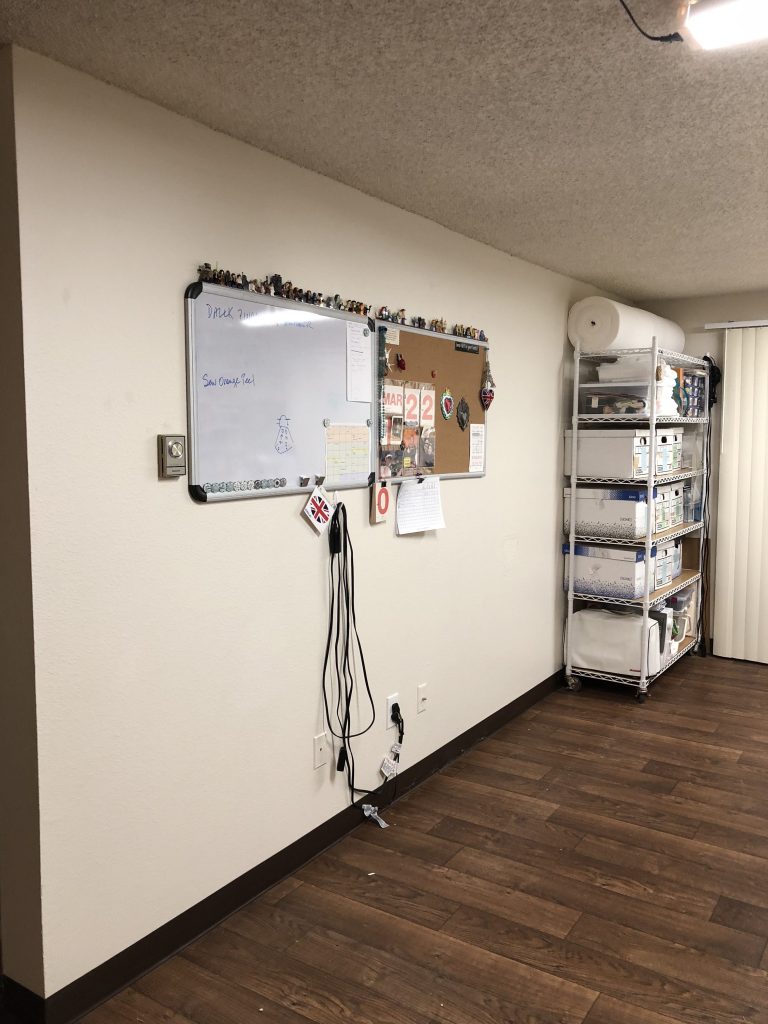
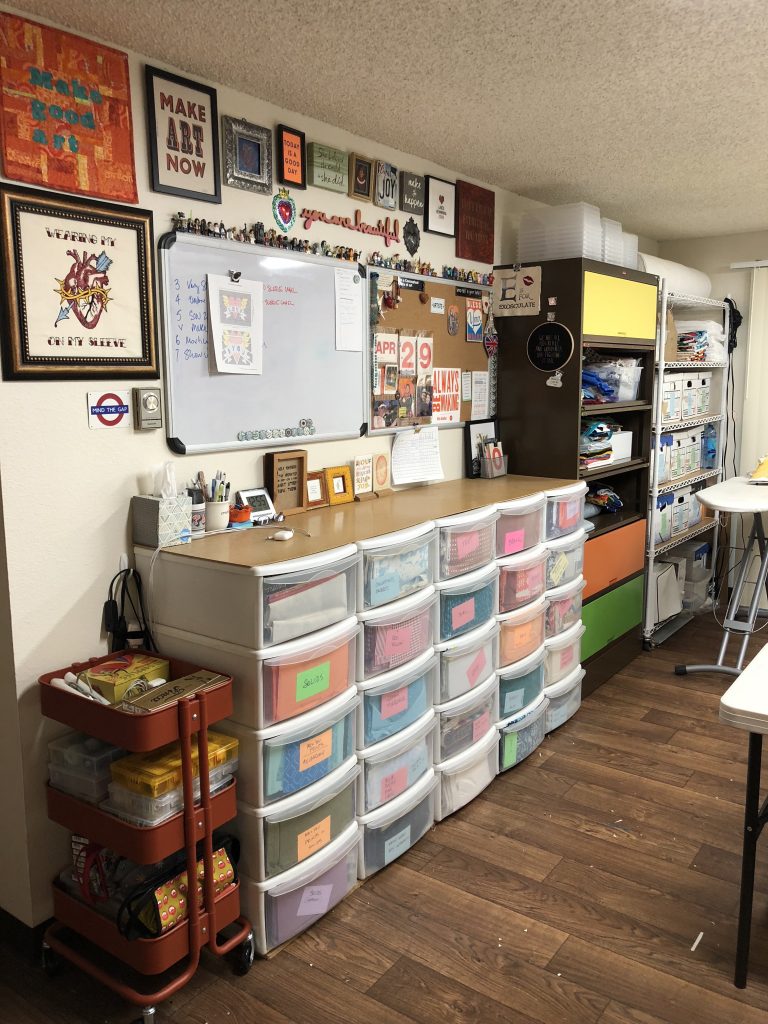
The cabinet squeezed into the space available – I didn’t have to scoot the bulletin boards.
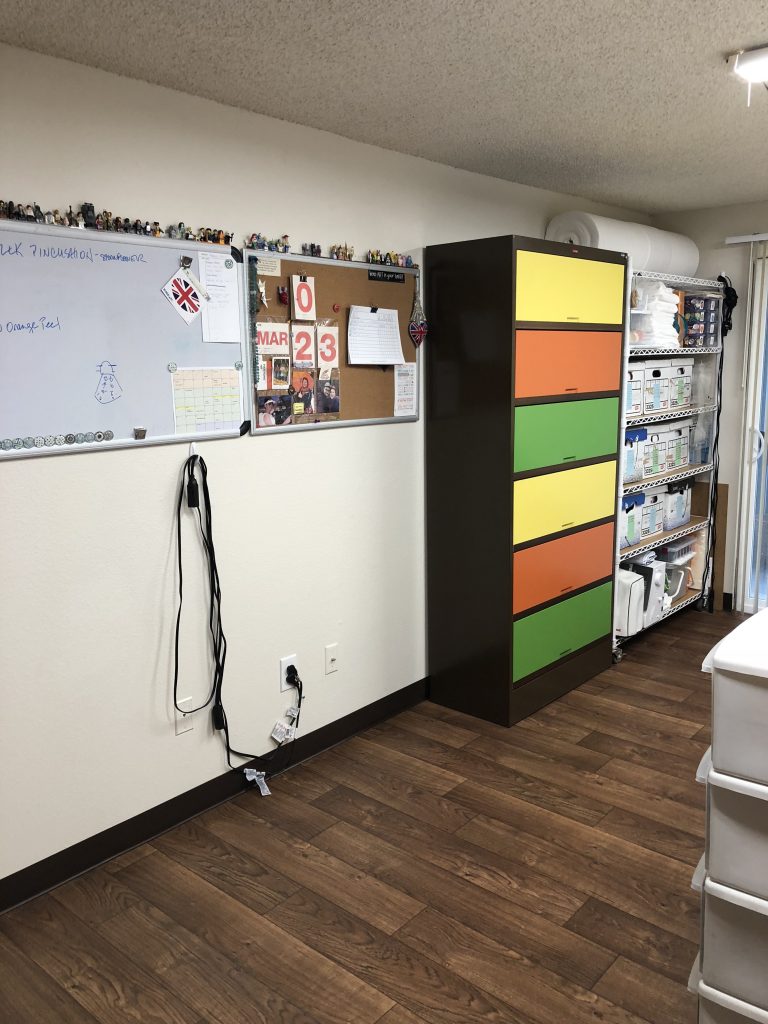
Then the fabric drawers went back in, and I started moving things into the cabinet. Note that I use flat-headed extension cords to keep access to the power sockets that always seem to end up behind things.
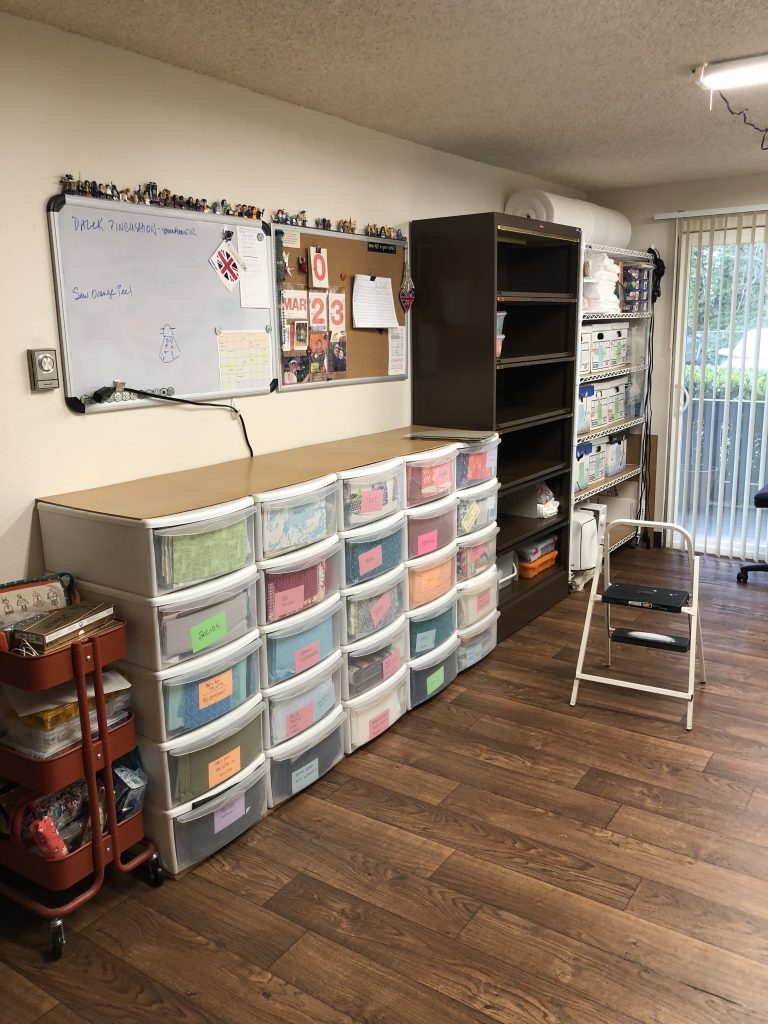
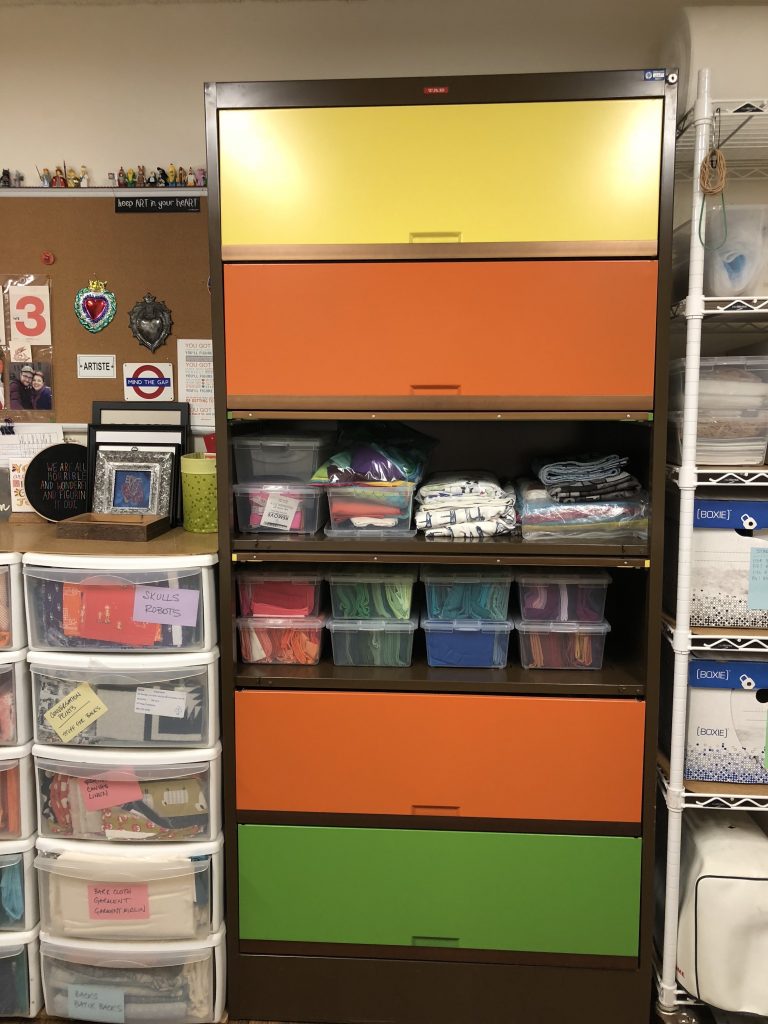
One of things I really like about the cabinet is that the doors swing up and slide back, out of the way. I also love that I can CLOSE the doors to hide messy piles if I need to, as I use this space as a dining room when I invite friends over to eat.
Lastly, I put the art back up on the walls, adding some new pieces and moving some to other places in my home.
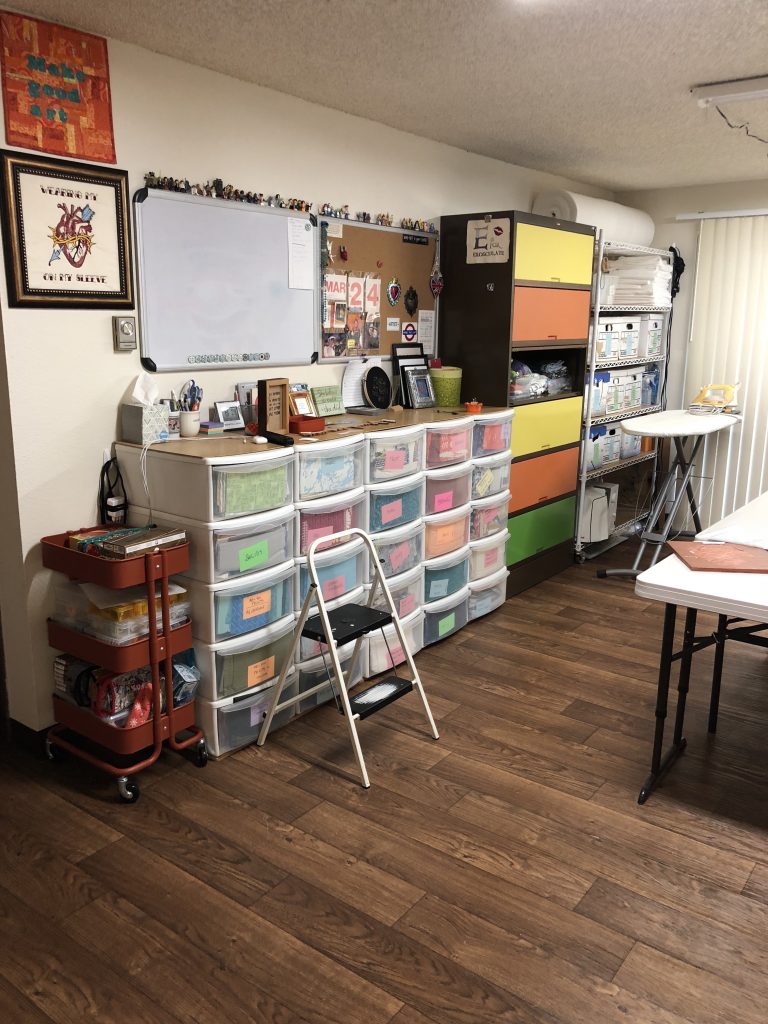
This is the current view (I’m still secret #sewingatthespeedofsam for quilt market so I can’t show you the rest!) I’m really loving that bright pop of colors in the room, and the extra storage has been so useful for keeping my projects together while they are queued up for attention.
Another thing that got sorted out during this shuffle were my small solids boxes. I had everything crammed into 8 small boxes, and things were so tight it was painful to find anything in them.
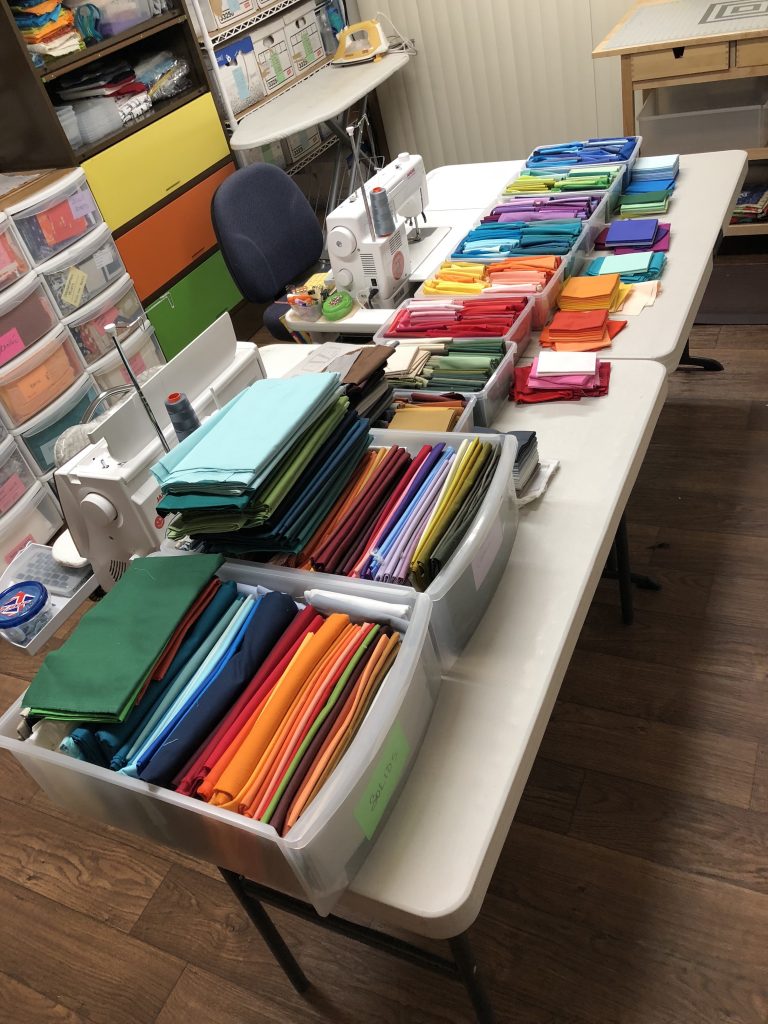
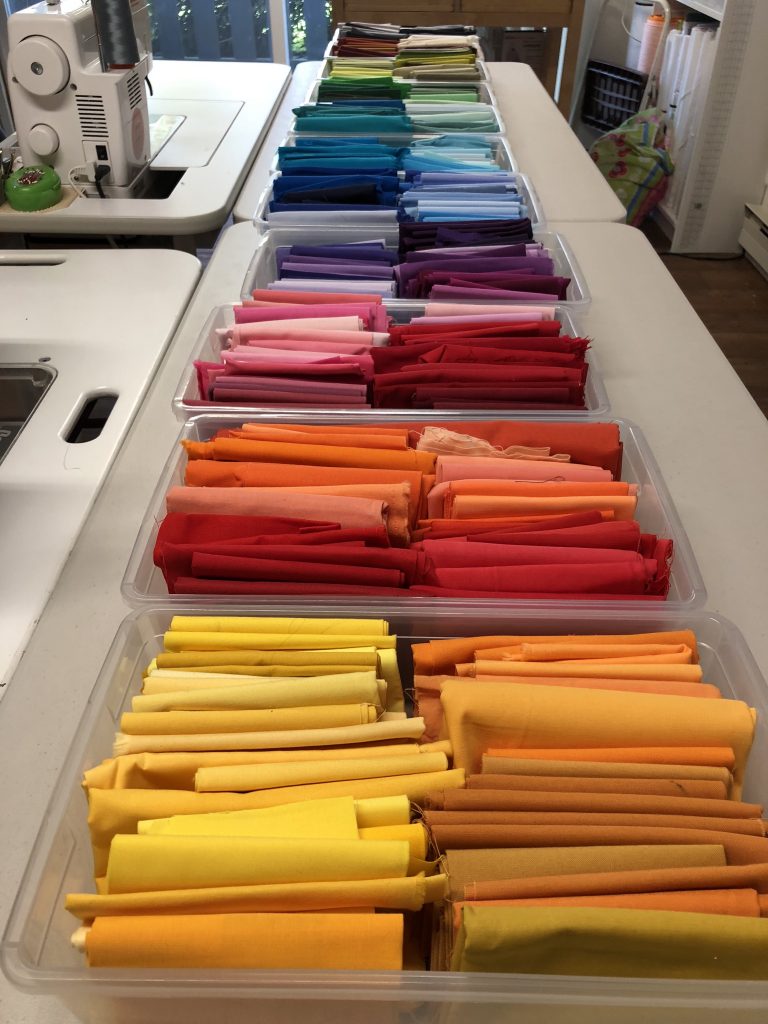
I expanded them to 12 boxes, which allowed me to better group the colors, as well as pull one piece out without the box exploding at me!
Please stop by the rest of the blog hop participants to see how they are managing their studios!
April 23 – Lori Crawley Kennedy – http://theinboxjaunt.com/
April 24 – Jennifer Thomas – http://curlicuecreations.blogspot.com
April 25 – Robin Koehler – http://nestlingsbyrobin.blogspot.com
April 26 – Andi Barney- https://www.andibarney.com/
April 27 – Misty Cole – http://www.mistycole.com/blog
April 28 – Carolina Moore- http://alwaysexpectmoore.com/
April 29 – Heather Pregger – https://heatherquilts.blogspot.com/
April 30 – Linda Bratten – https://lindabcreative.blogspot.com/
May 1 – Lisa Reber – https://dippydye.blogspot.com/
May 2 – Teresa Coates – http://www.crinkledreams.com
May 3 – Lisa Chin – http://www.lisachinartist.com/
May 4 – Jamie Fingal – http://www.jamiefingaldesigns.com/
May 5 – Sam Hunter – www.huntersdesignstudio.com <<——- you are here!
May 6 – Jessee Maloney – www.artschooldropout.net/blog
May 7 – Randa Parrish – http://www.sewartsyfartsy.com/
May 8 – Sarah Vedeler- https://meaningoflifedesigns.com/
May 9 – Jessica Darling – https://jessicakdarling.com/
May 10 – Melody Crust – http://www.melodycrust.com/
May 11 – Debby Brown – http://higheredhands.blogspot.com
May 12 – Cheryl Sleboda – http://blog.muppin.com


You are an inspiration. I will start looking at my studio and see what I can’t change and weed out. Thank you. Ursula
You’re welcome Ursula!
Oh wow!! You scored! That cabinet was made for that space!!
Right??? I was so thrilled when I figured out that it would!
That was fun! I love your cabinet, and also that cart thingy on wheels. Everything looks so neat and efficient for work. I also enjoyed the pic of the reorganized solids ~ so much color. My 8 y.o. spied your Lego mini figure collection. He’s a huge fan. Thanks for the tour. Have a fantastic day!
The cart thingy is the infamous Raskog cart from Ikea! Do let your son know that my son is also a huge Lego fan 🙂
Cool cabinet, I understand why you were willing to rearrange everything to make it work. I am also taking away the idea of small boxes for small pieces. Thanks for sharing your creative space!
You’re welcome! Sometimes the smaller boxes help, but I find you have to be careful about going overboard with lots of little containers as they can take up way more space than the stuff you’re trying to store in them 🙂
That is a very cool cabinet!!!
Thanks for the tour. Love the “Filing” cabinet. I’m curious as to what you have on top of your plastic drawer units. Is it a piece of laminate board? Great ideas for storage and am in love with all of your beautiful solid colored fabrics.
Hi Betsy – it came from the hardware store – it’s a thin sheet of pressed particle material – more than 1/8th and less than 1/4th of an inch. Shiny on one side. I also have this on all the shelves of my wire racks!