
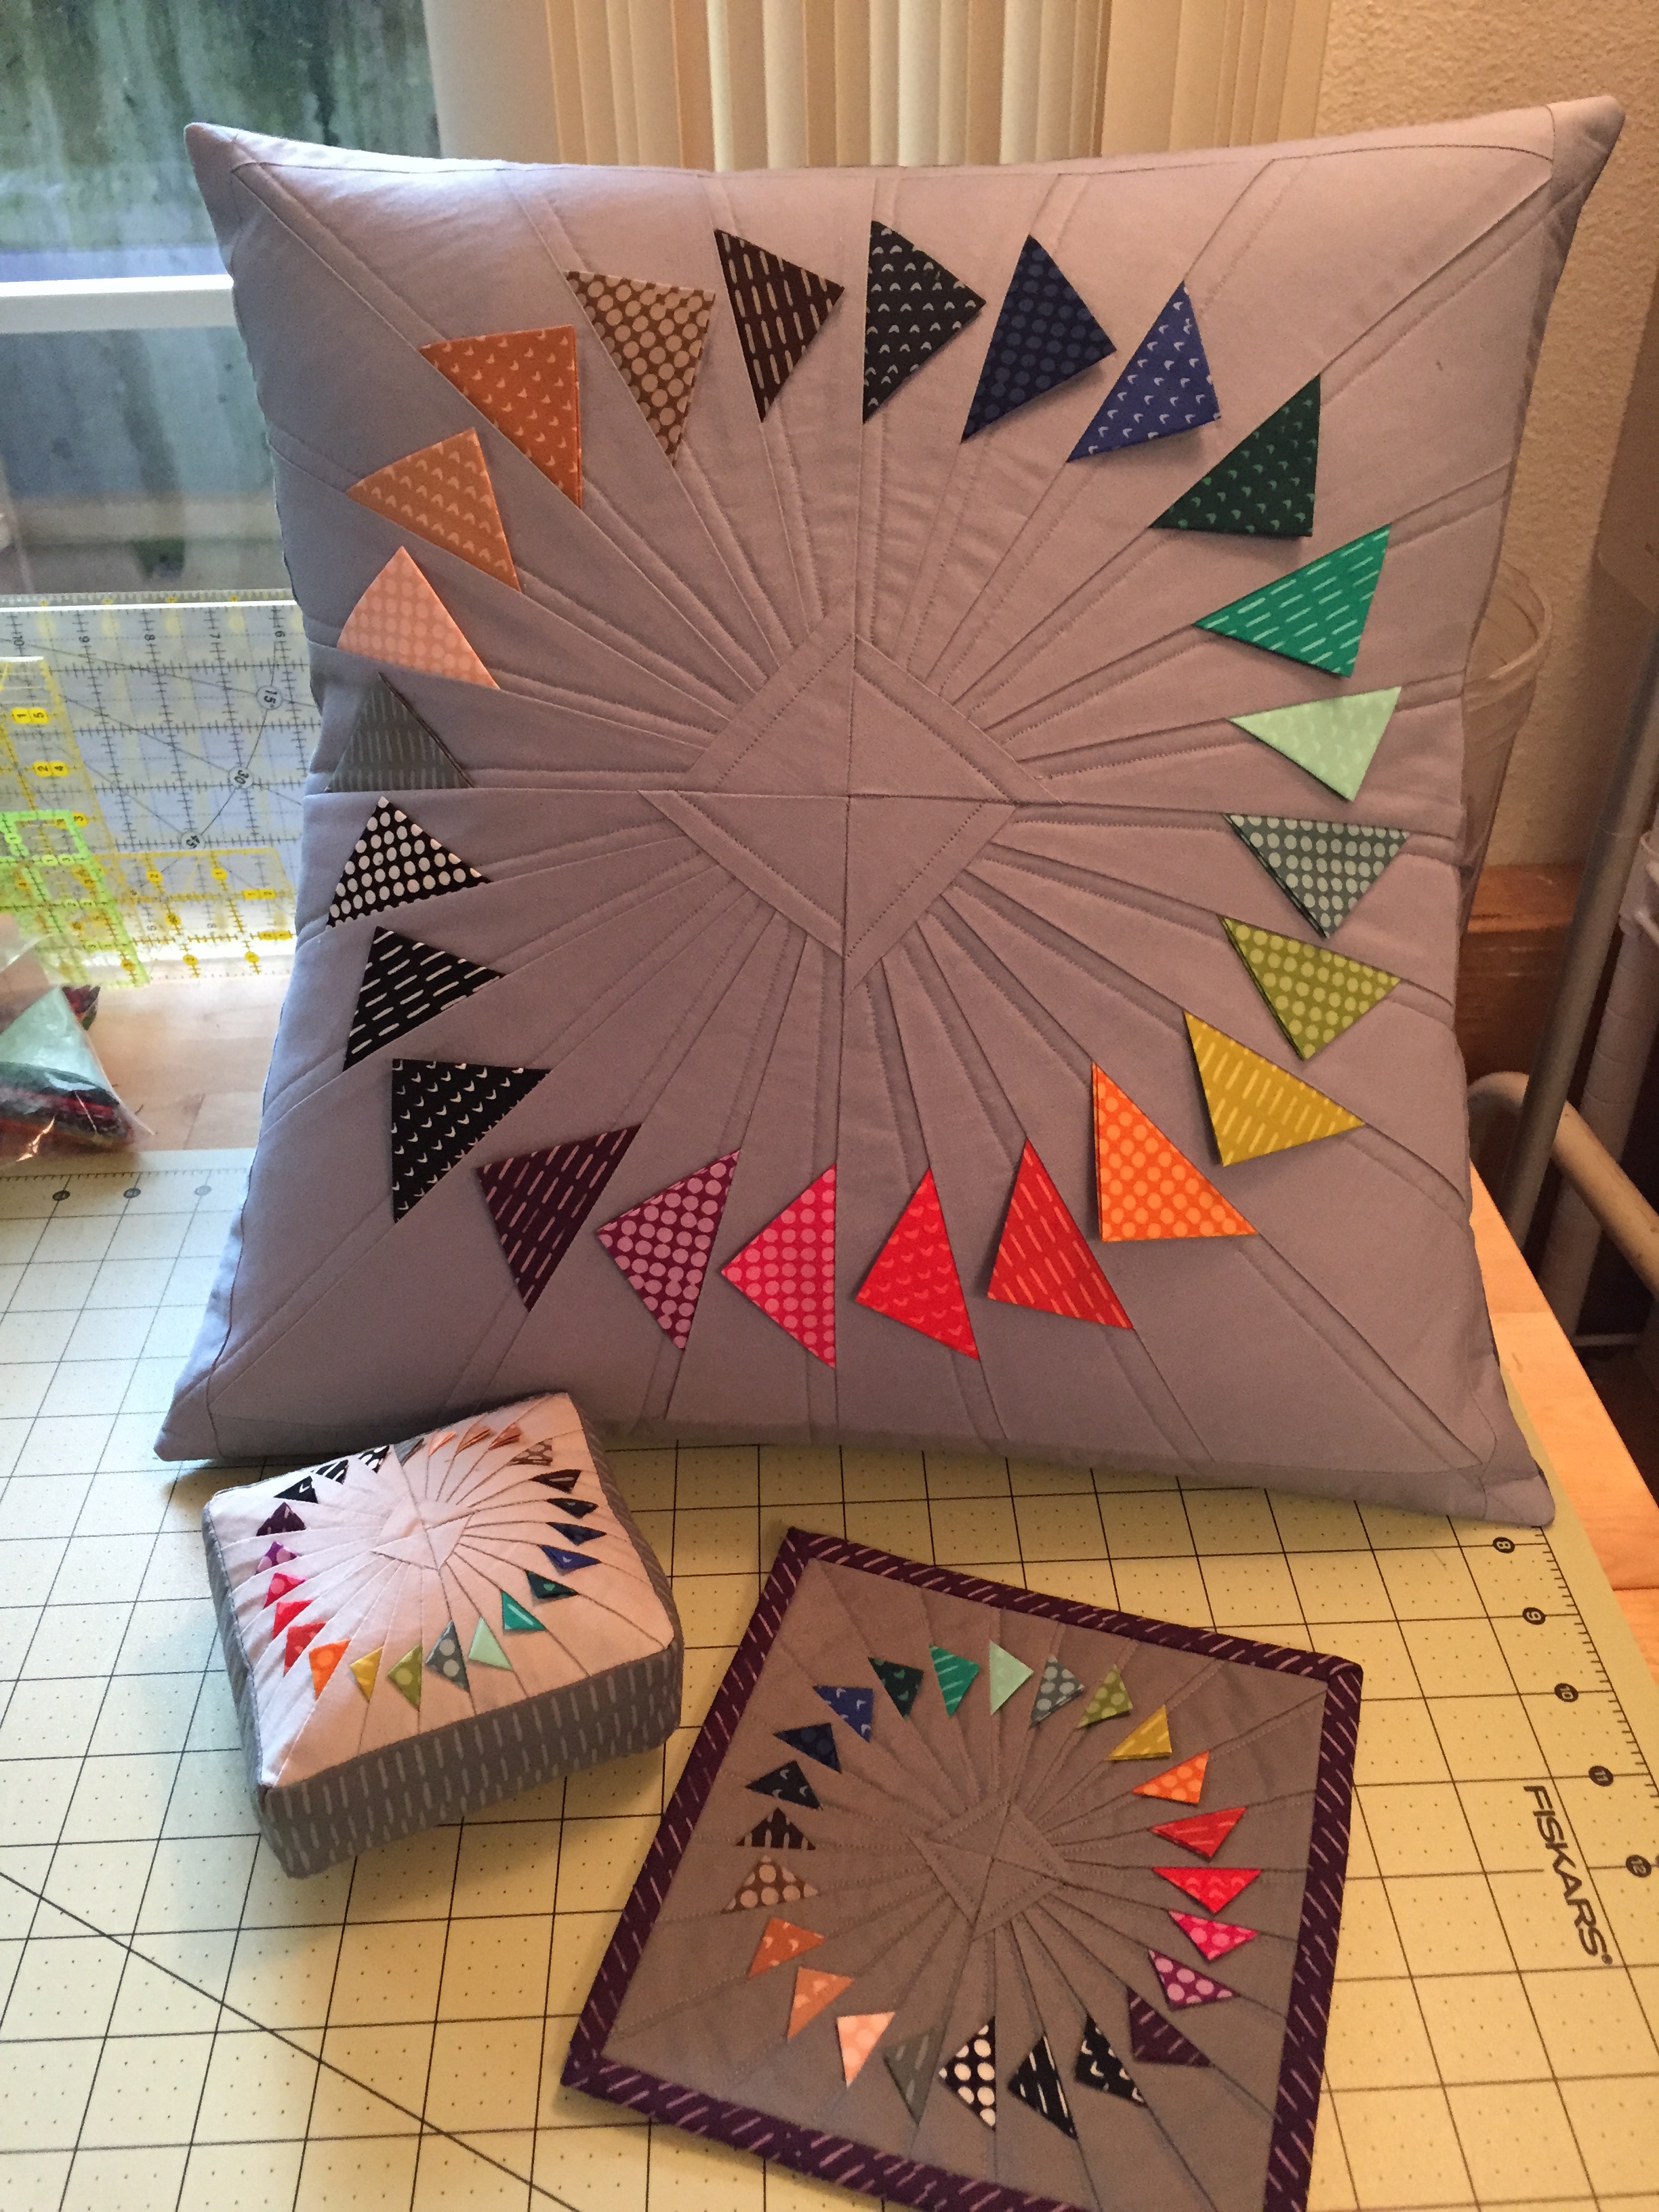
This is a photo tutorial for the Turning Points pattern (shop for the pattern here)
Enjoy!
This tutorial is done with the 6” block.
(And apologies for the state of my hands in the pix… I had an allergic reaction that made my skin peel, and go figure, my hands were taking the brunt of it as I was photographing this!)
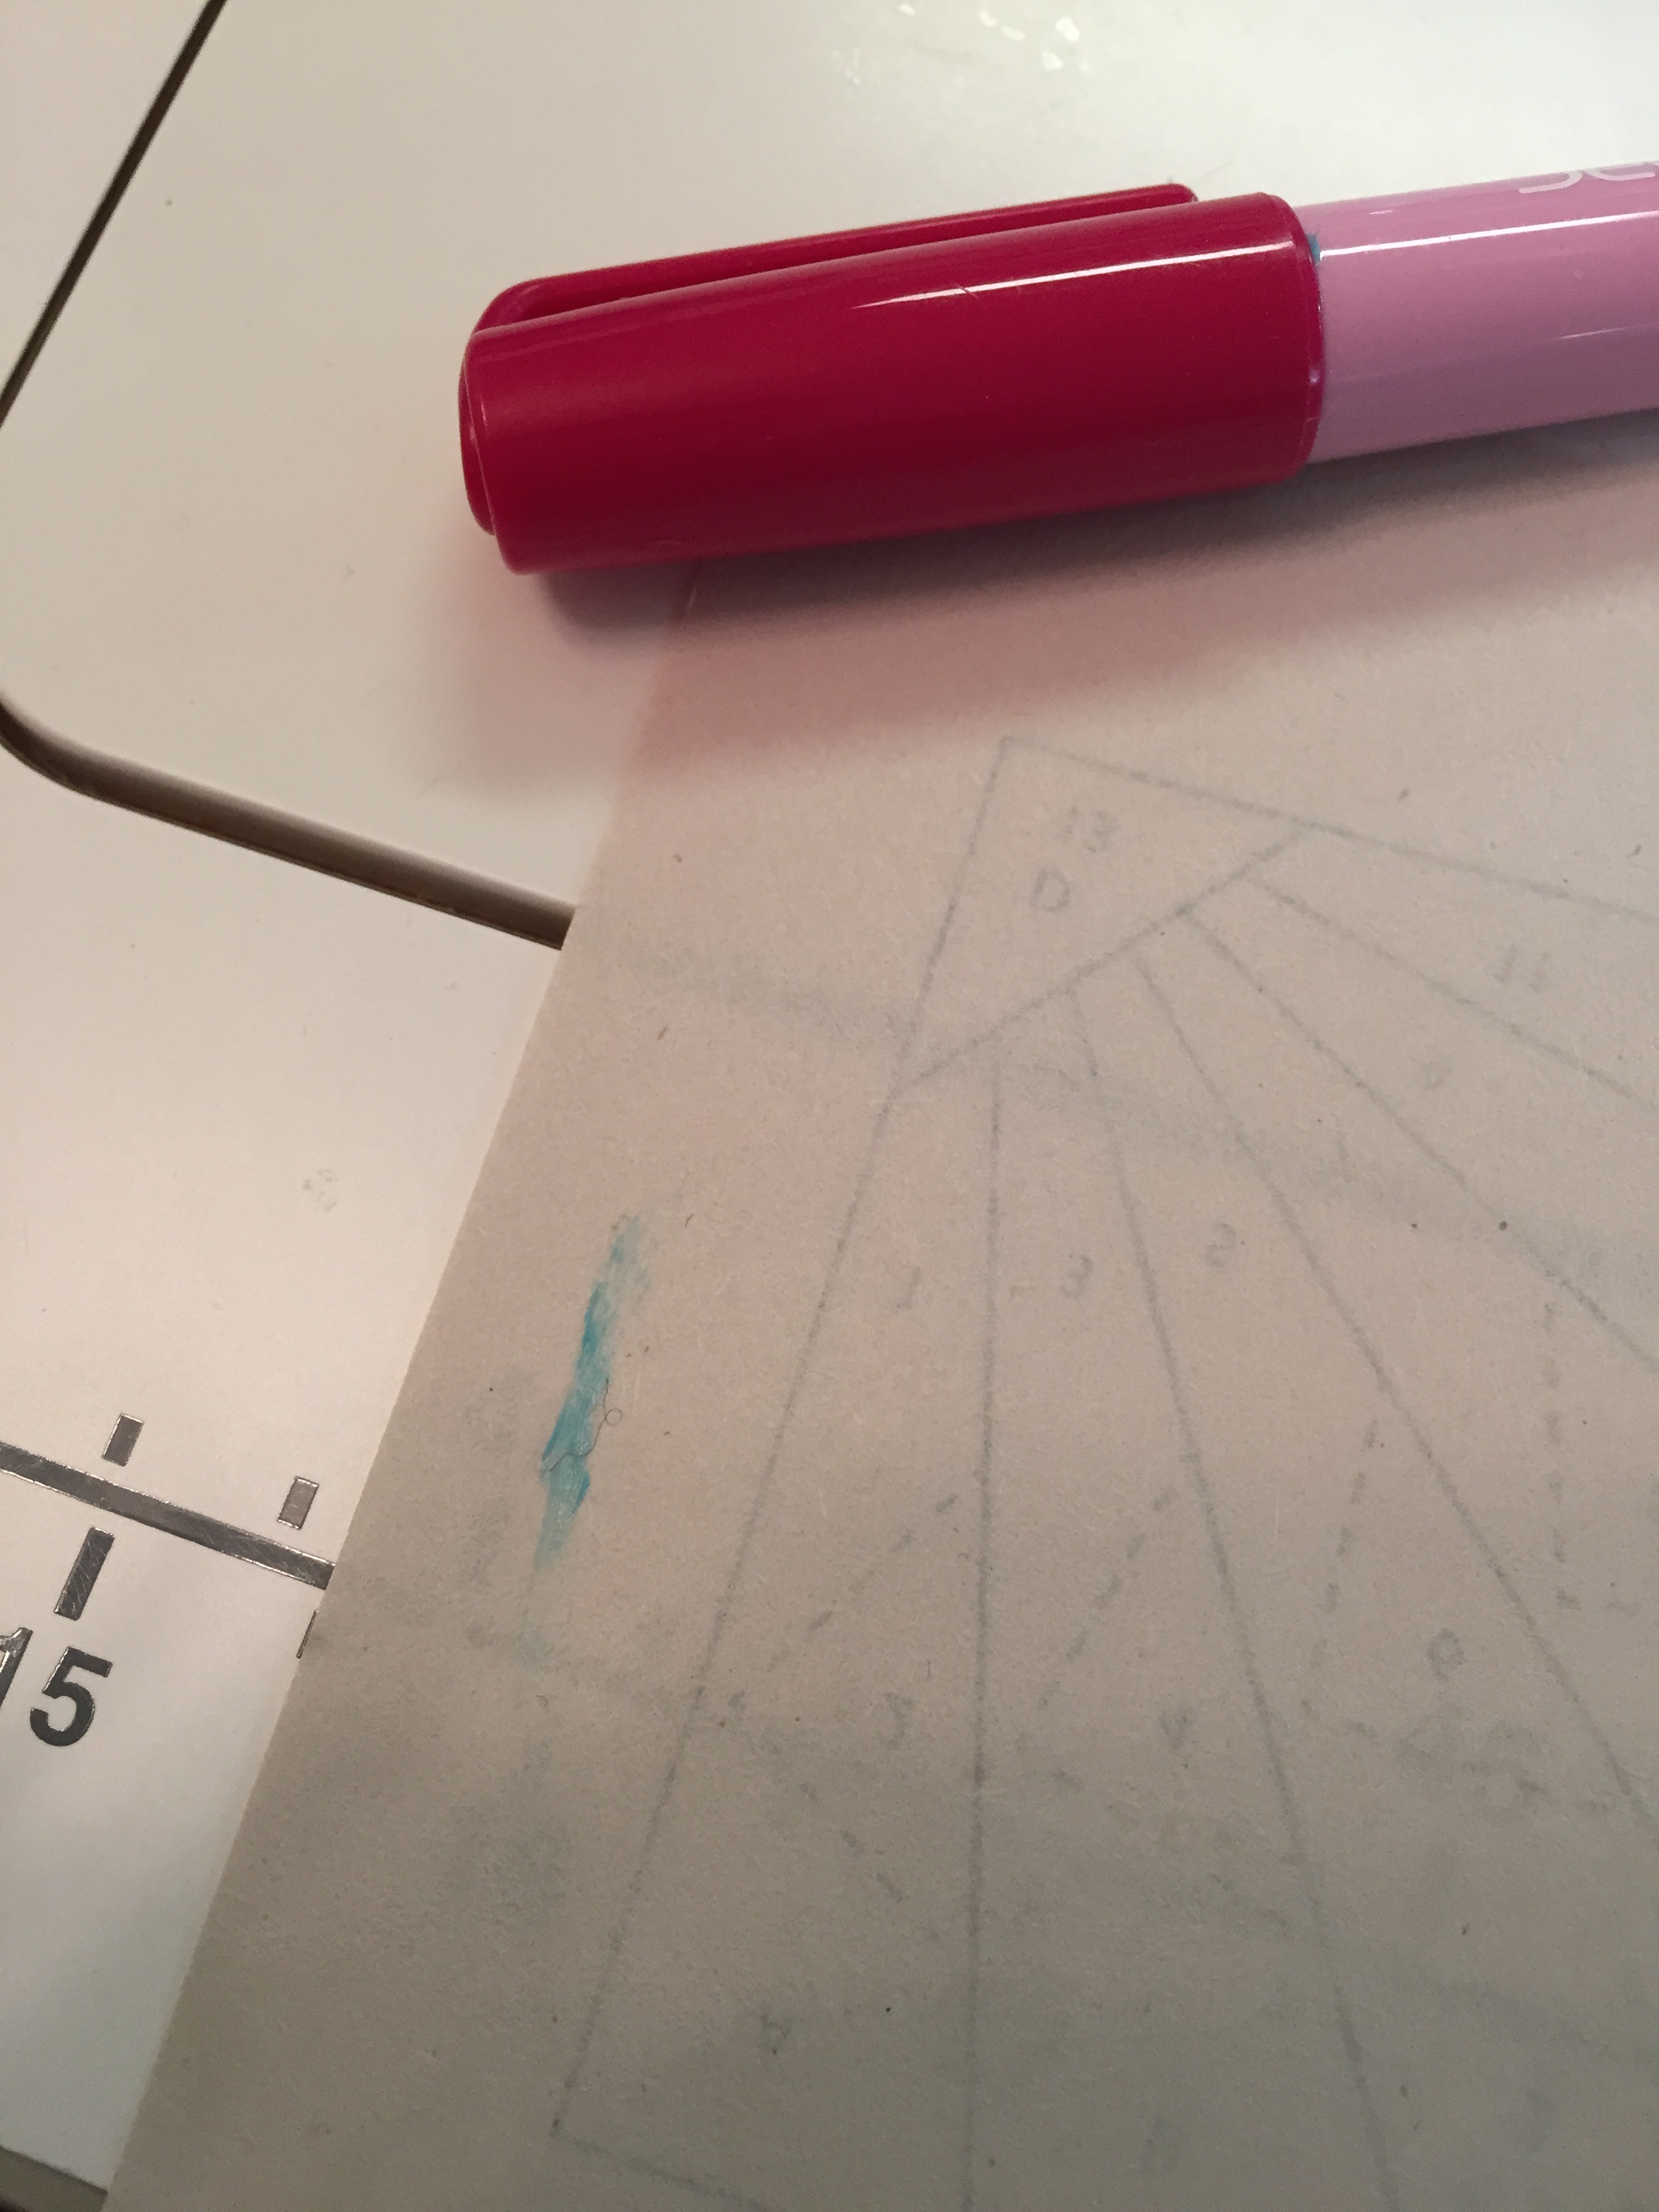
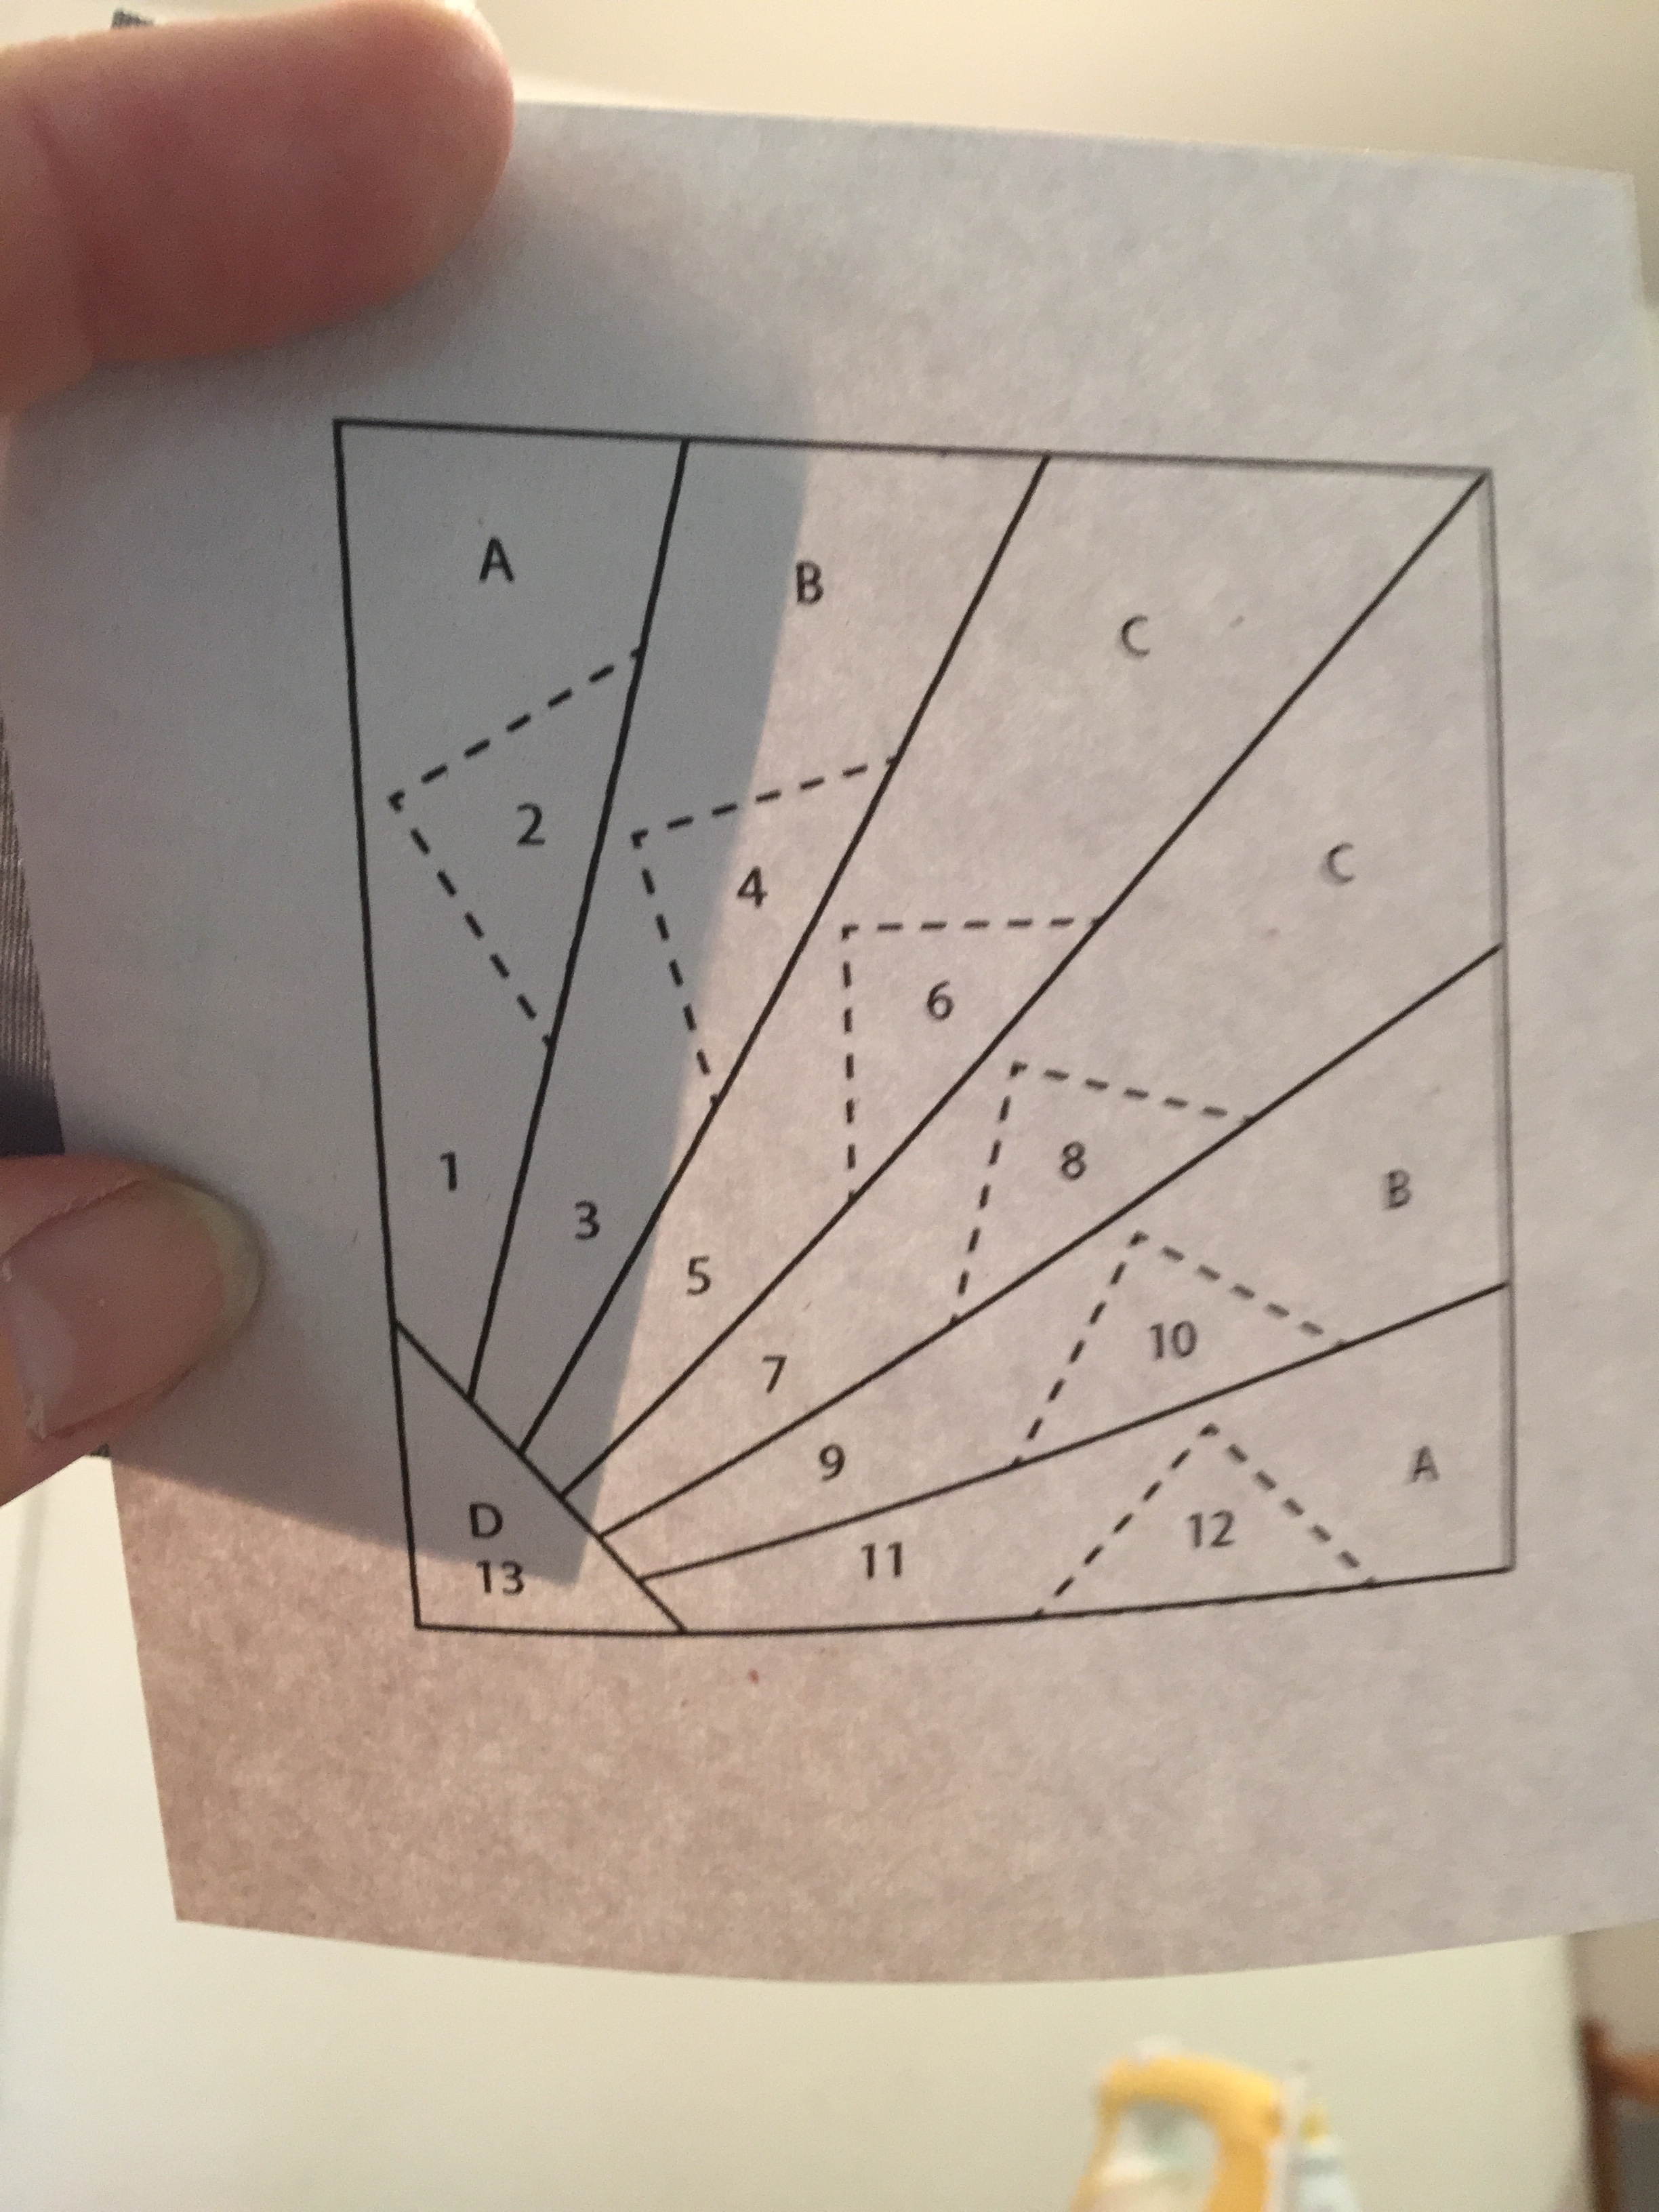
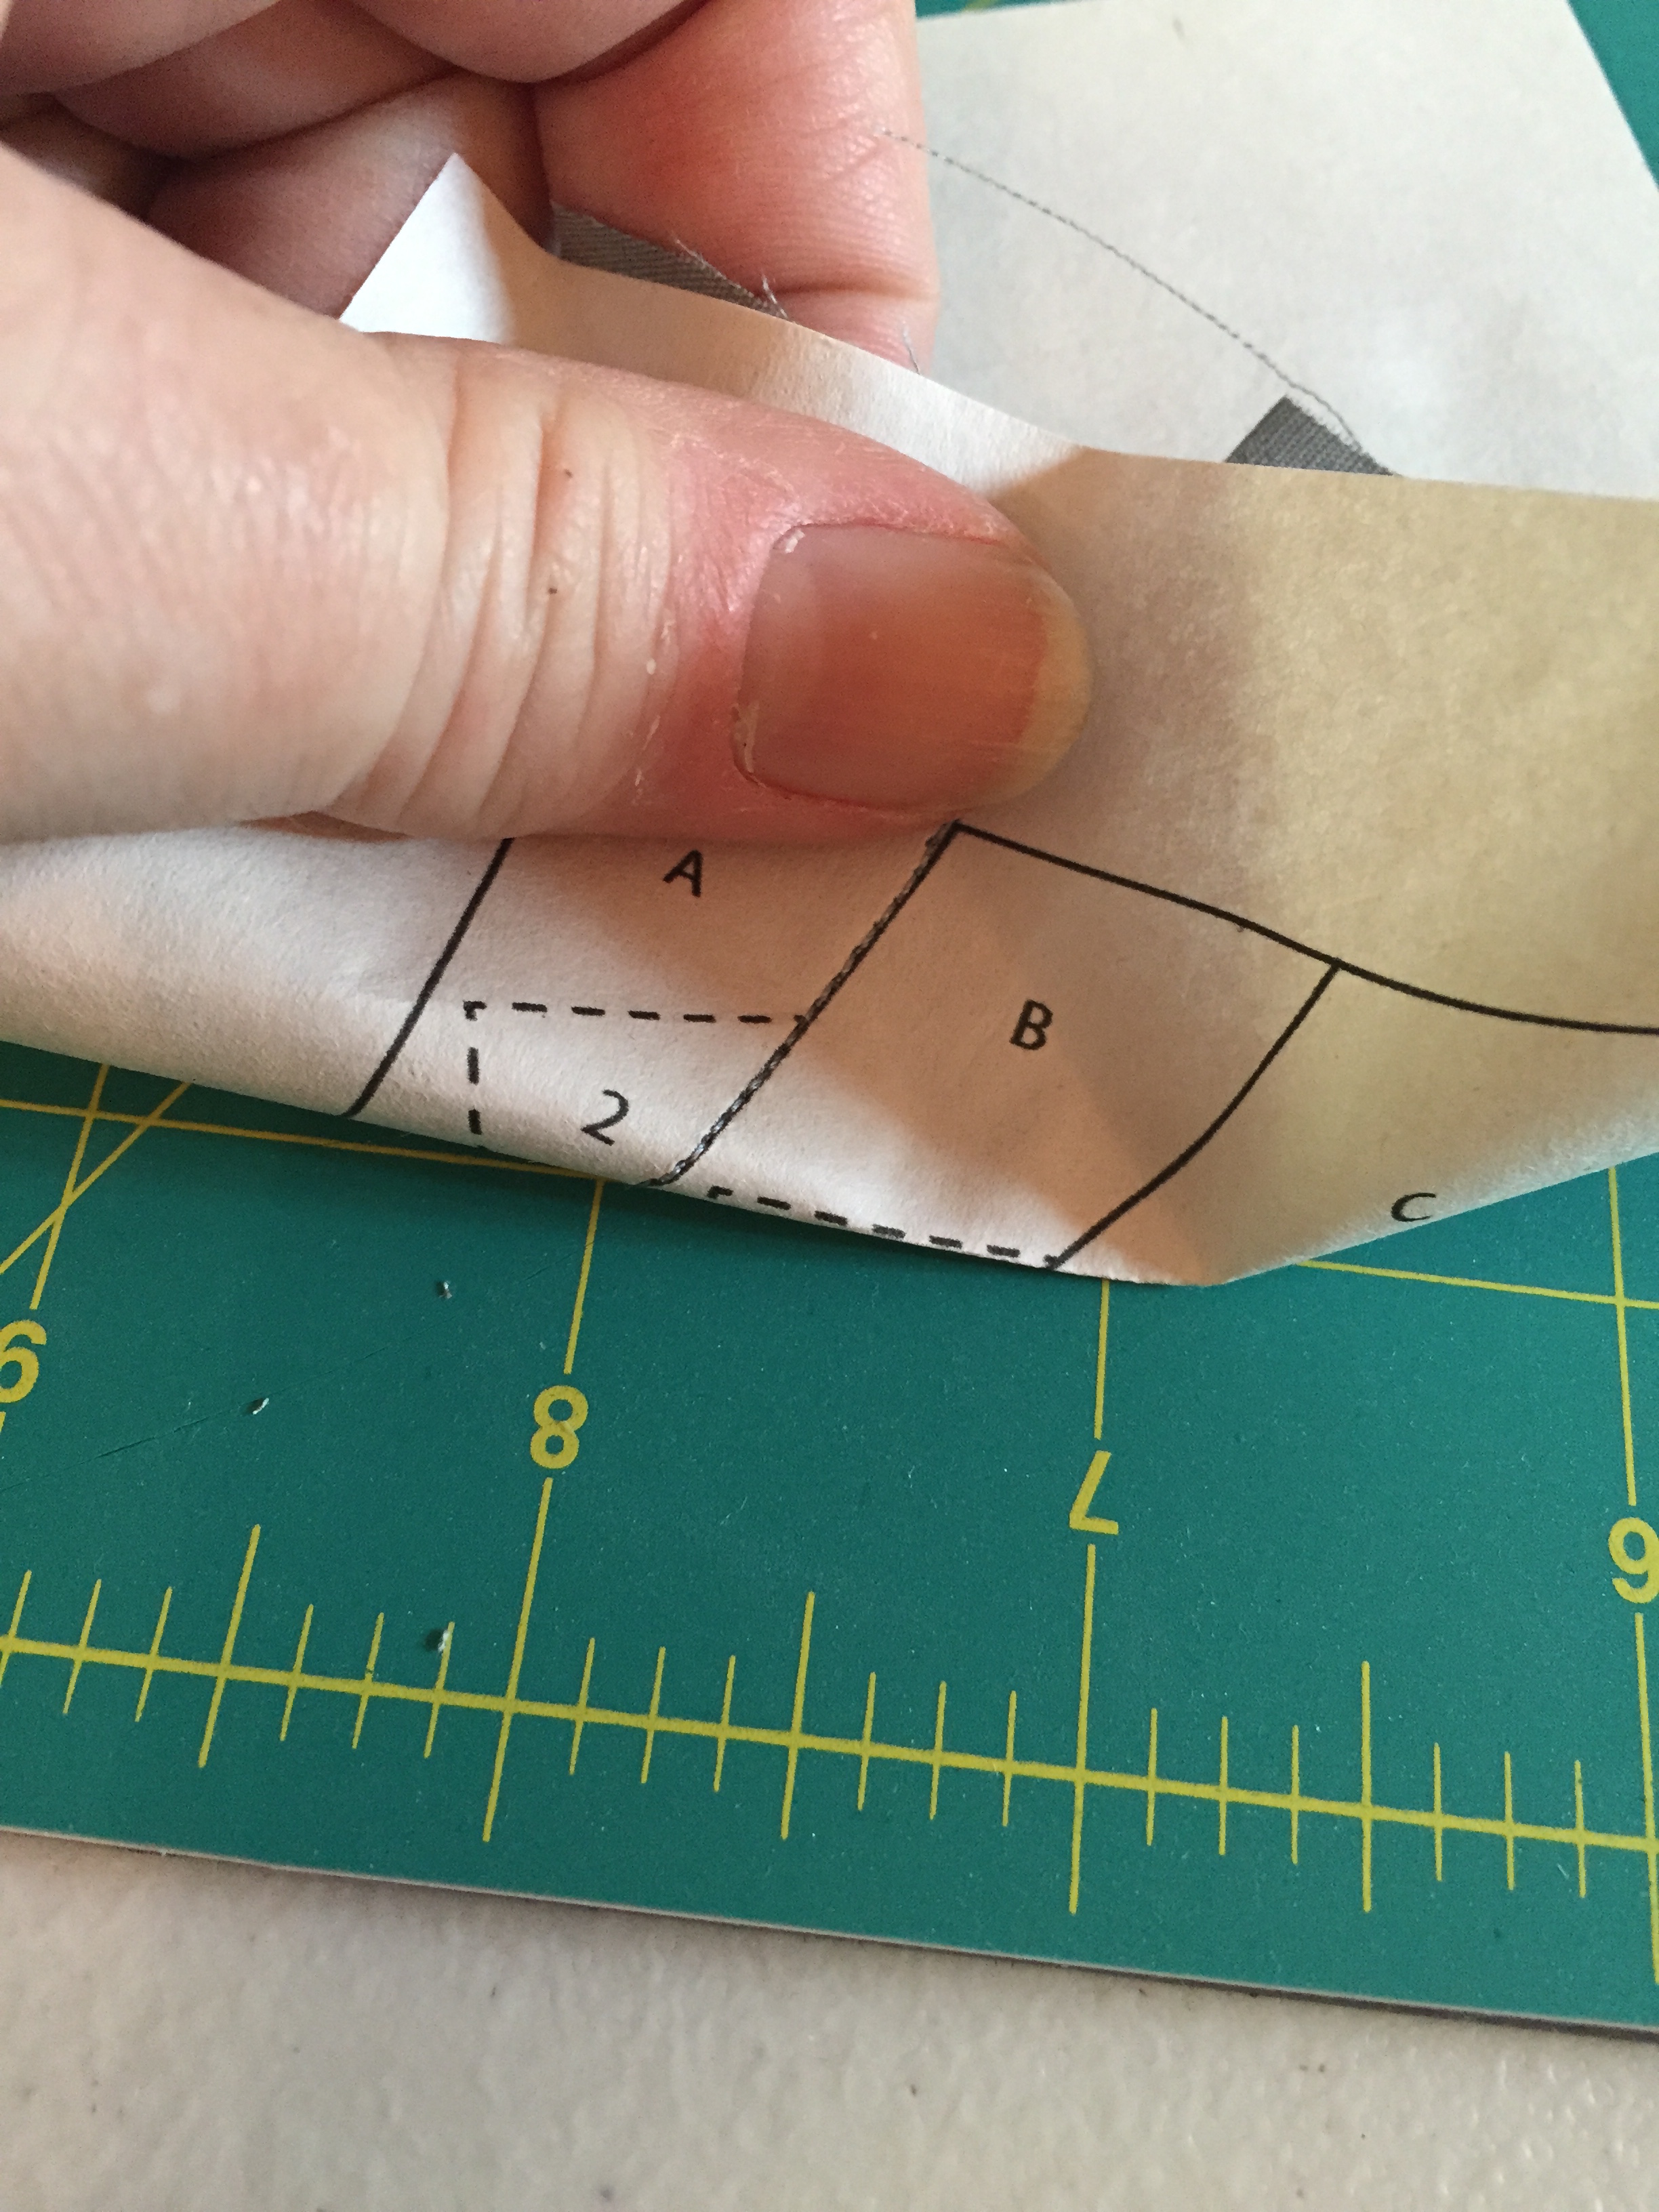
Print out the paper pattern(s), and separate the 4 block quadrants, leaving a generous 1/2” of paper all around. Ignore the numbers on the patterns in some of the pix – I was working with an earlier version 🙂
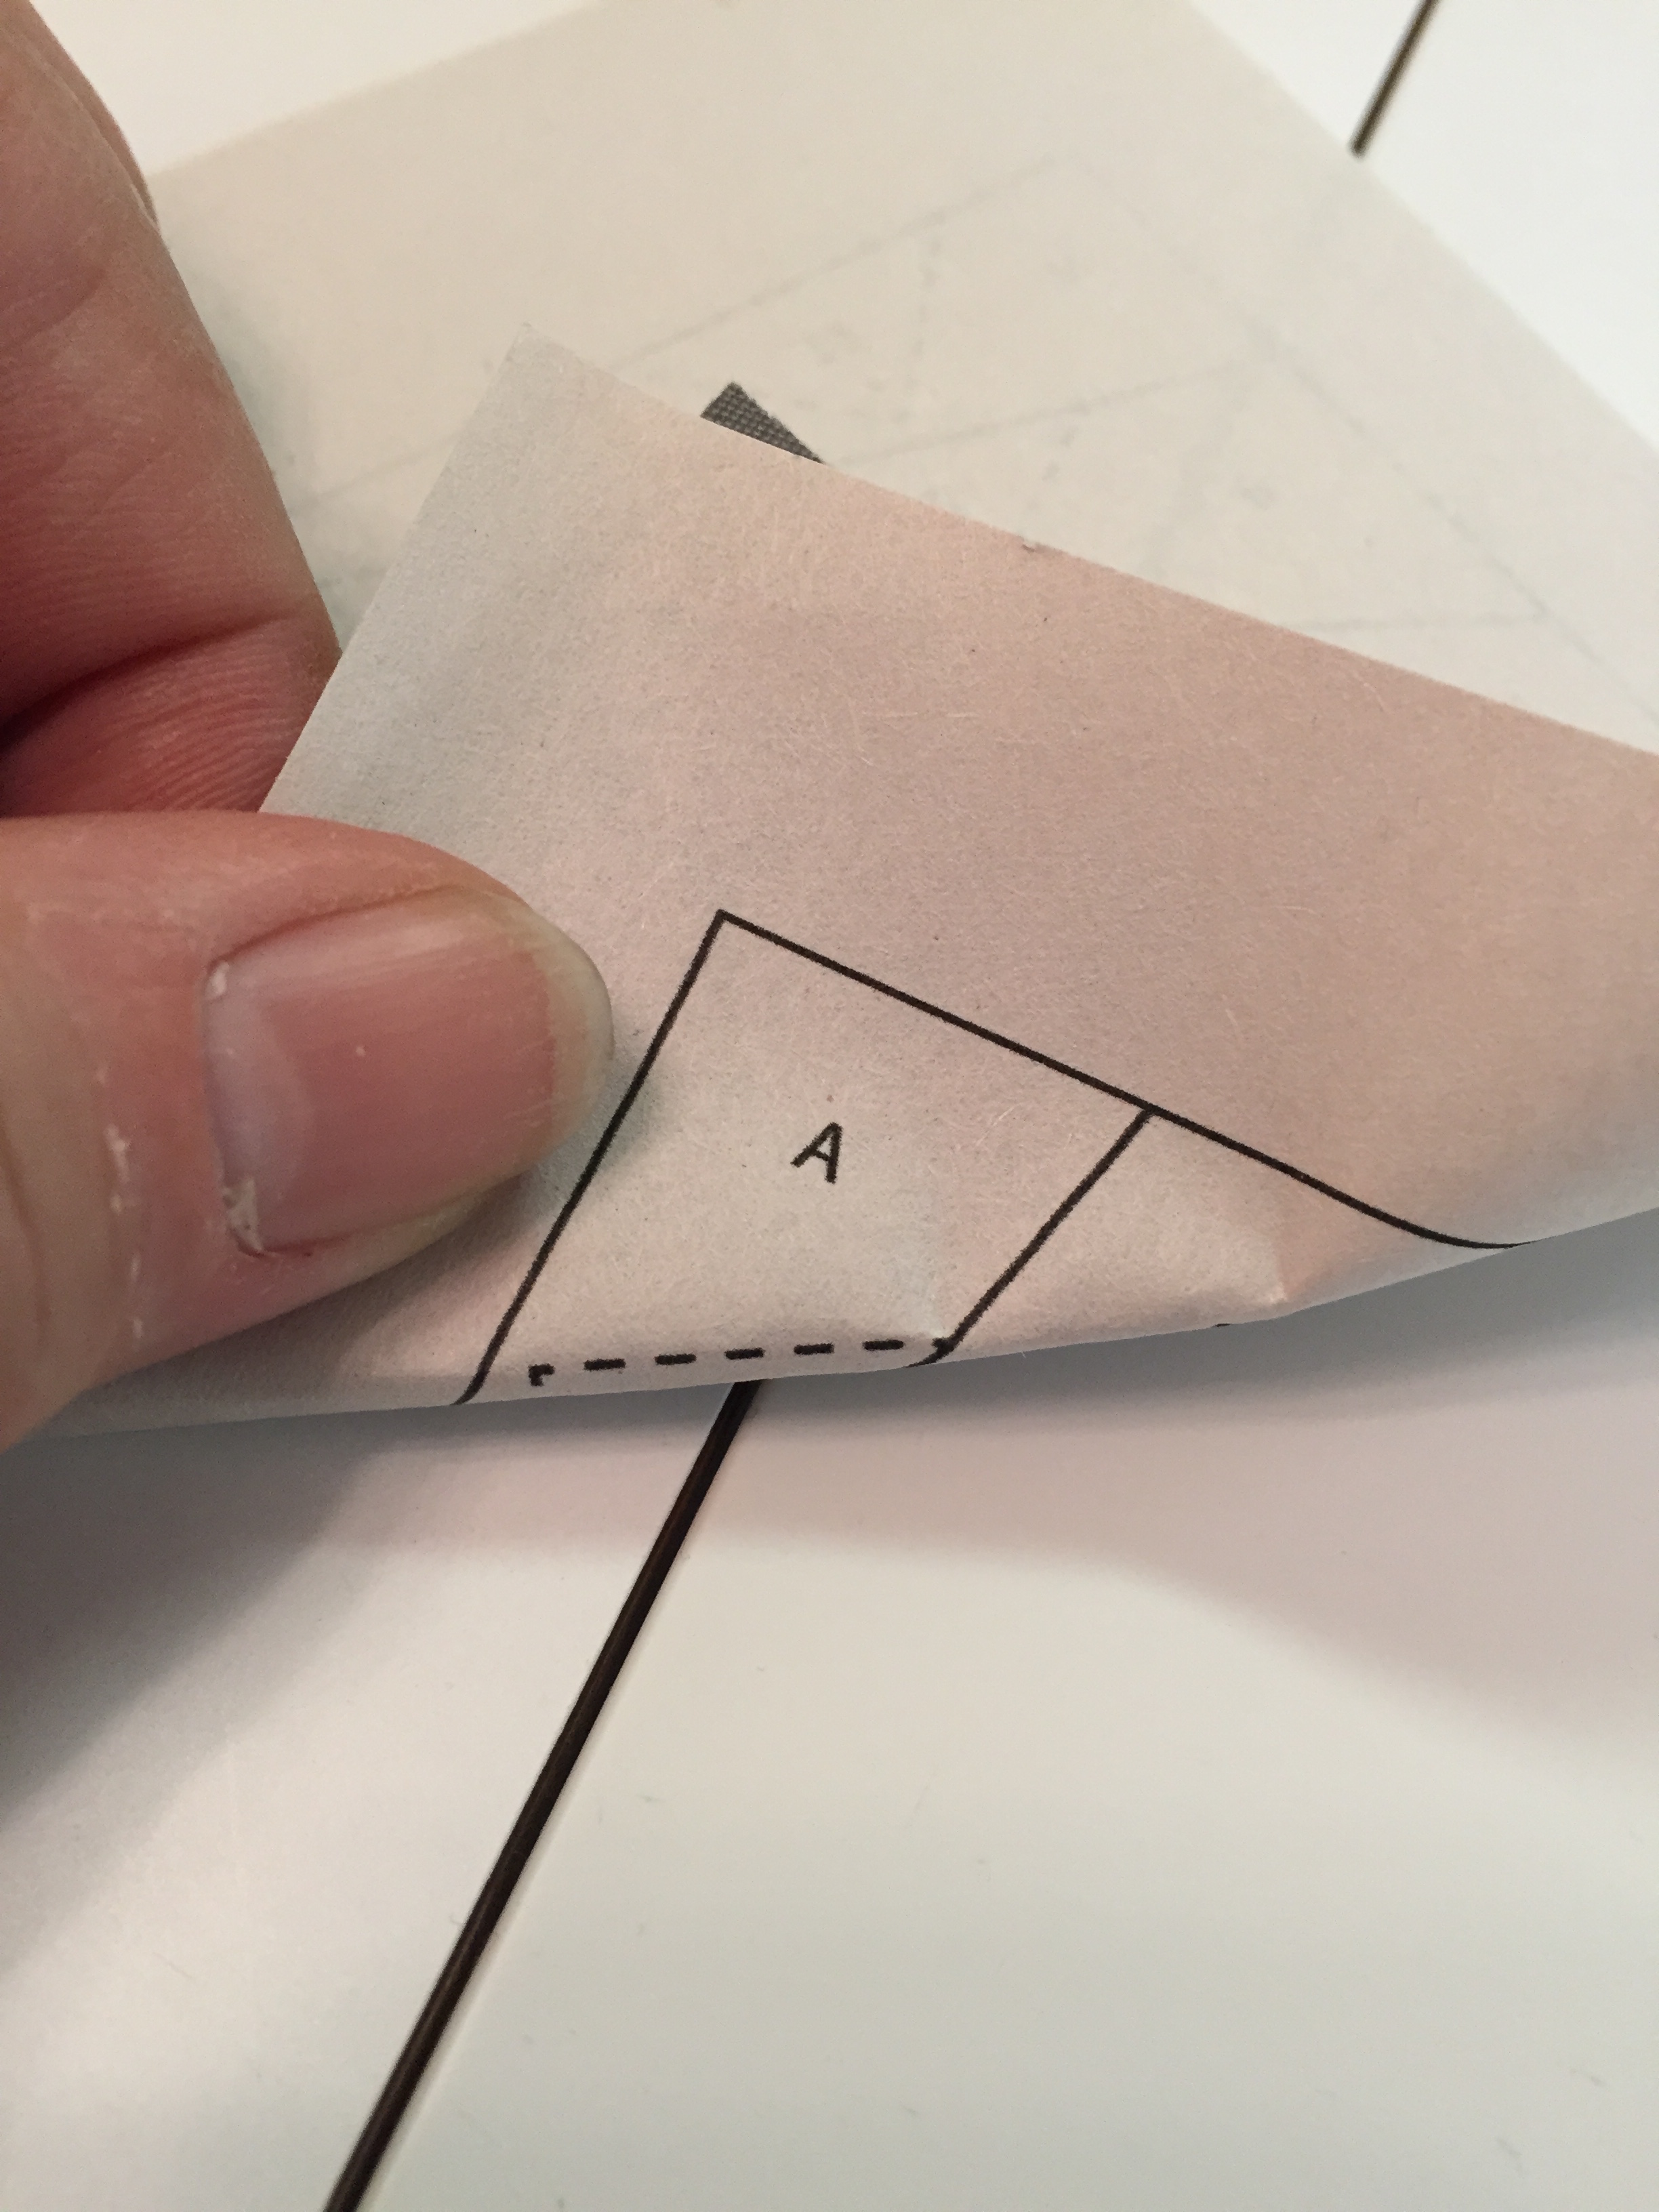
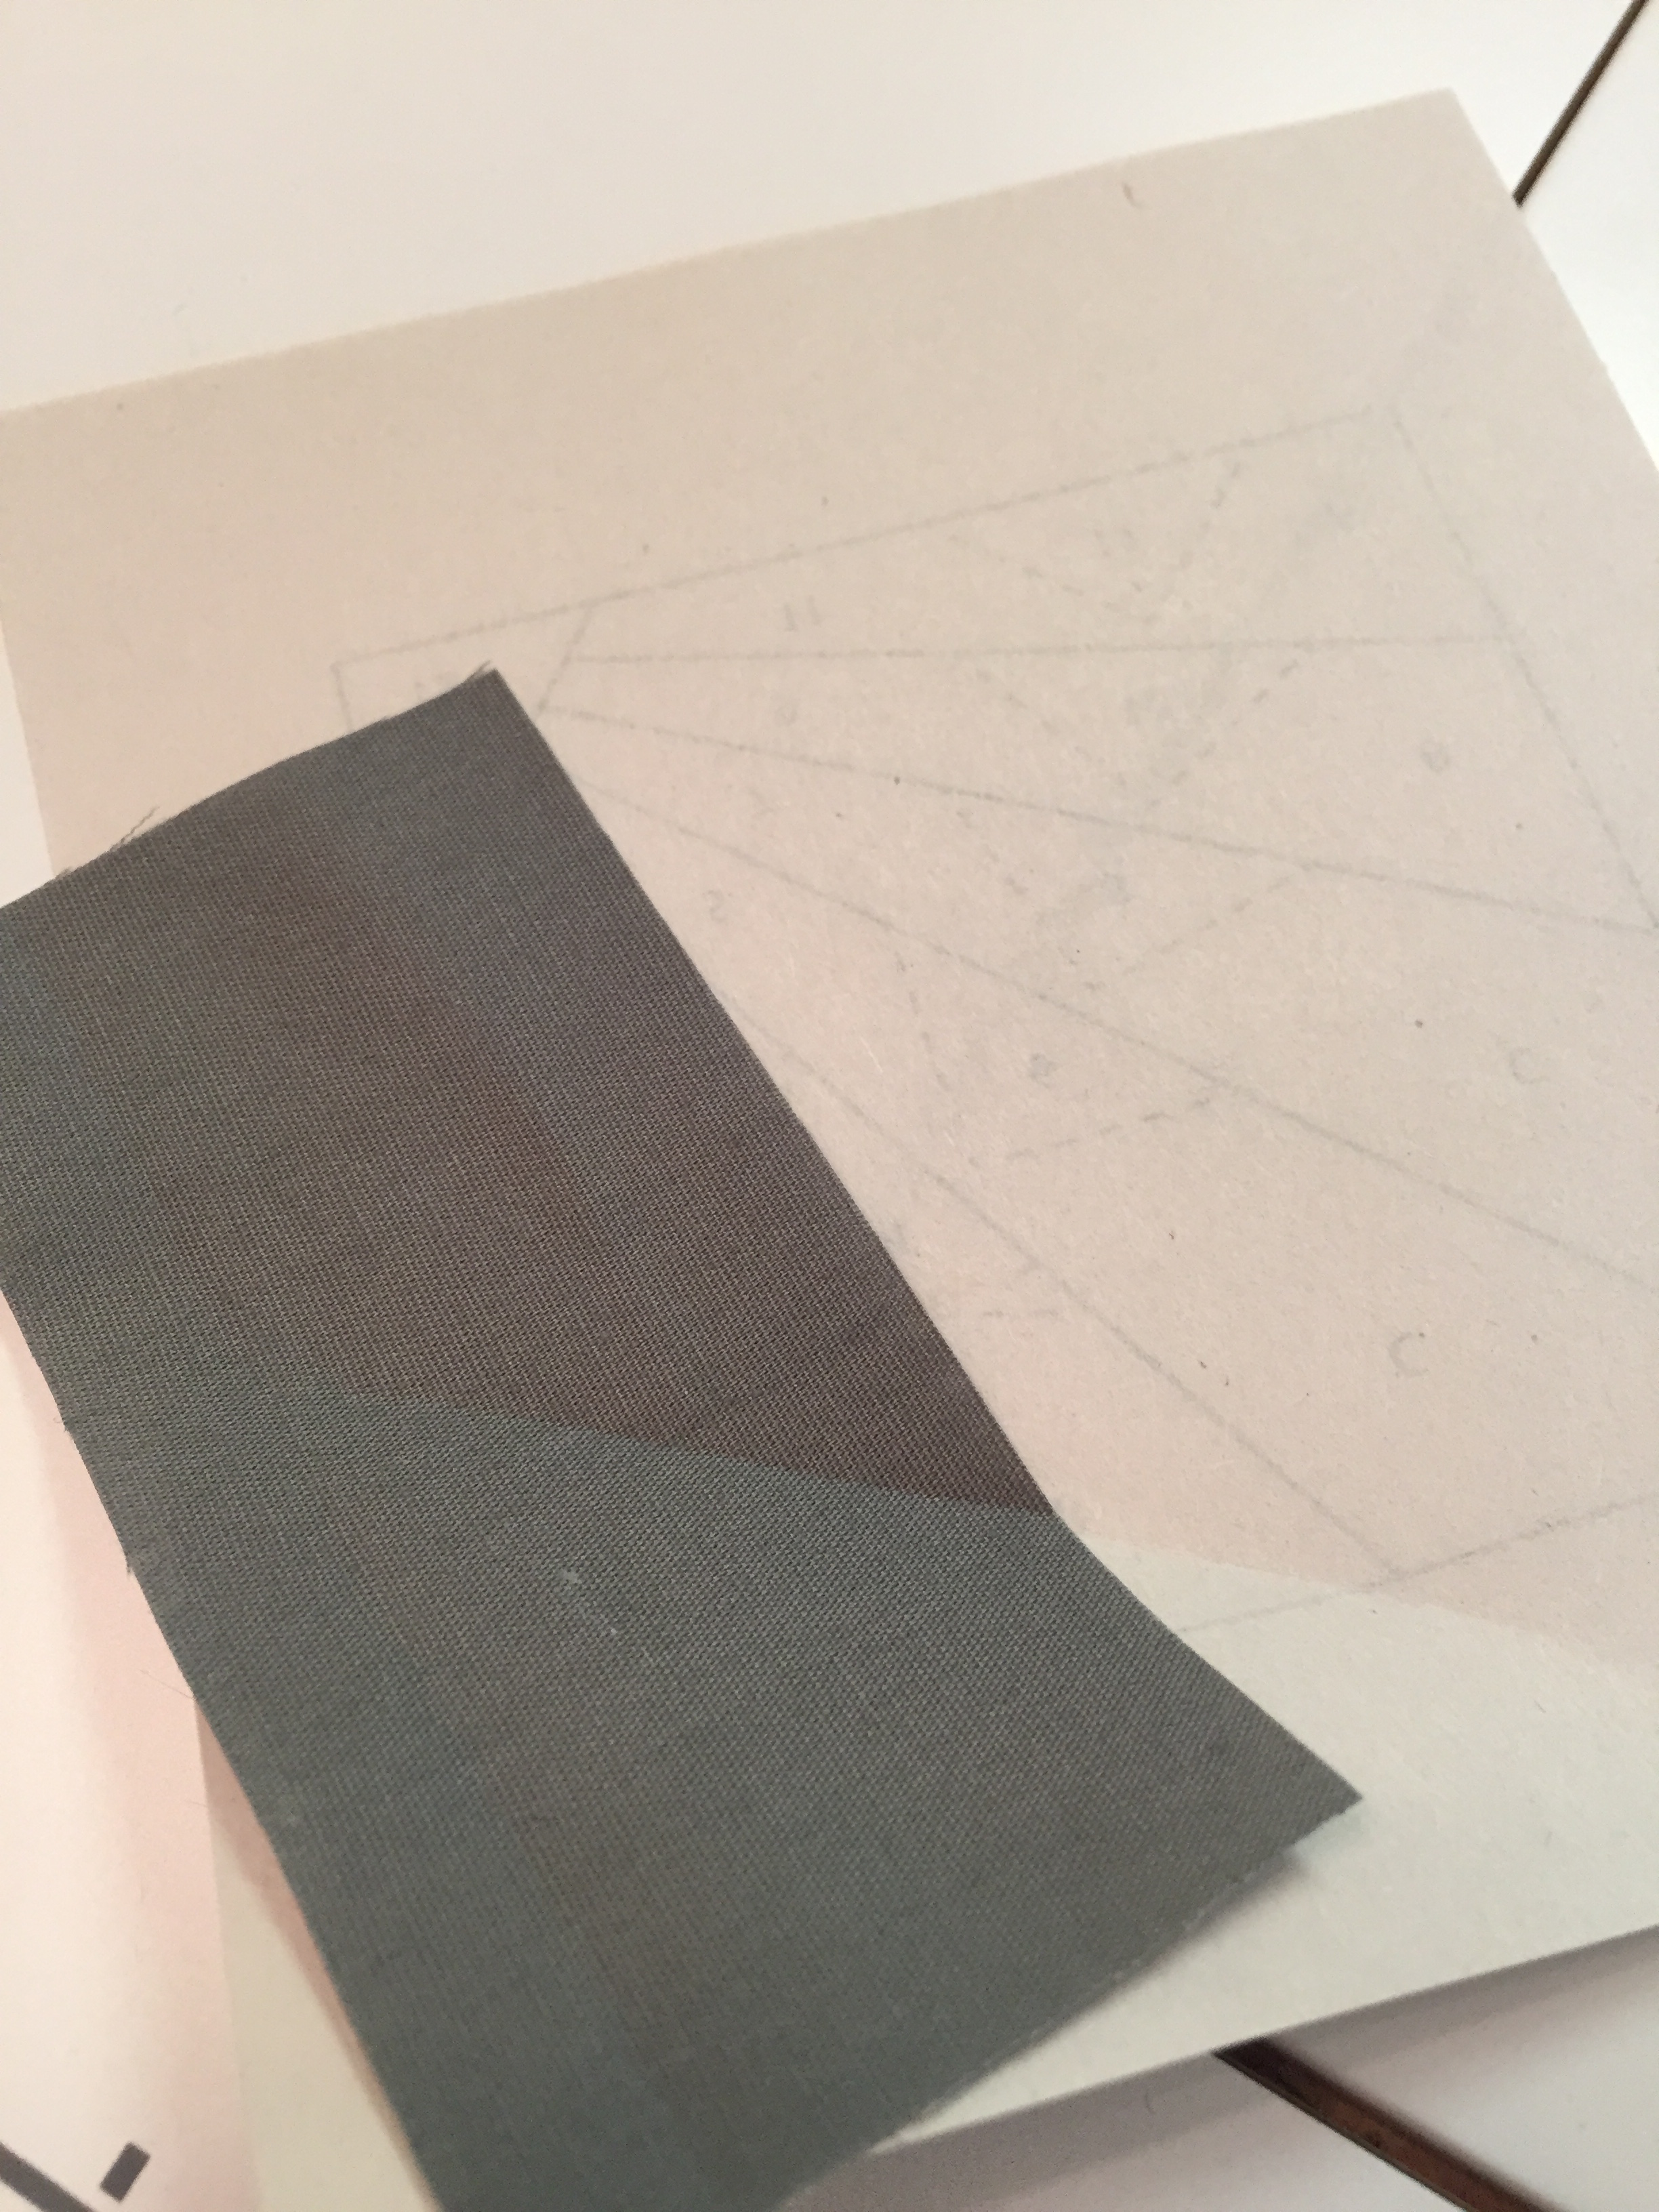
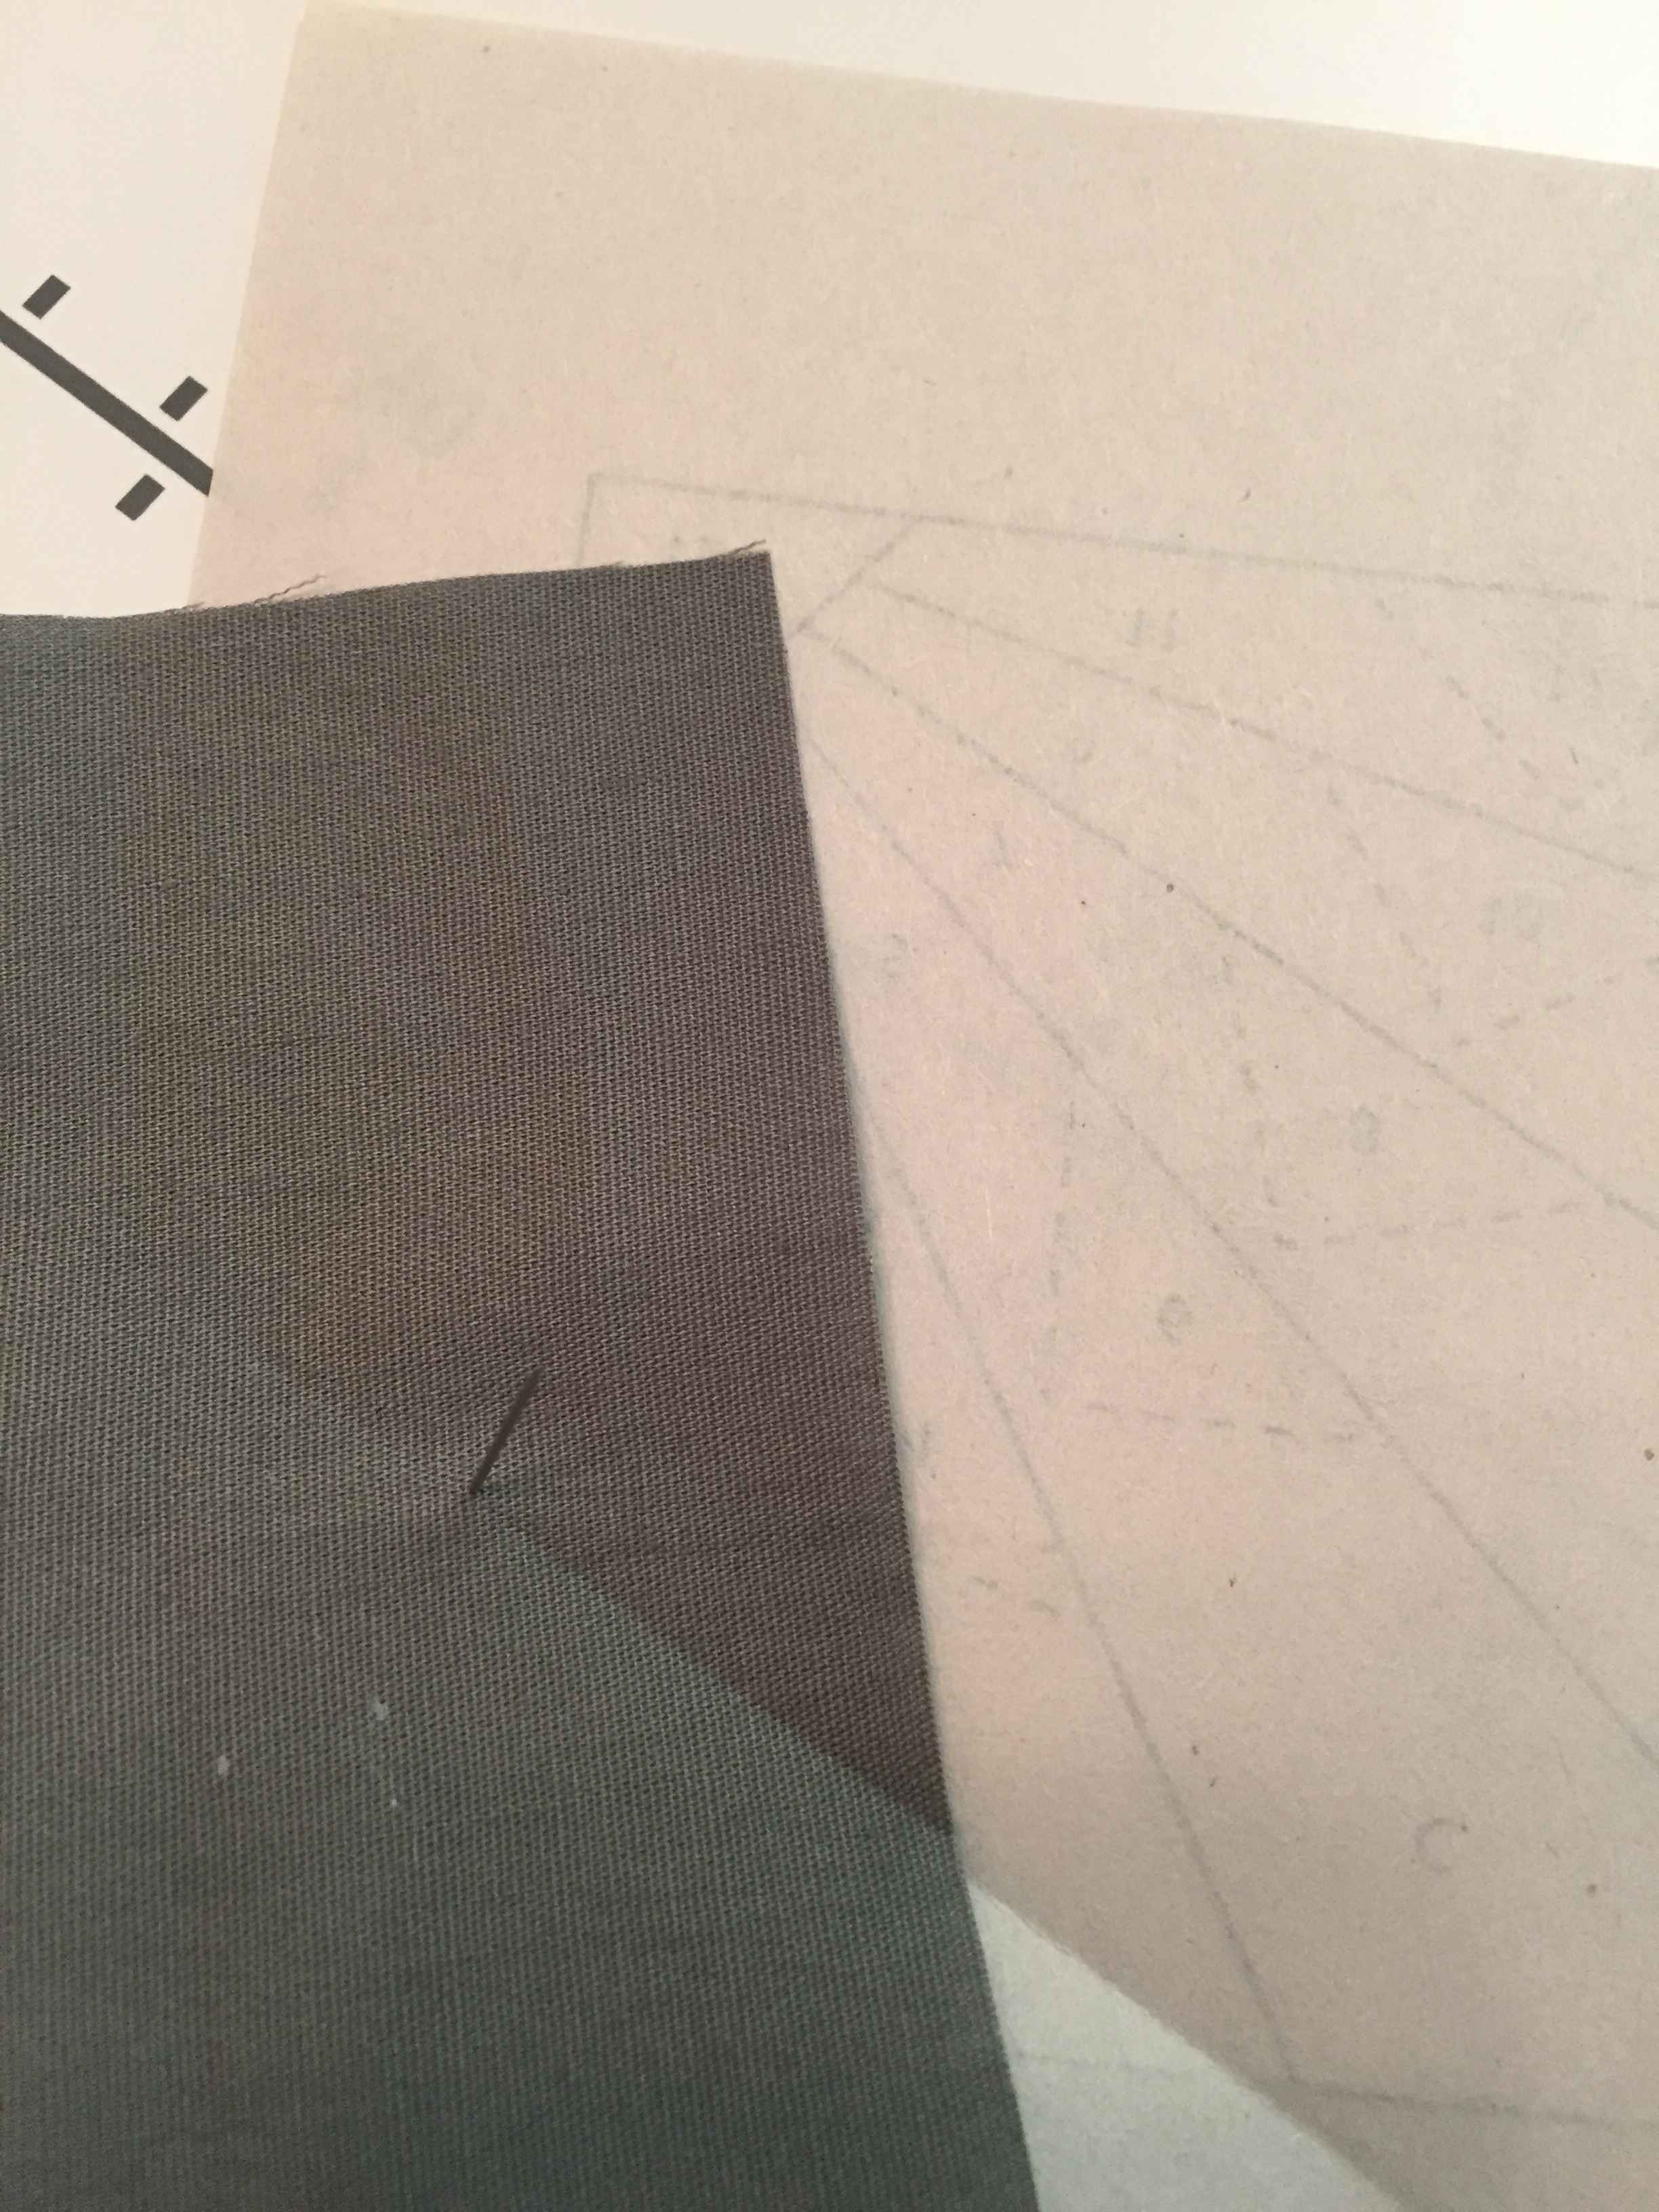
Start with piece 1/A. Put a swipe of glue stick in the seam allowance…
… align the fabric and stick it down. I don’t usually use glue, but with small pieces like this it really keeps slippage to a minimum.
Fold the paper and fabric back to make a crease along the outer edge of Triangle 2:
Make the crease sharp enough so you can see it on the fabric side:
Stick a pin up from the paper side to mark the point of the triangle:
Put a swipe of glue stick into the seam allowance:

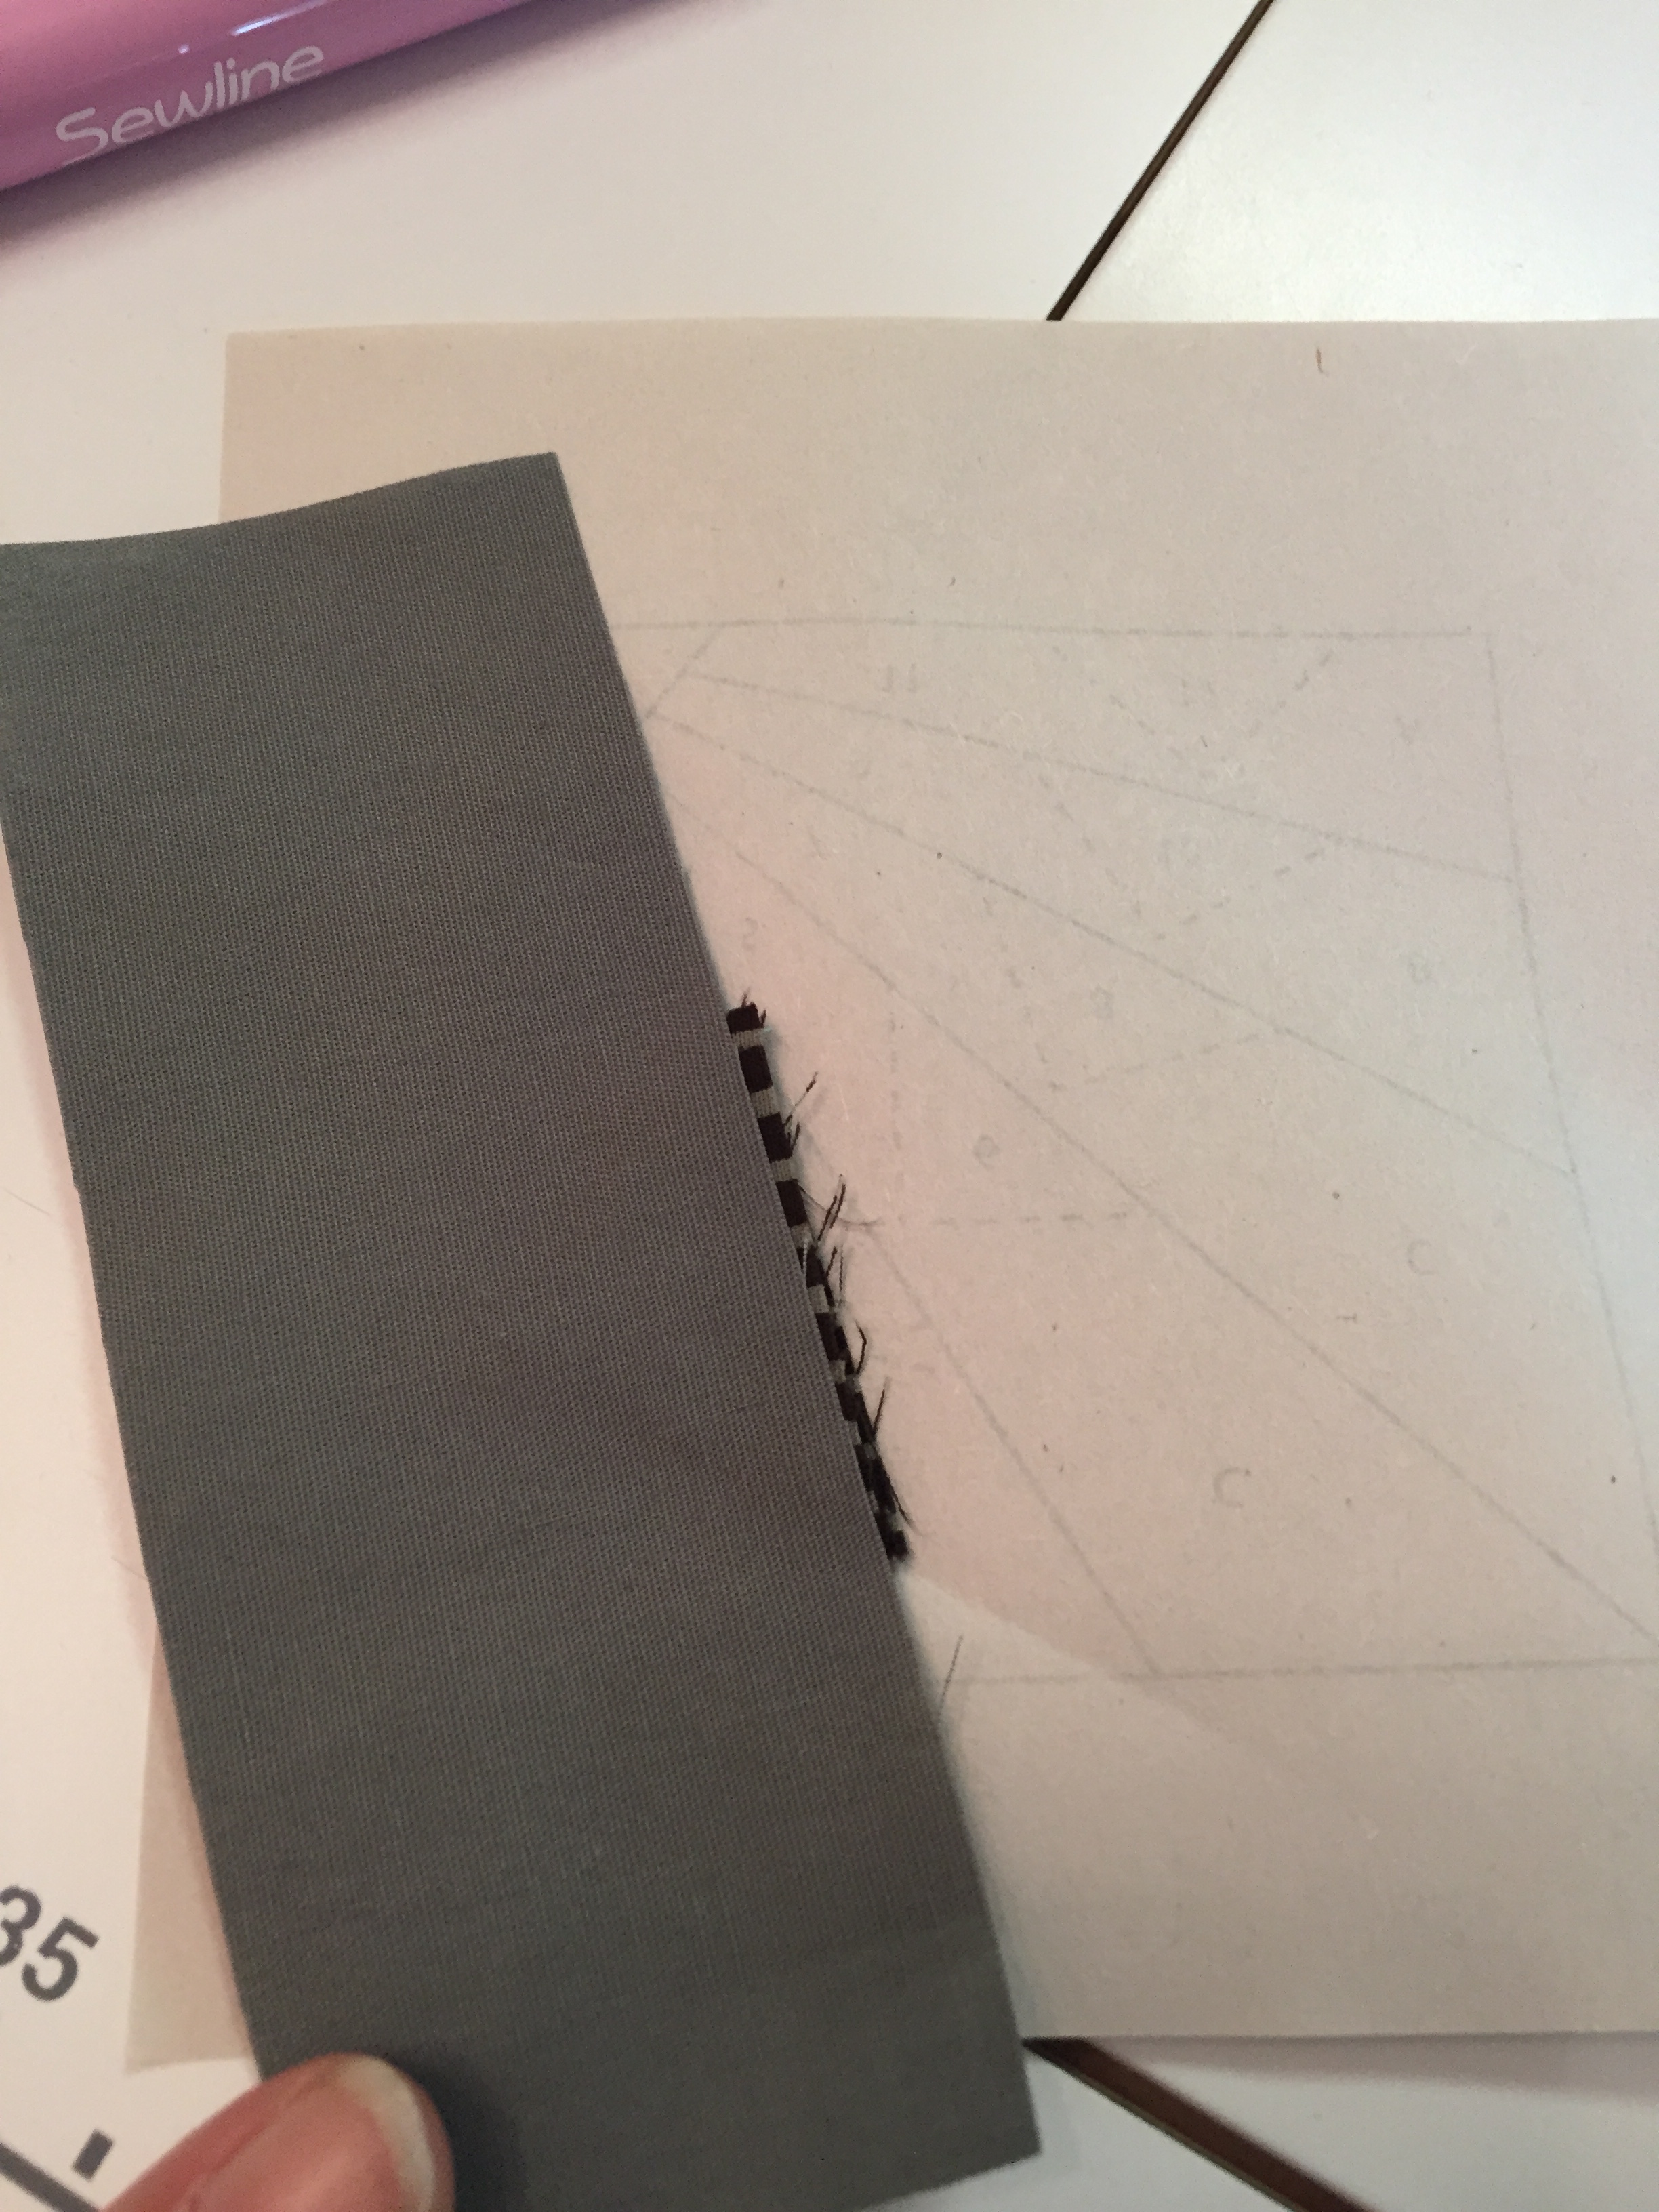
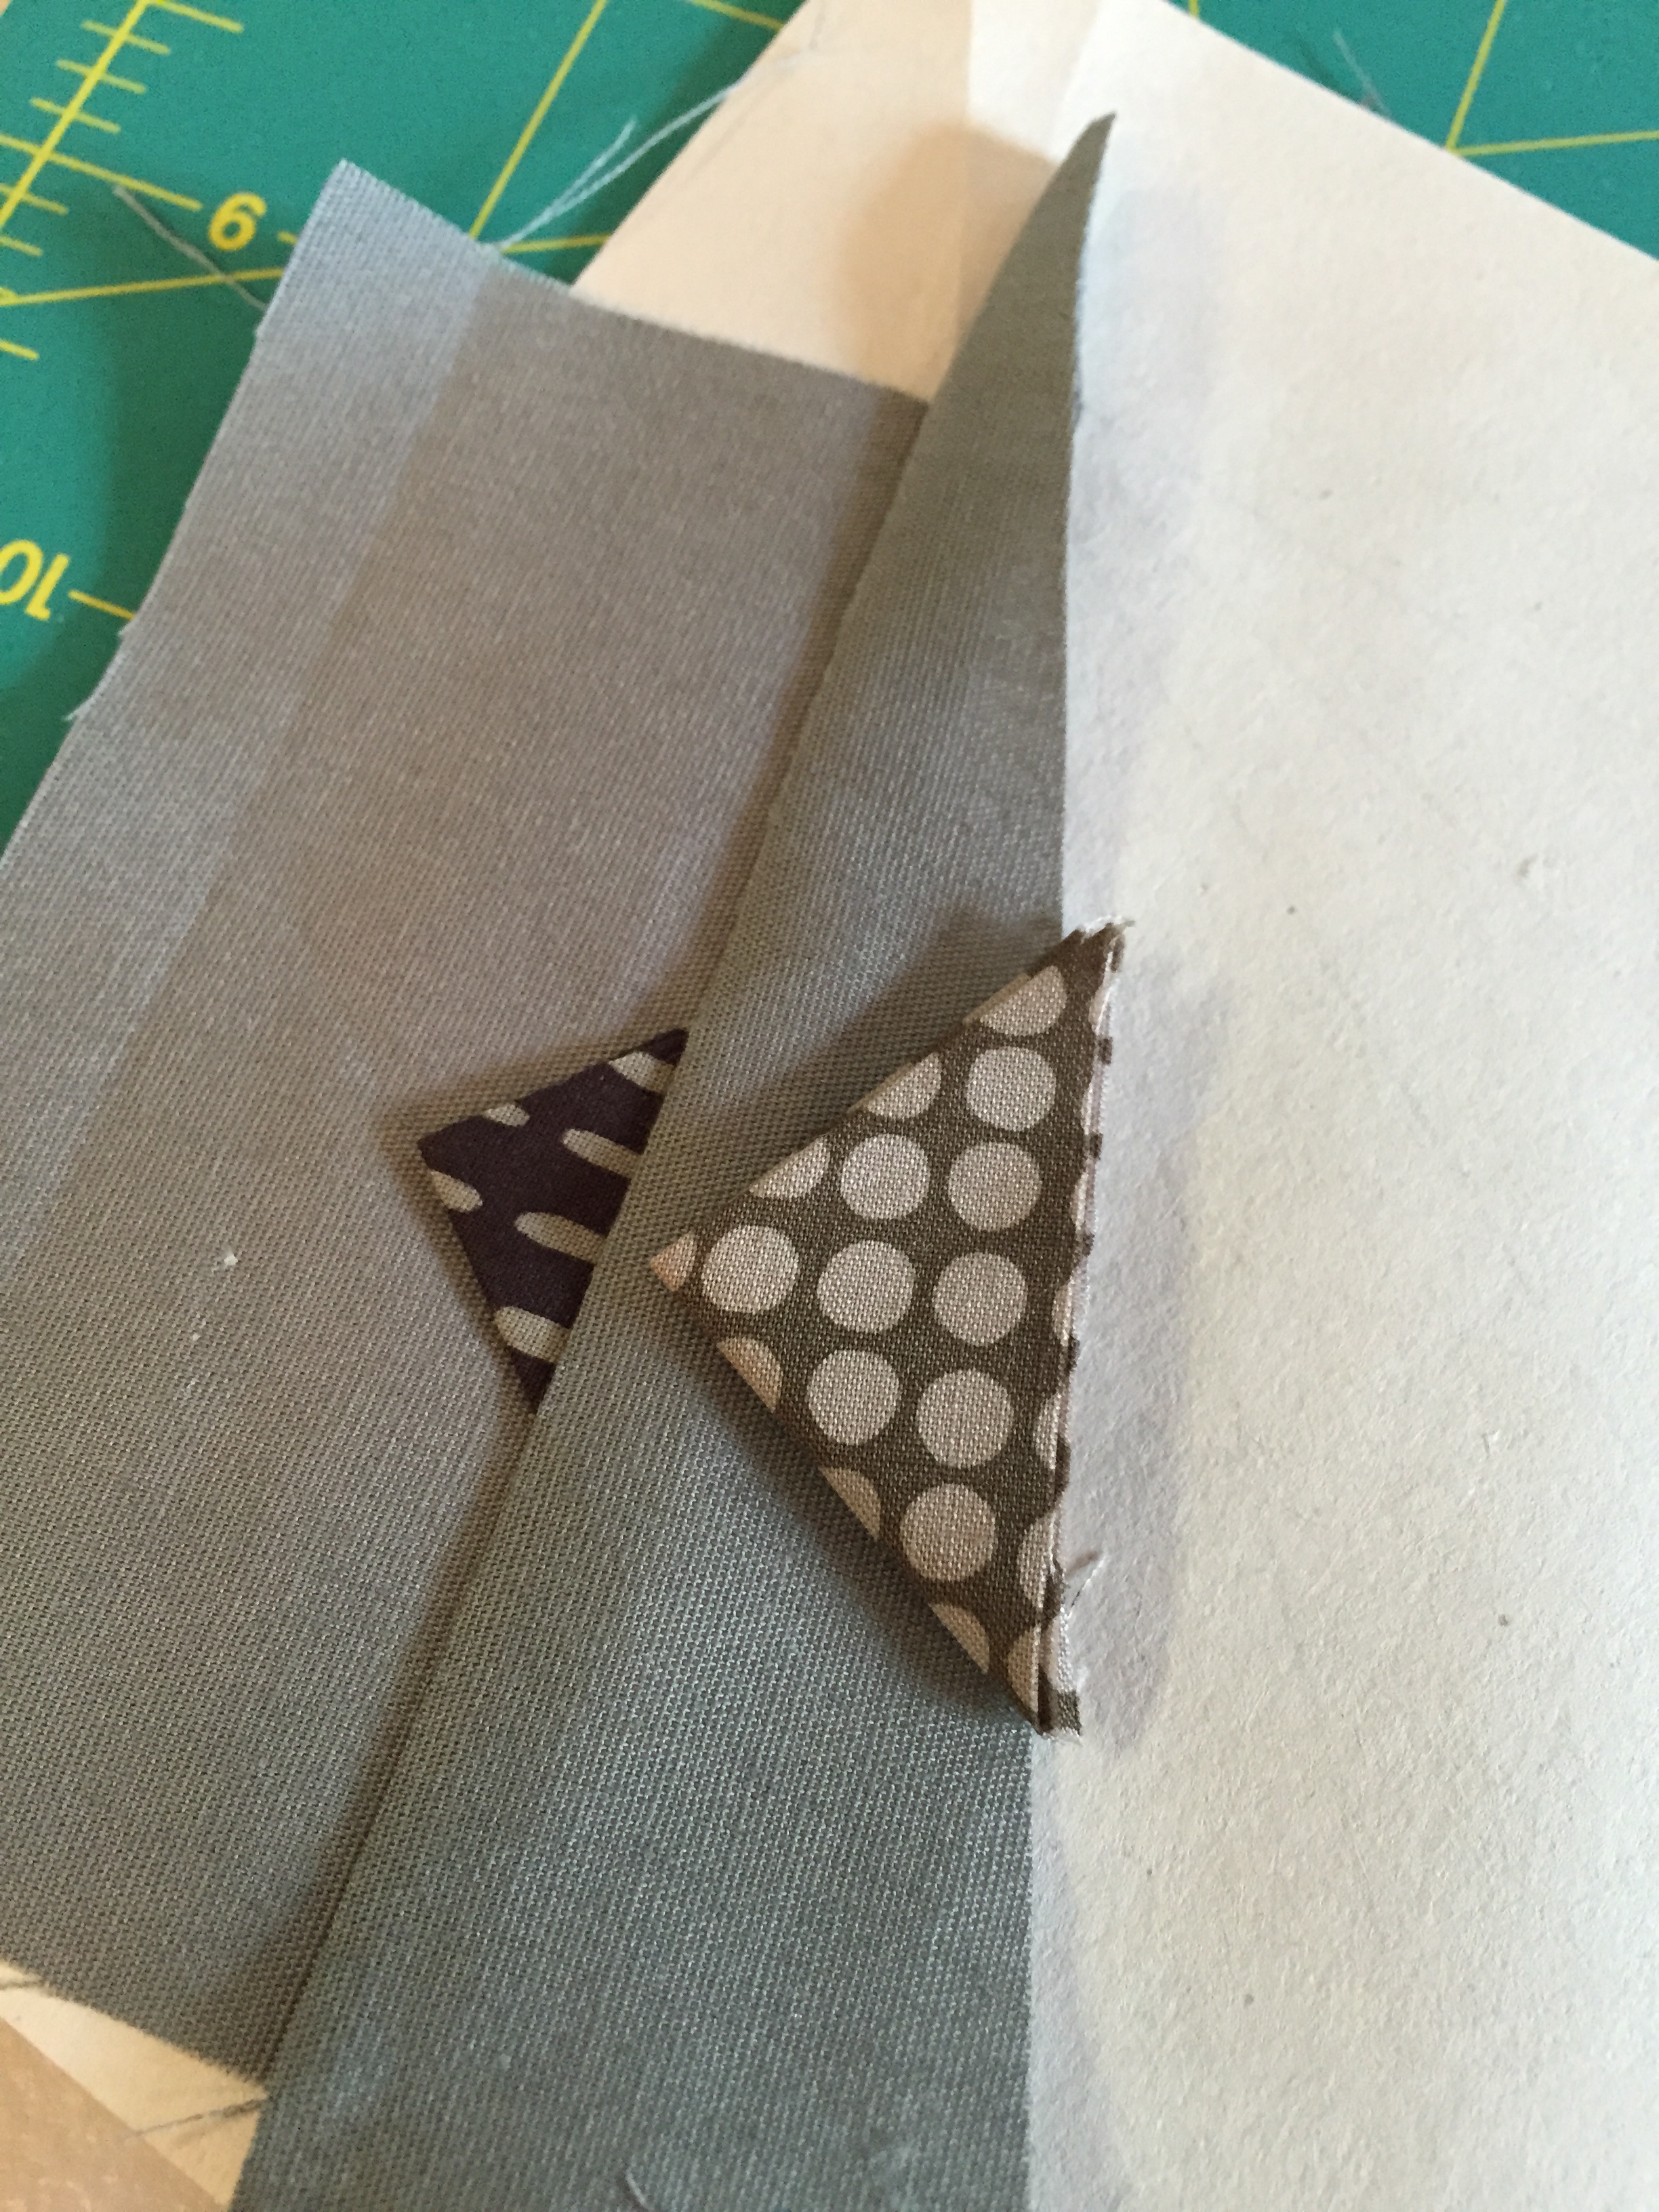
And place the Prairie Point, aligning it to the pin and crease, with the raw edge parallel to the seam, and stick it to the glue:

Pull out the pin, and place 2/B on top, aligning the edges for the seam:
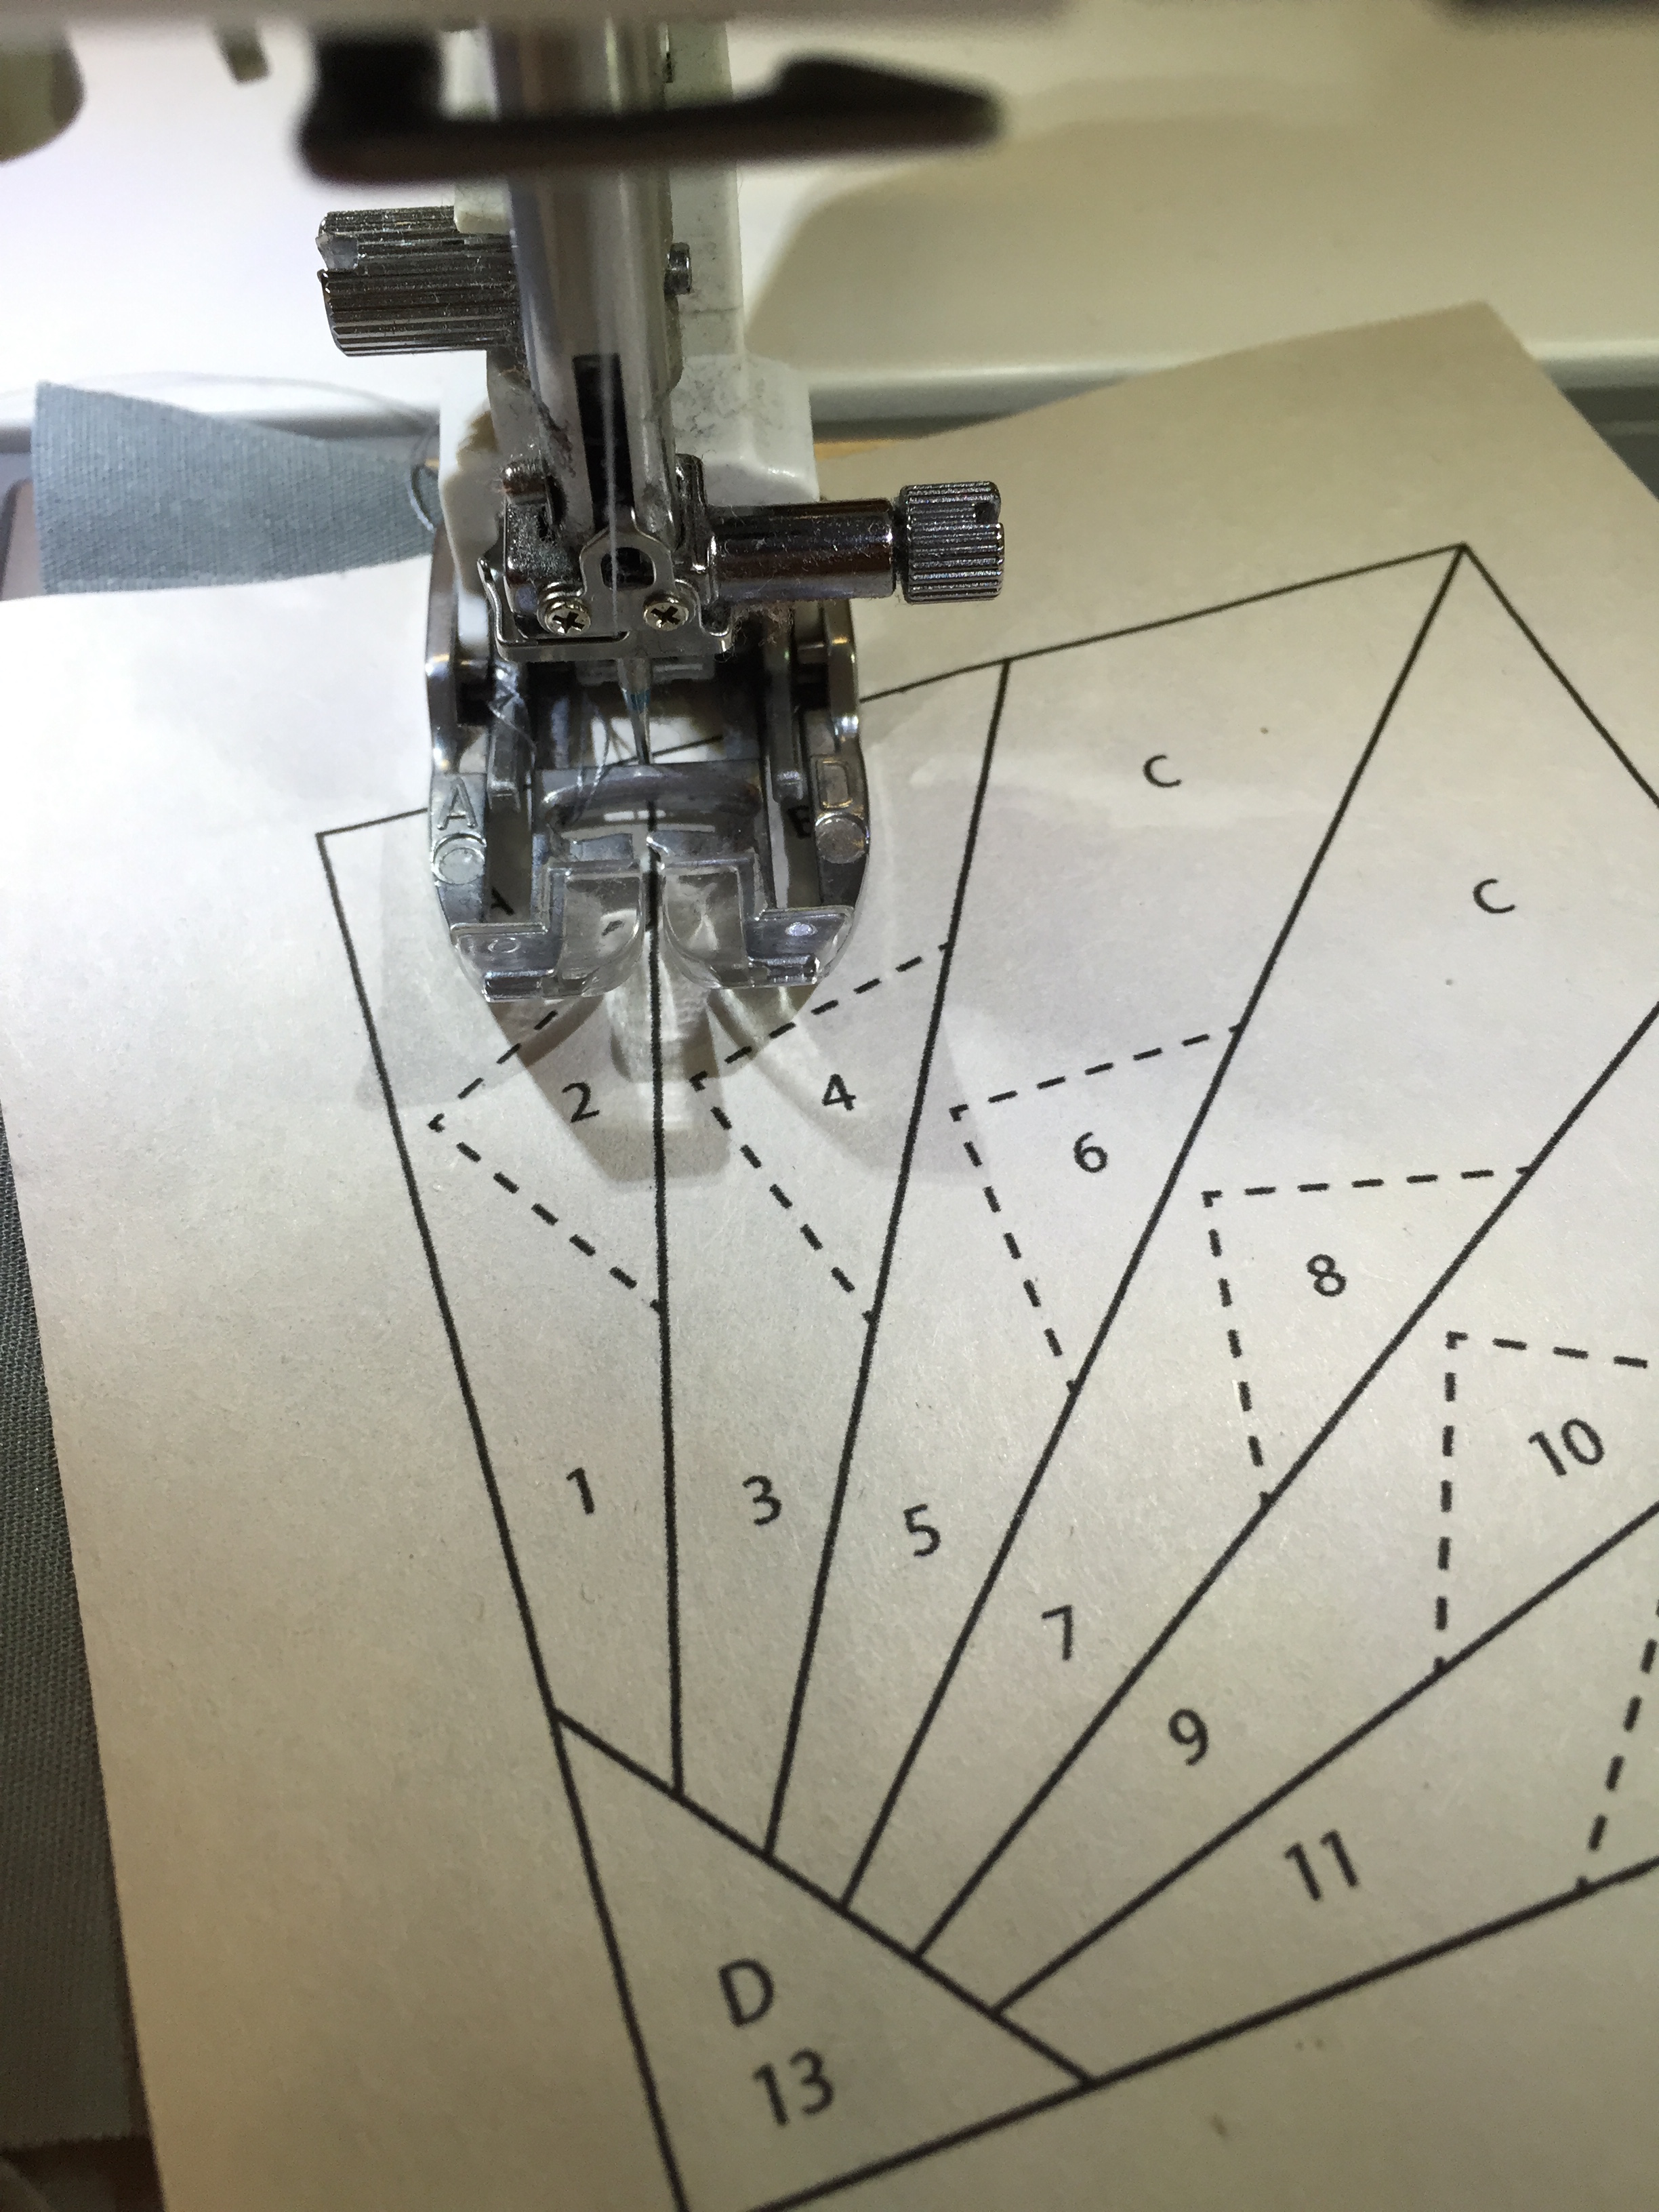
Pin here if you like. Sew it down, overshooting each line by a 1/4”. I find I get less slippage on all these layers using the walking foot – you’re going over 6 layers of fabric when you get to the triangle:
Fold the paper back…
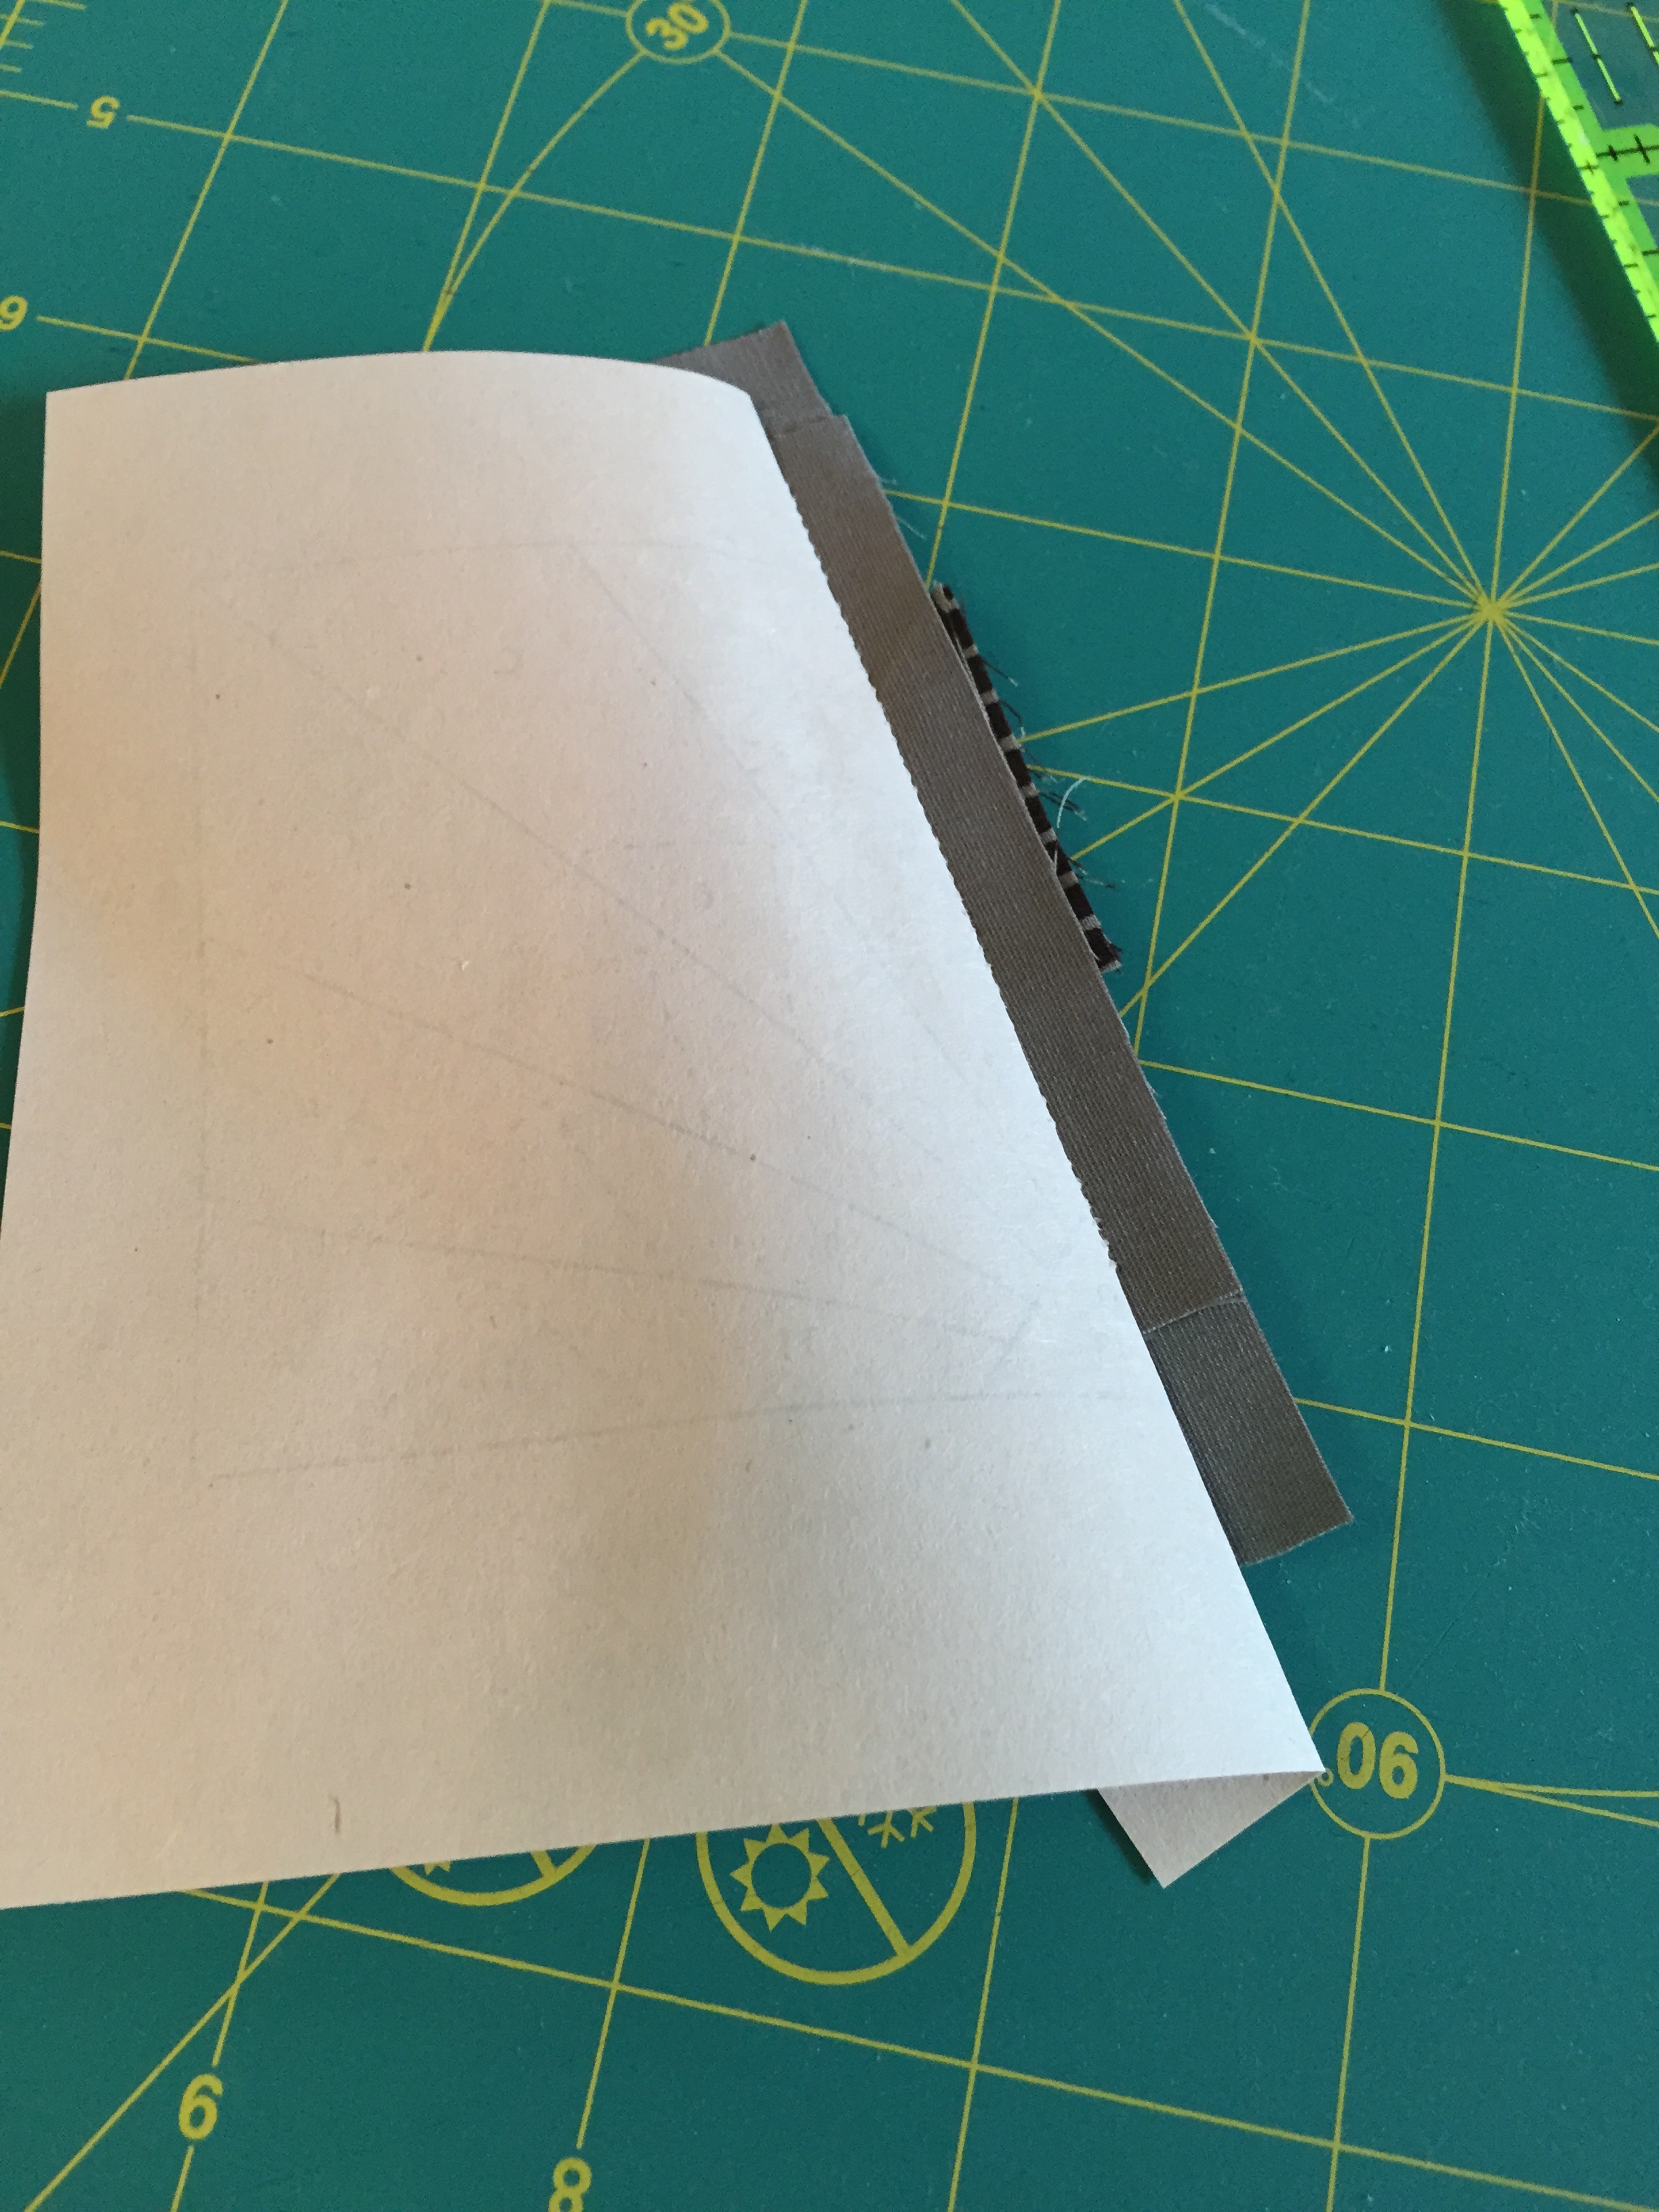
… and trim the seam allowance to 1/4” – you can do this with any ruler, or the Add-A-Quarter Ruler if you have one:
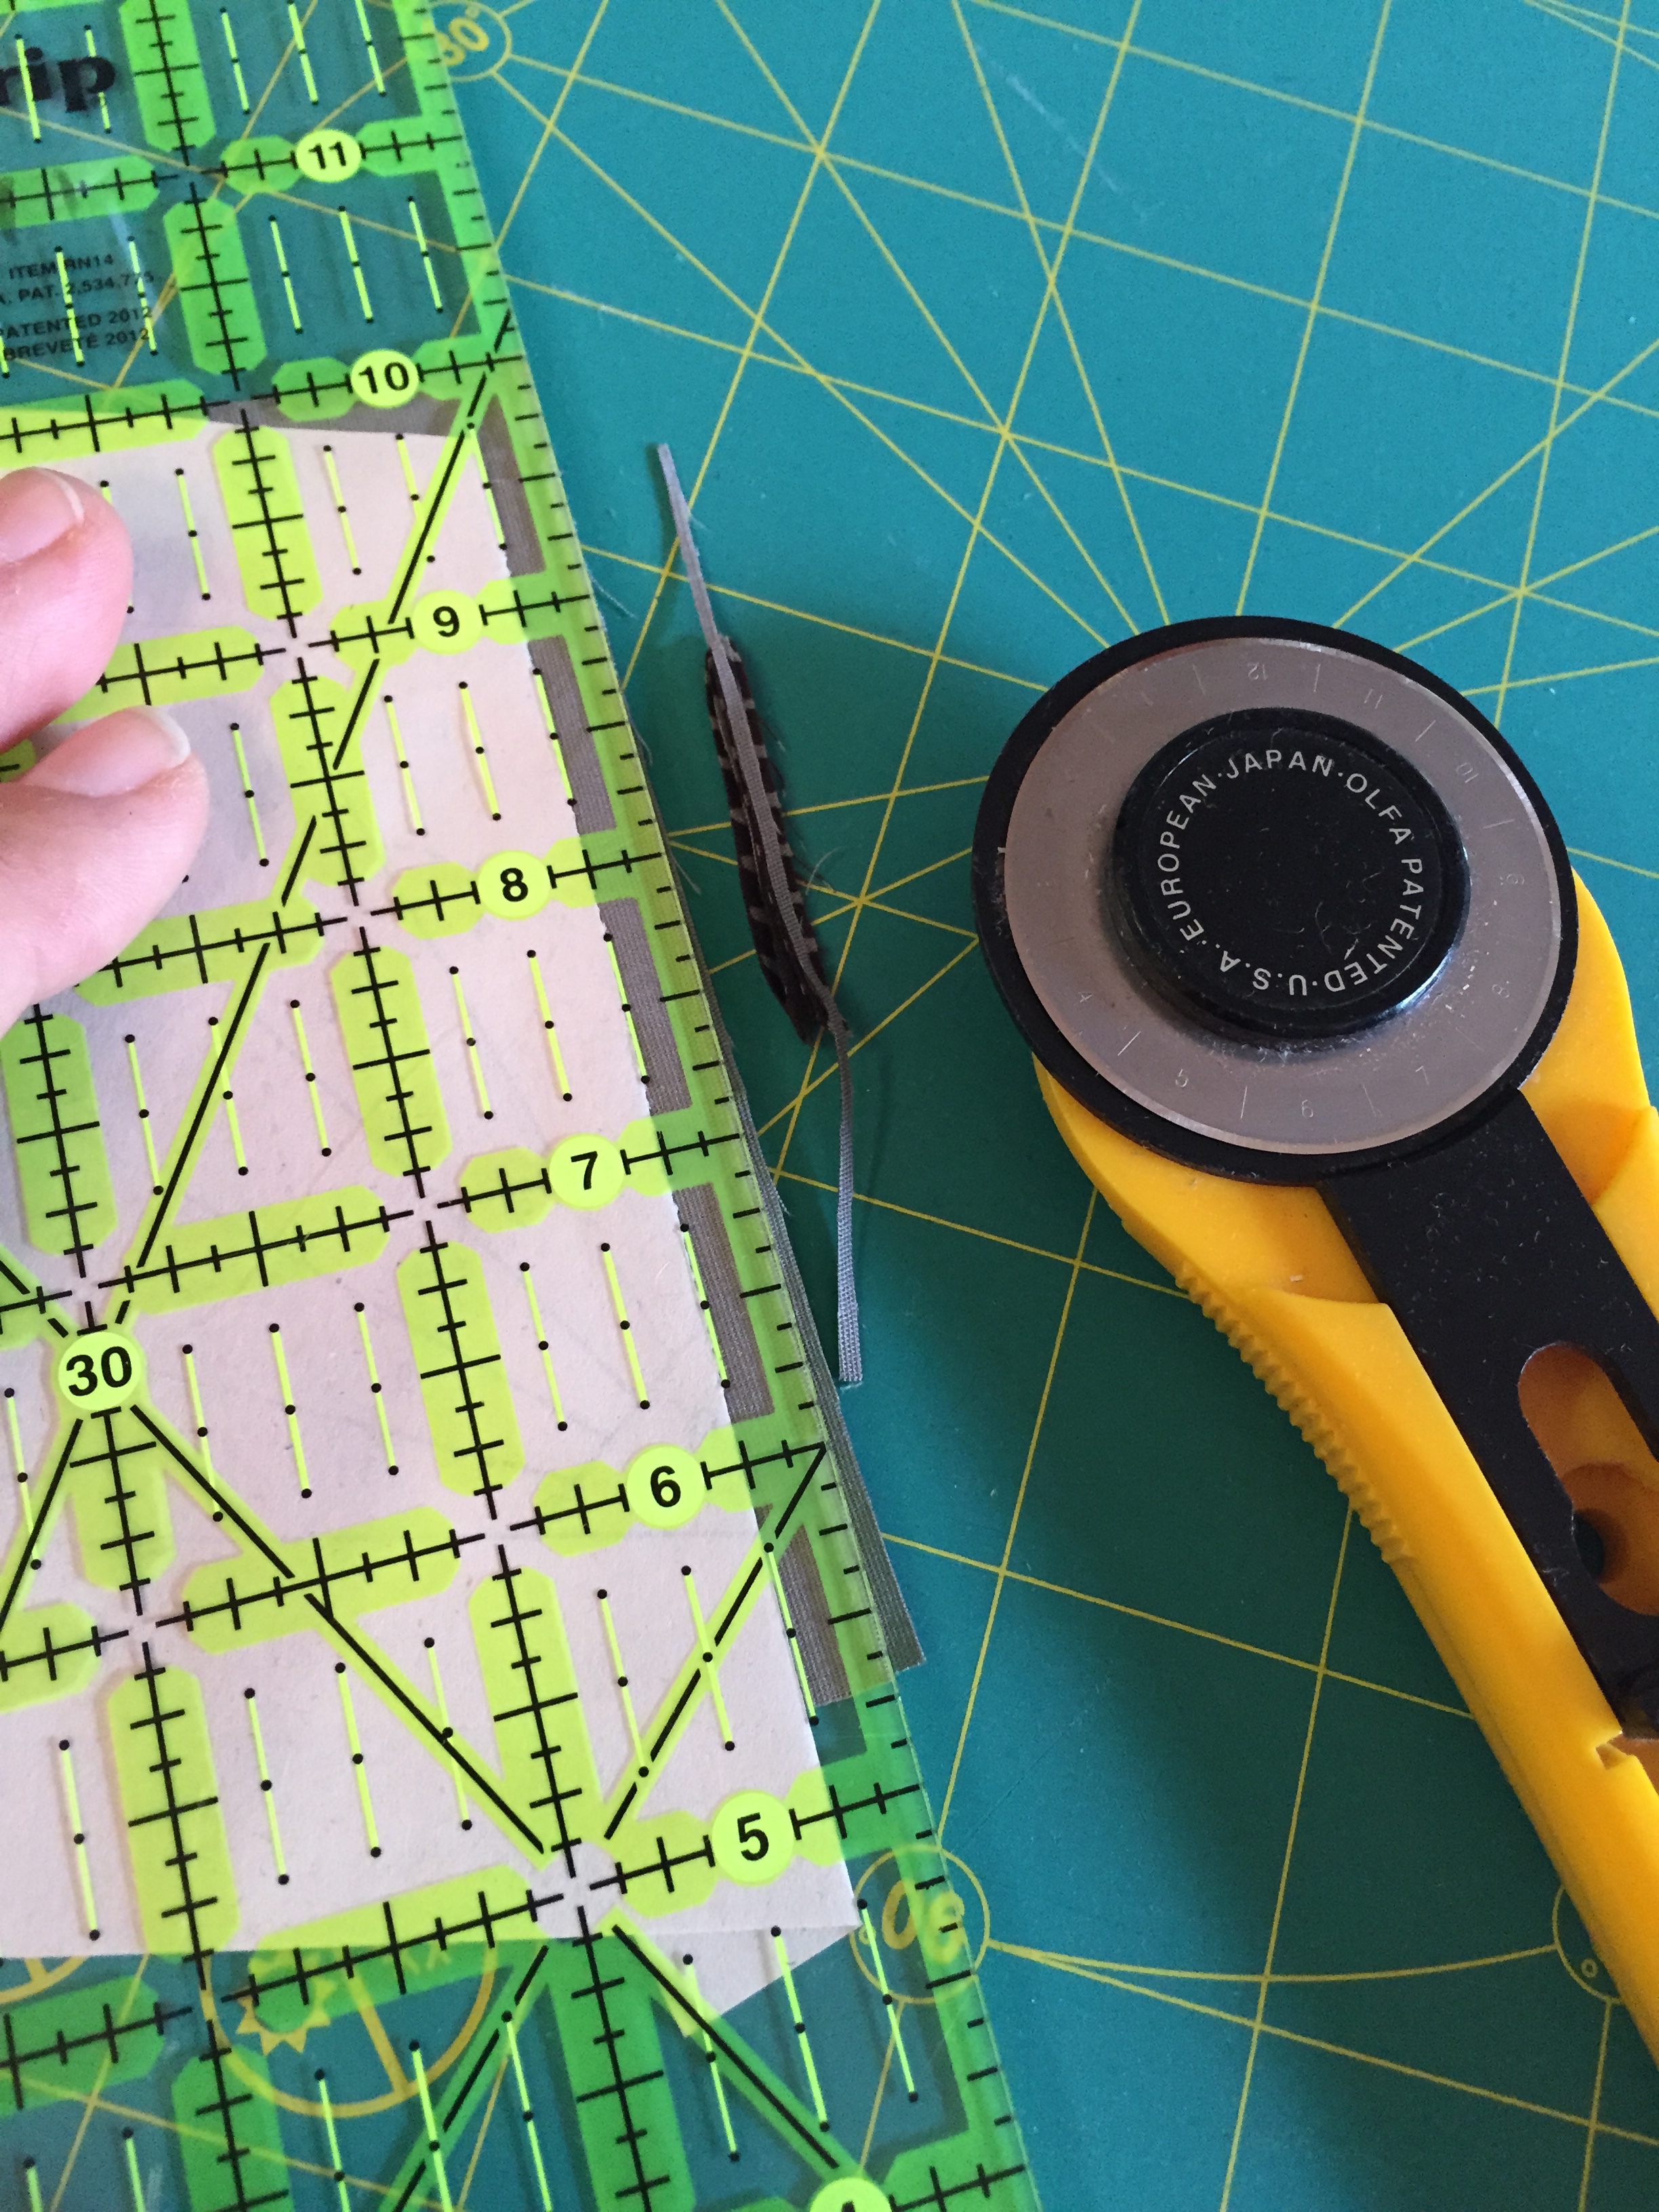
You’ll trim very little of the prairie point on the 15” and 6” blocks, but trim a decent amount on the 4” blocks. Turn the block over, and press, or finger-press:

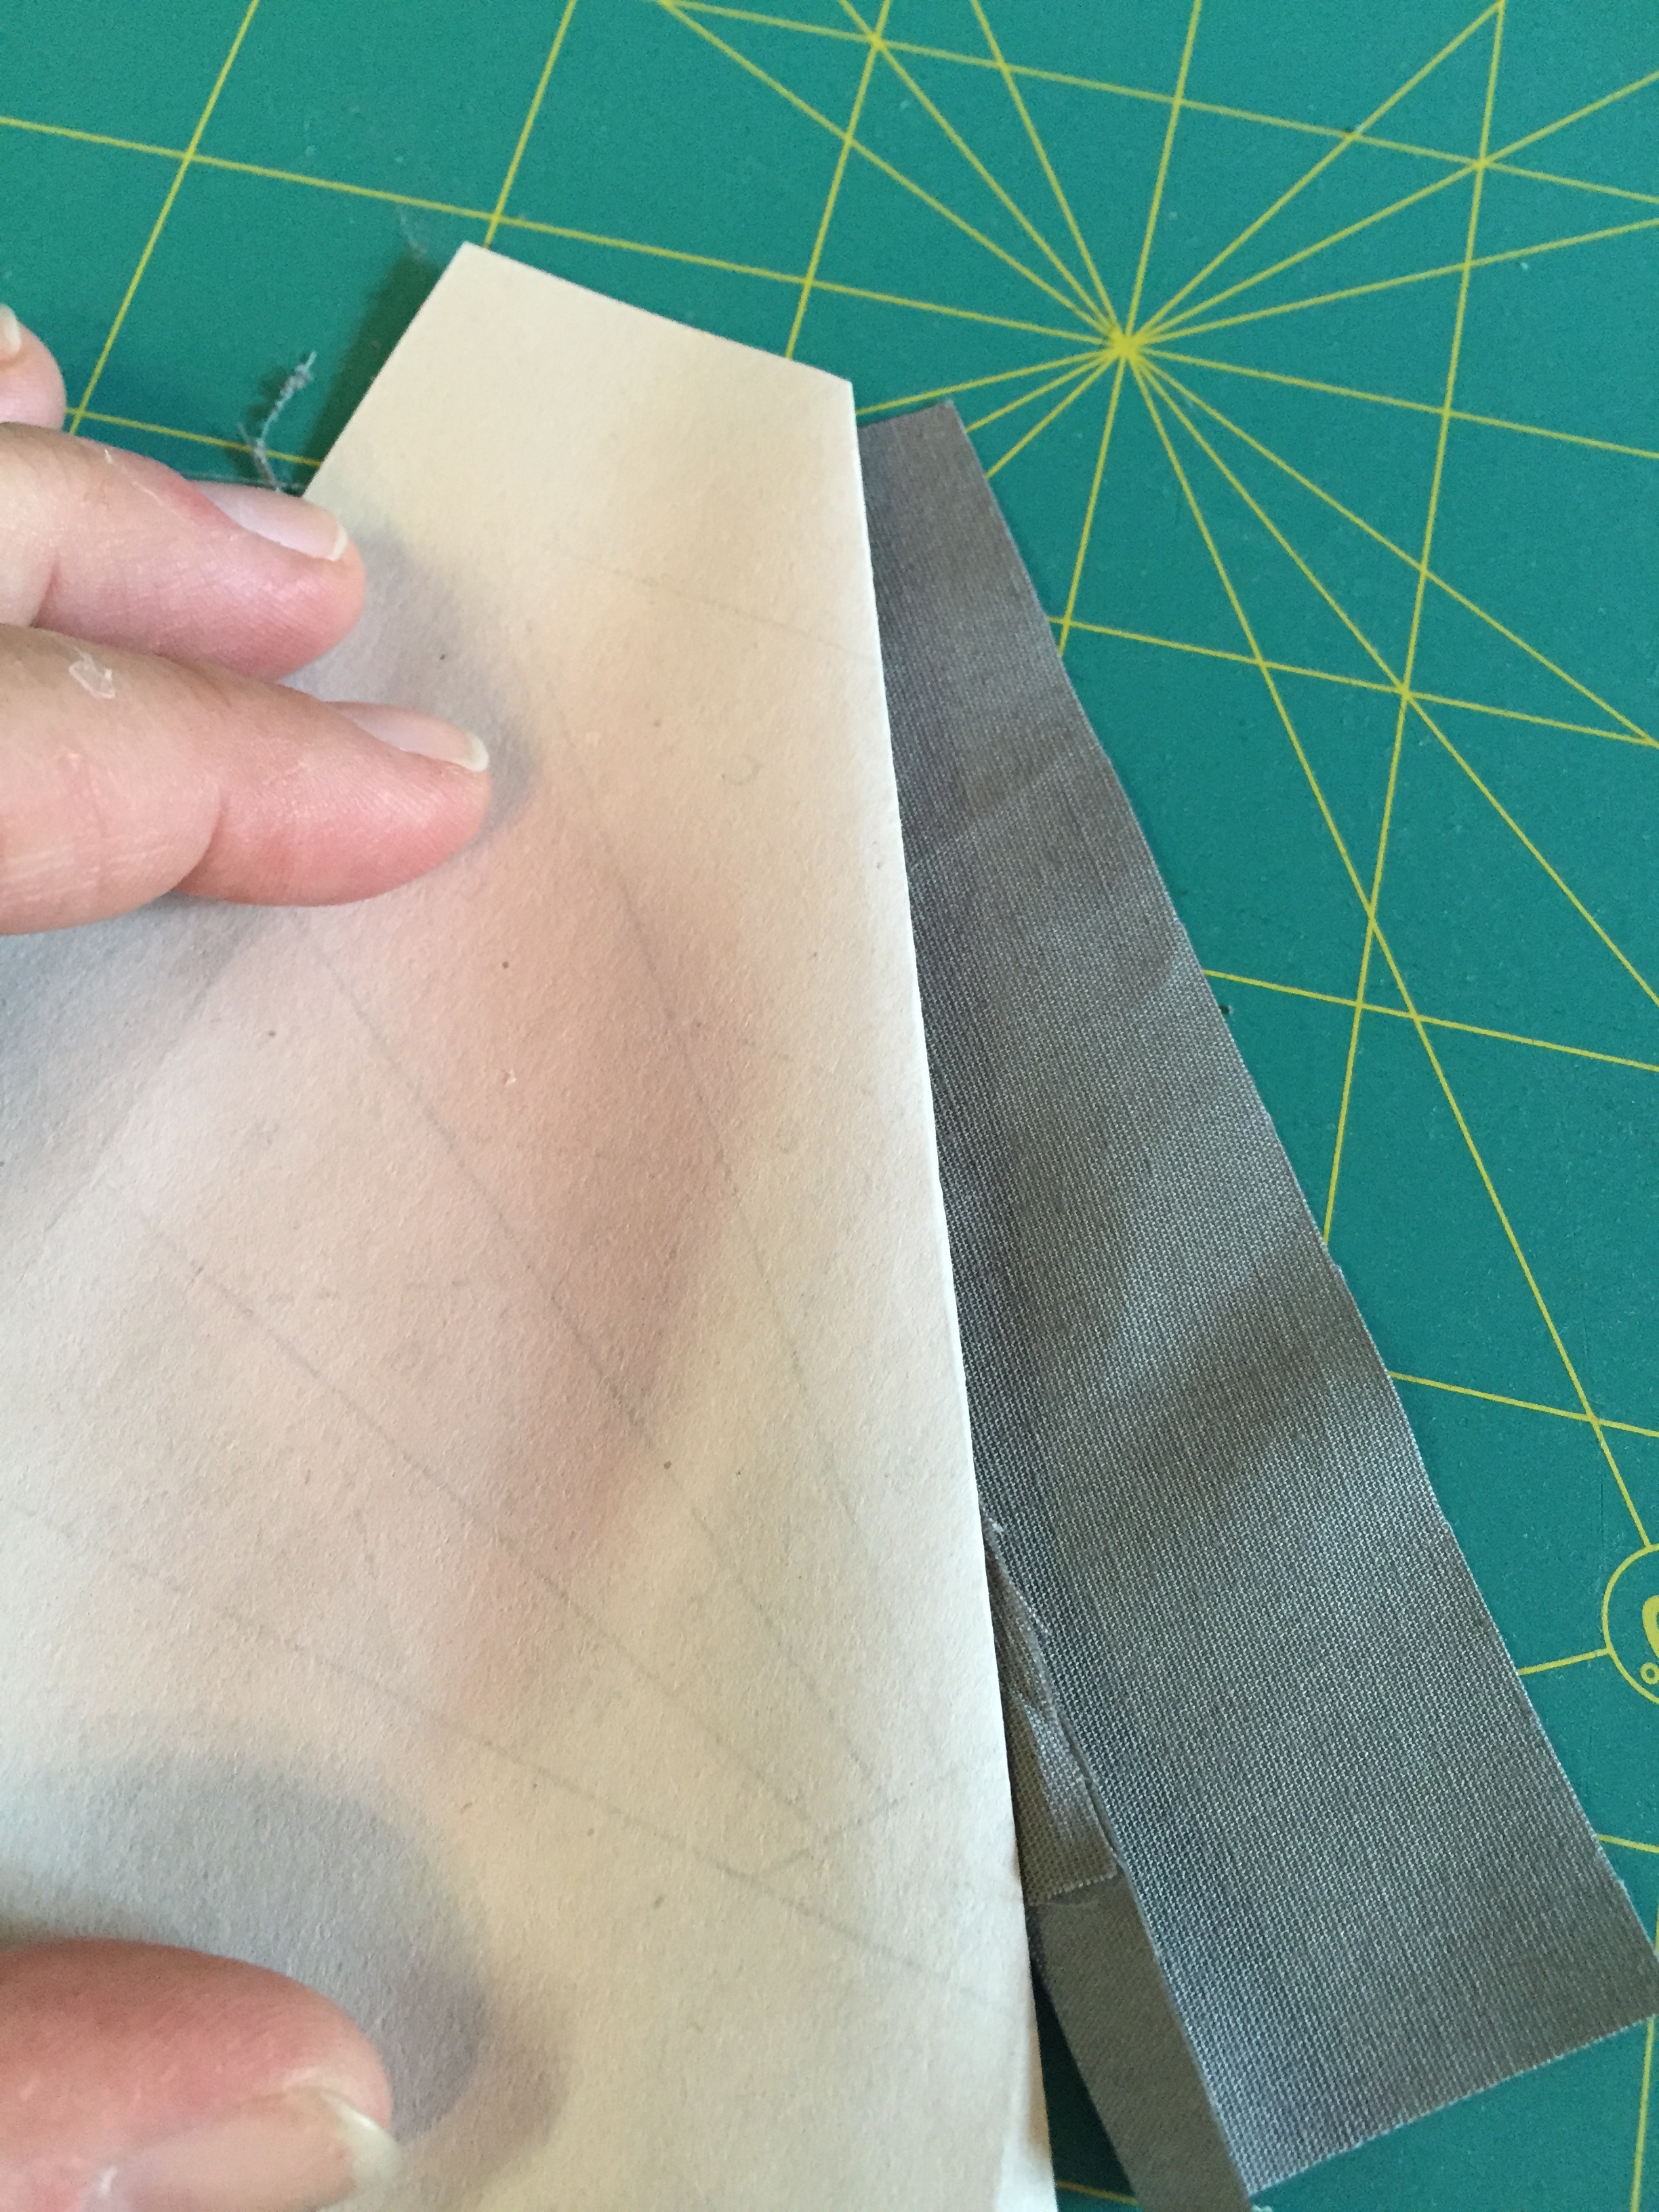
Flip the block paper-side up, and using your ruler, fold the paper up at the NEXT seam:
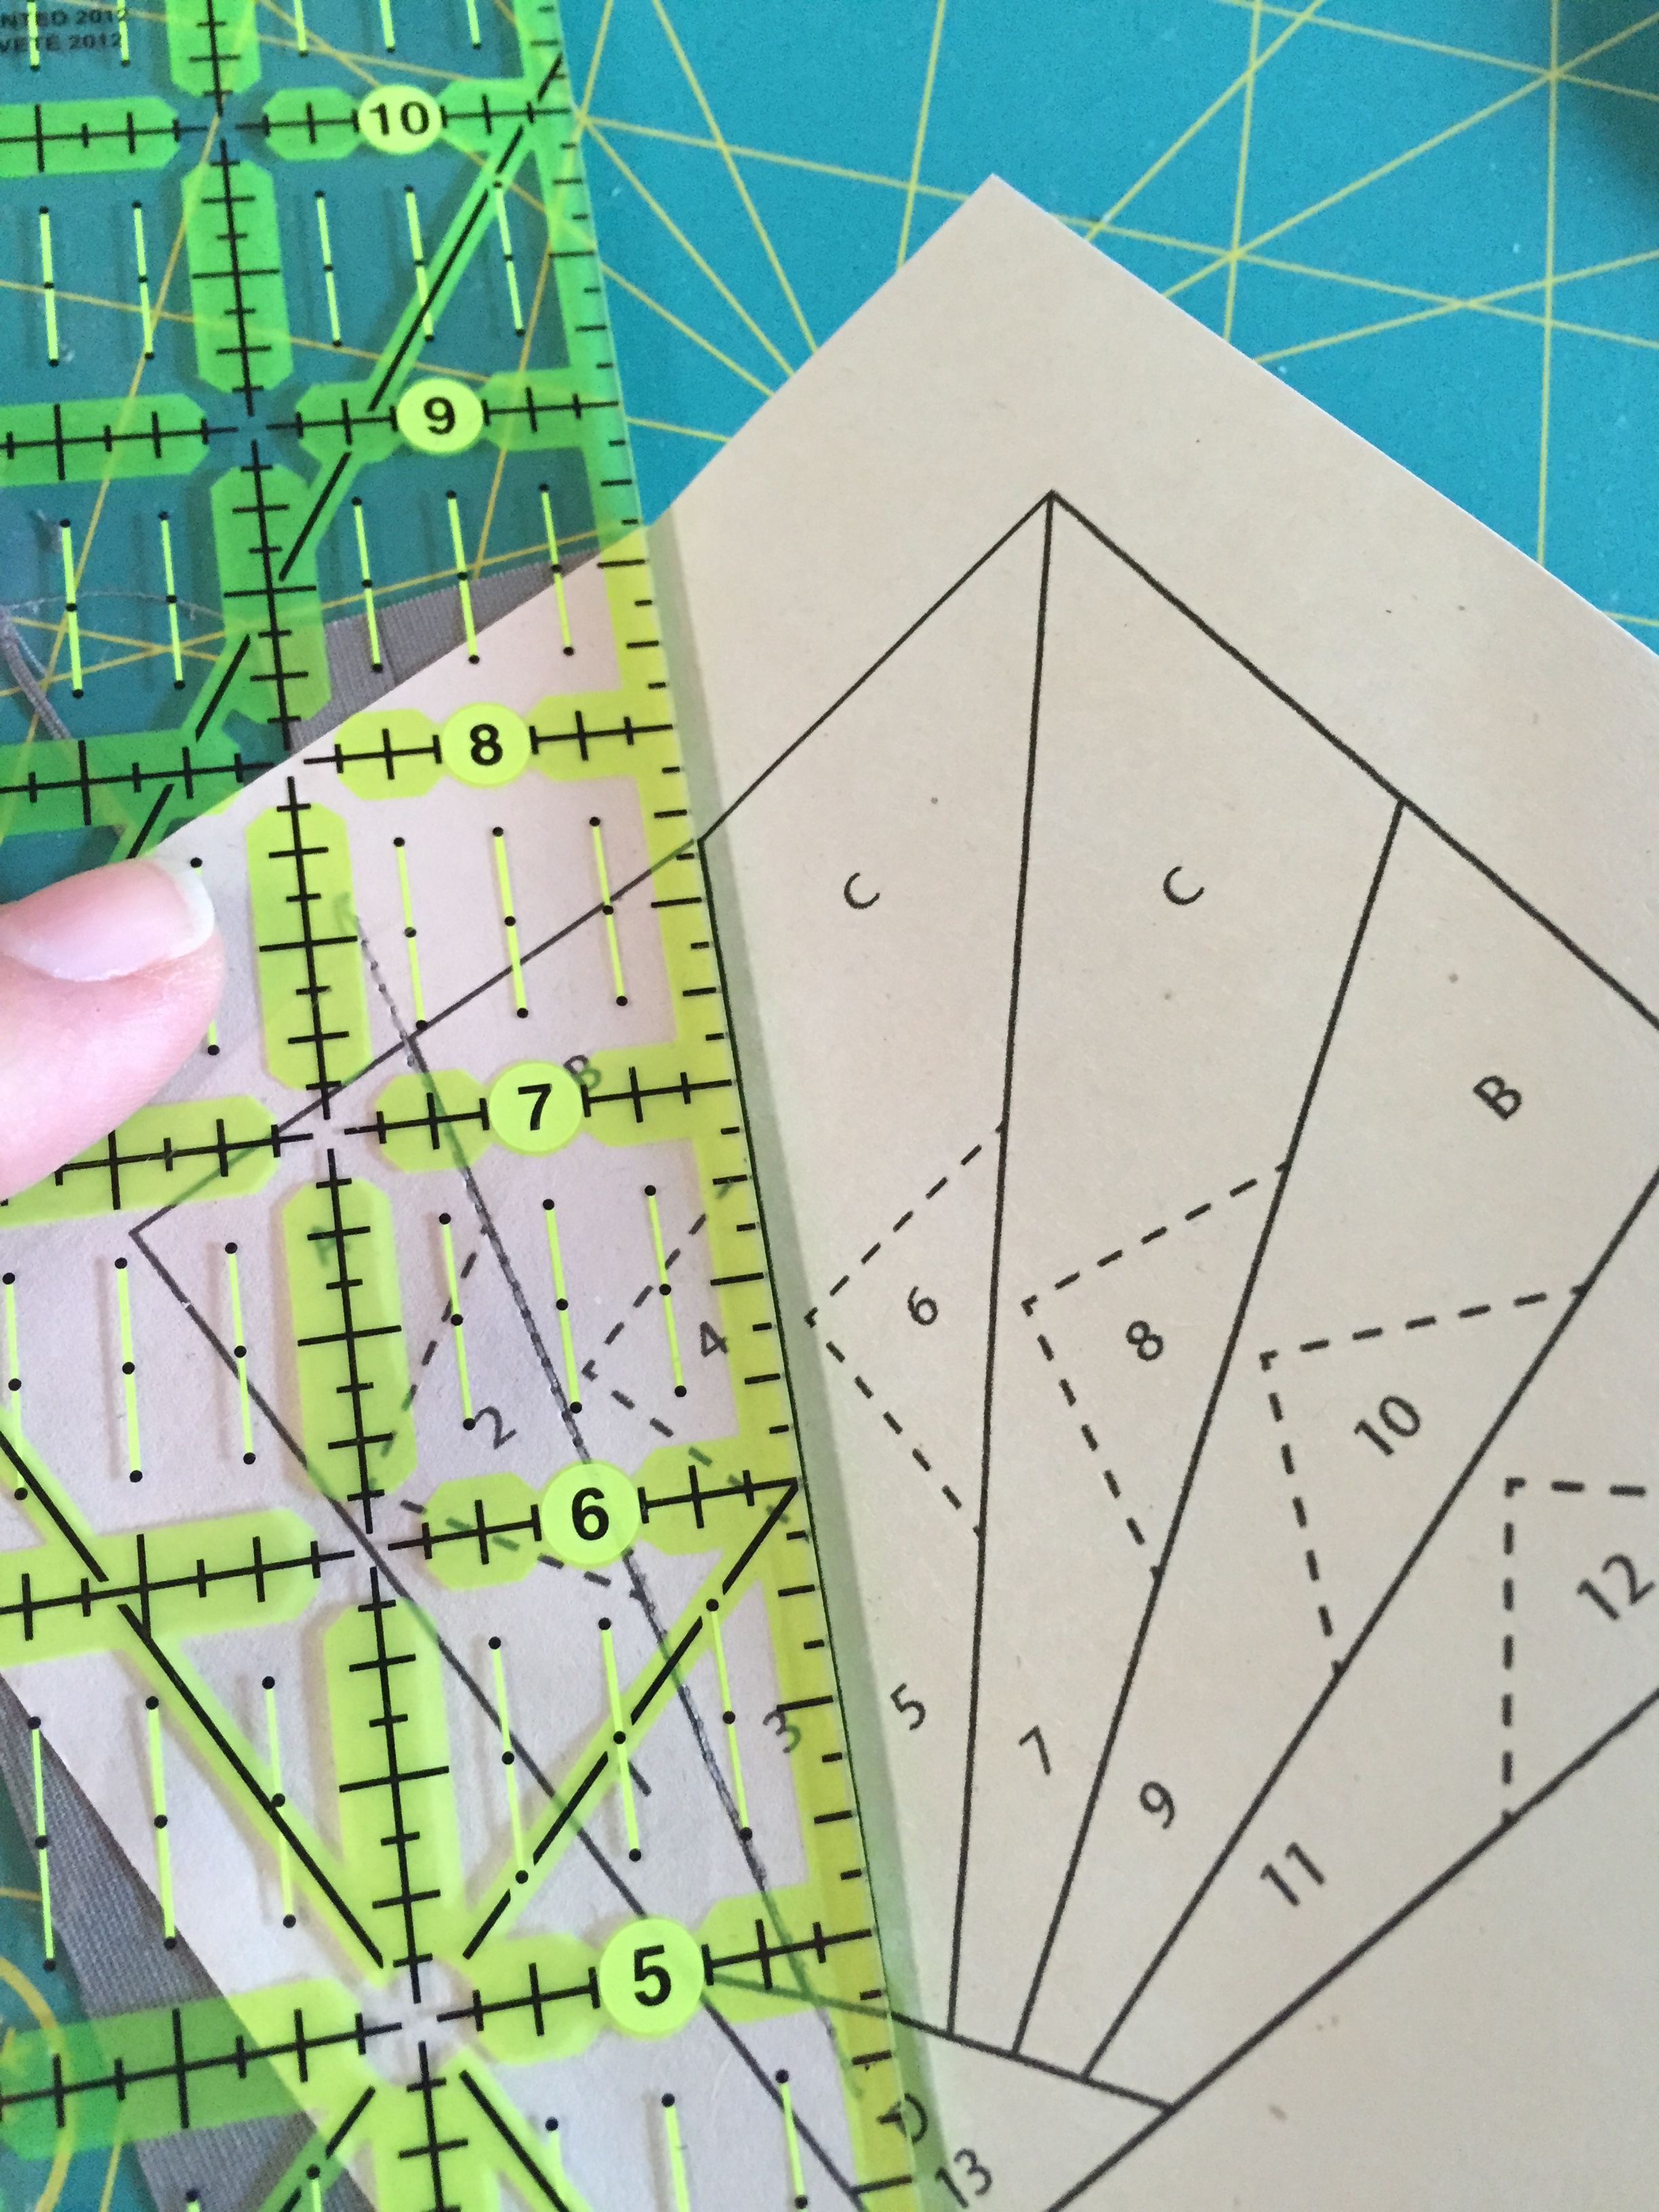
Crease the paper back to expose the edge of piece 2/B:
And using your ruler, trim this with a 1/4” seam allowance. This sets up the next edge perfectly for aligning:
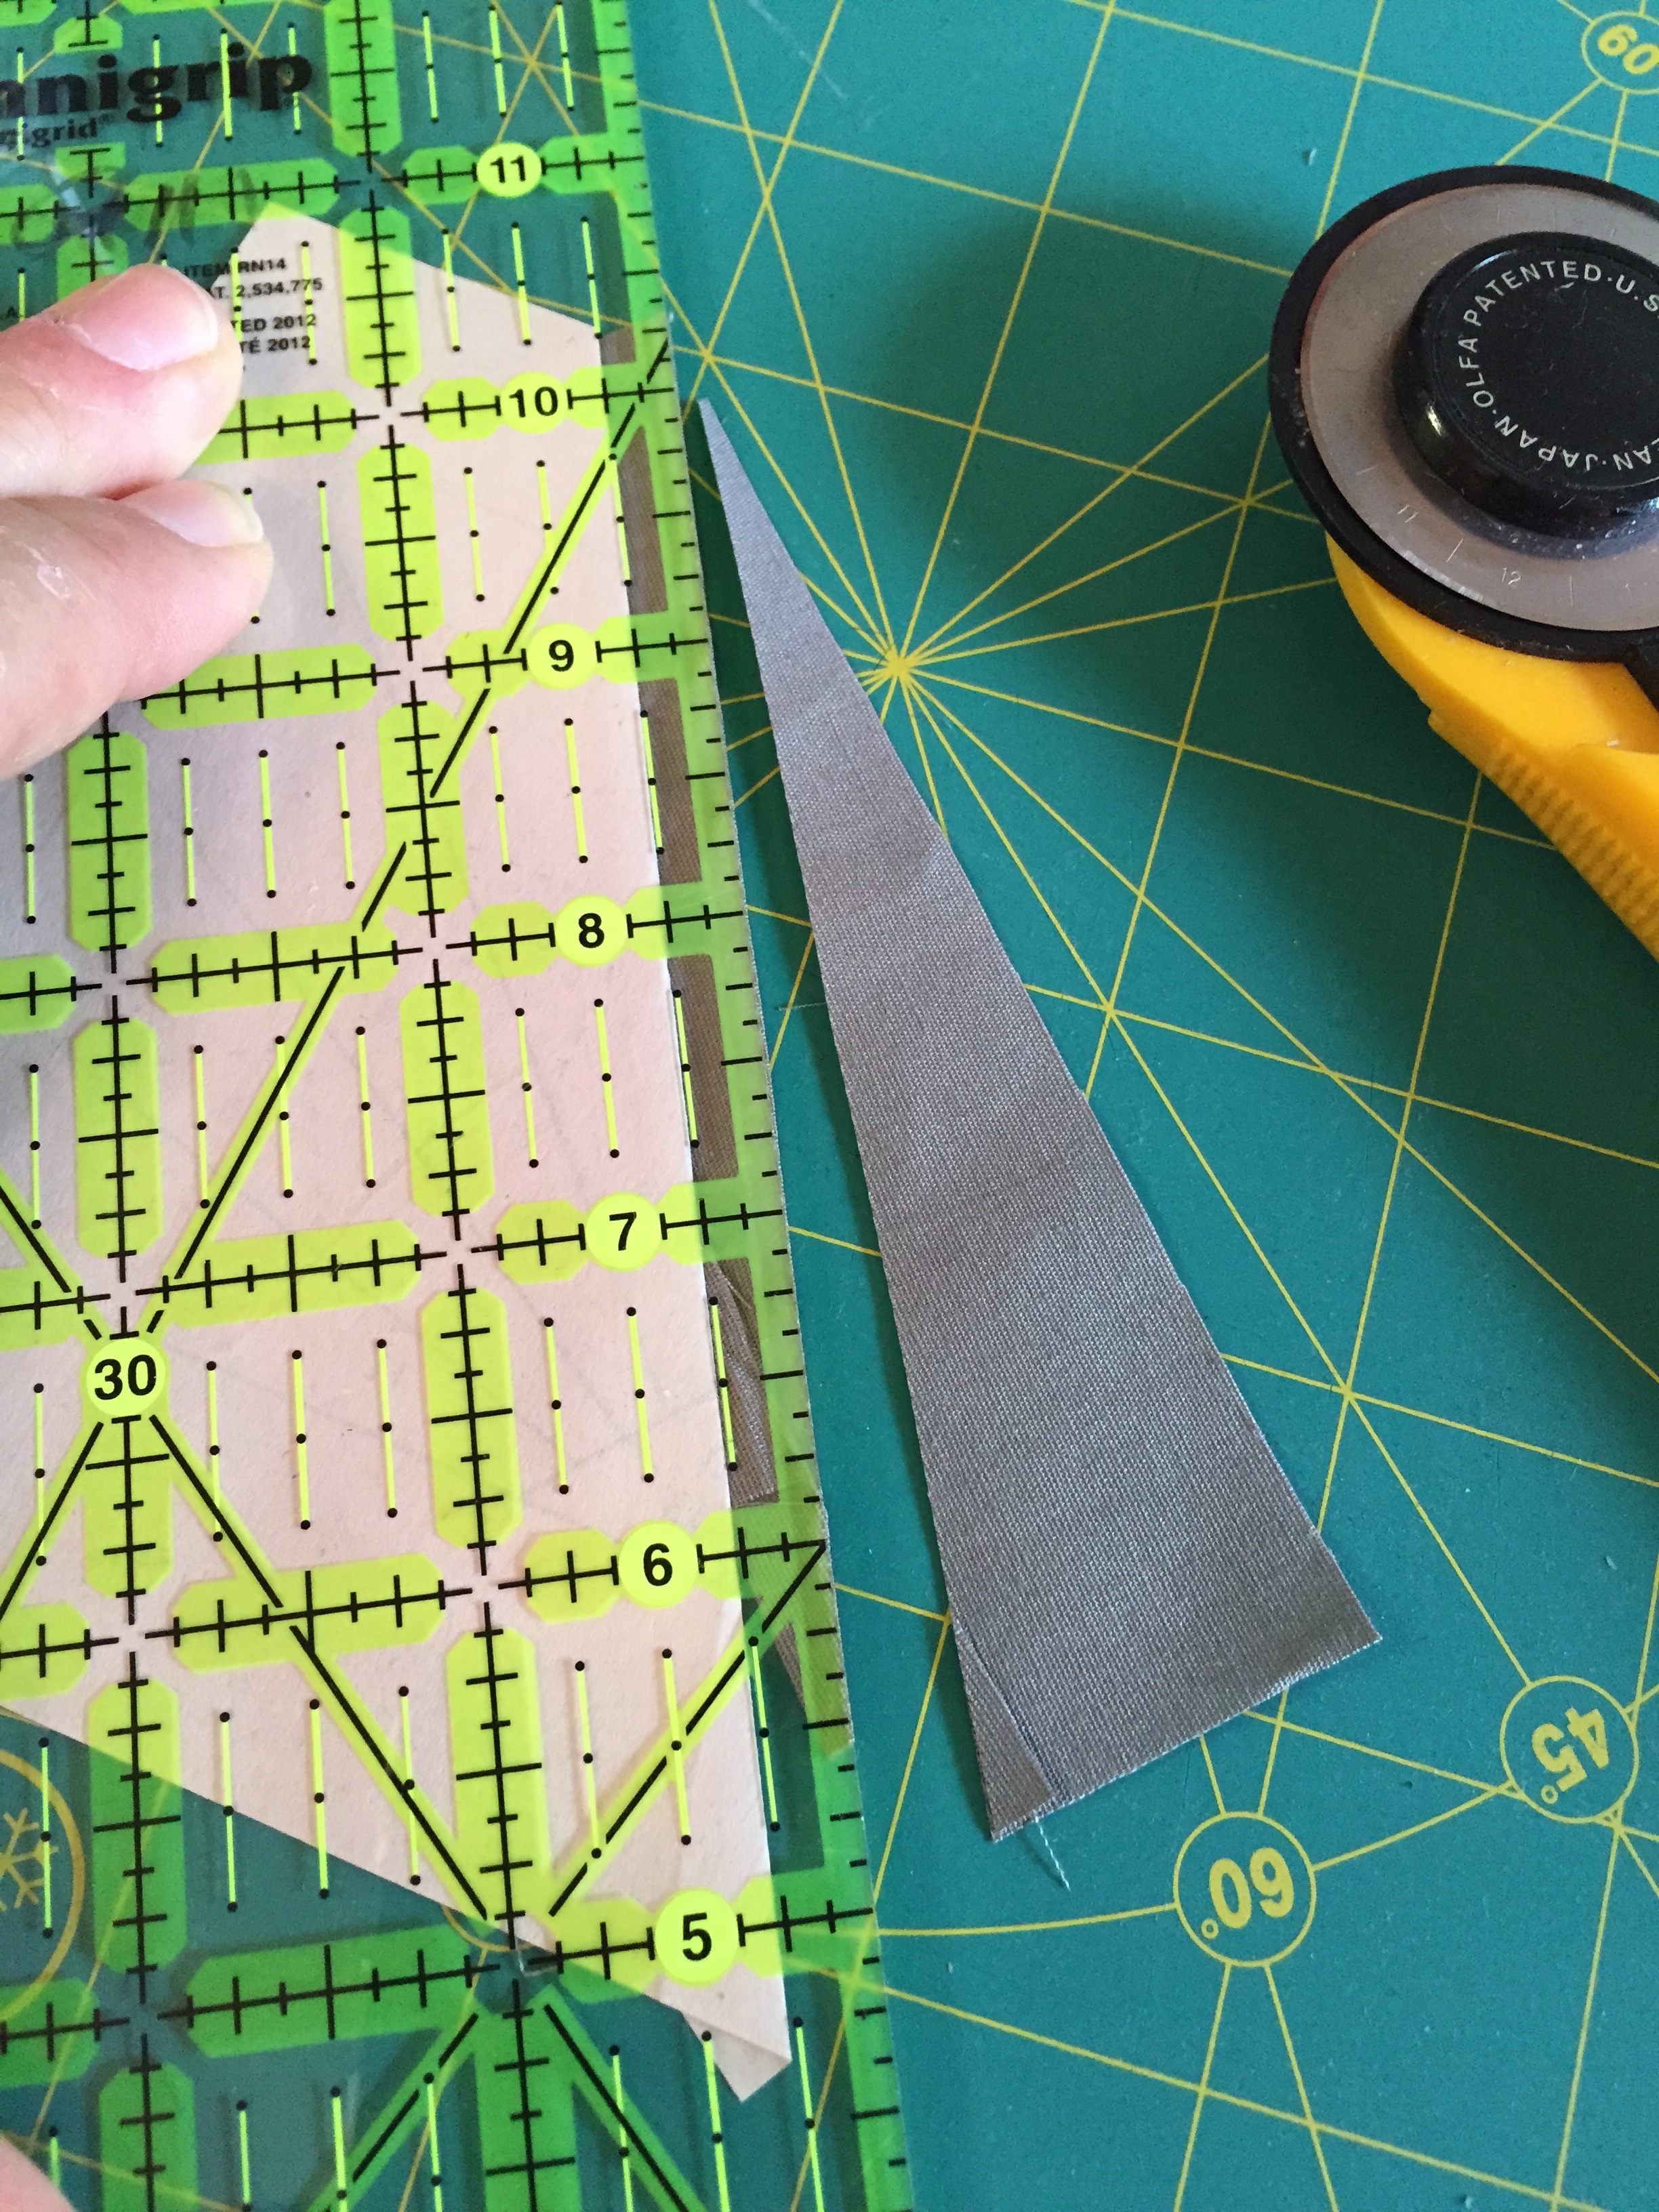
I don’t usually do the above step when I paper-piece, but in this application it makes the rest of the block so much easier to get aligned.
With the paper-side down, fold back the paper and fabric to crease the outer edge of Triangle 4:
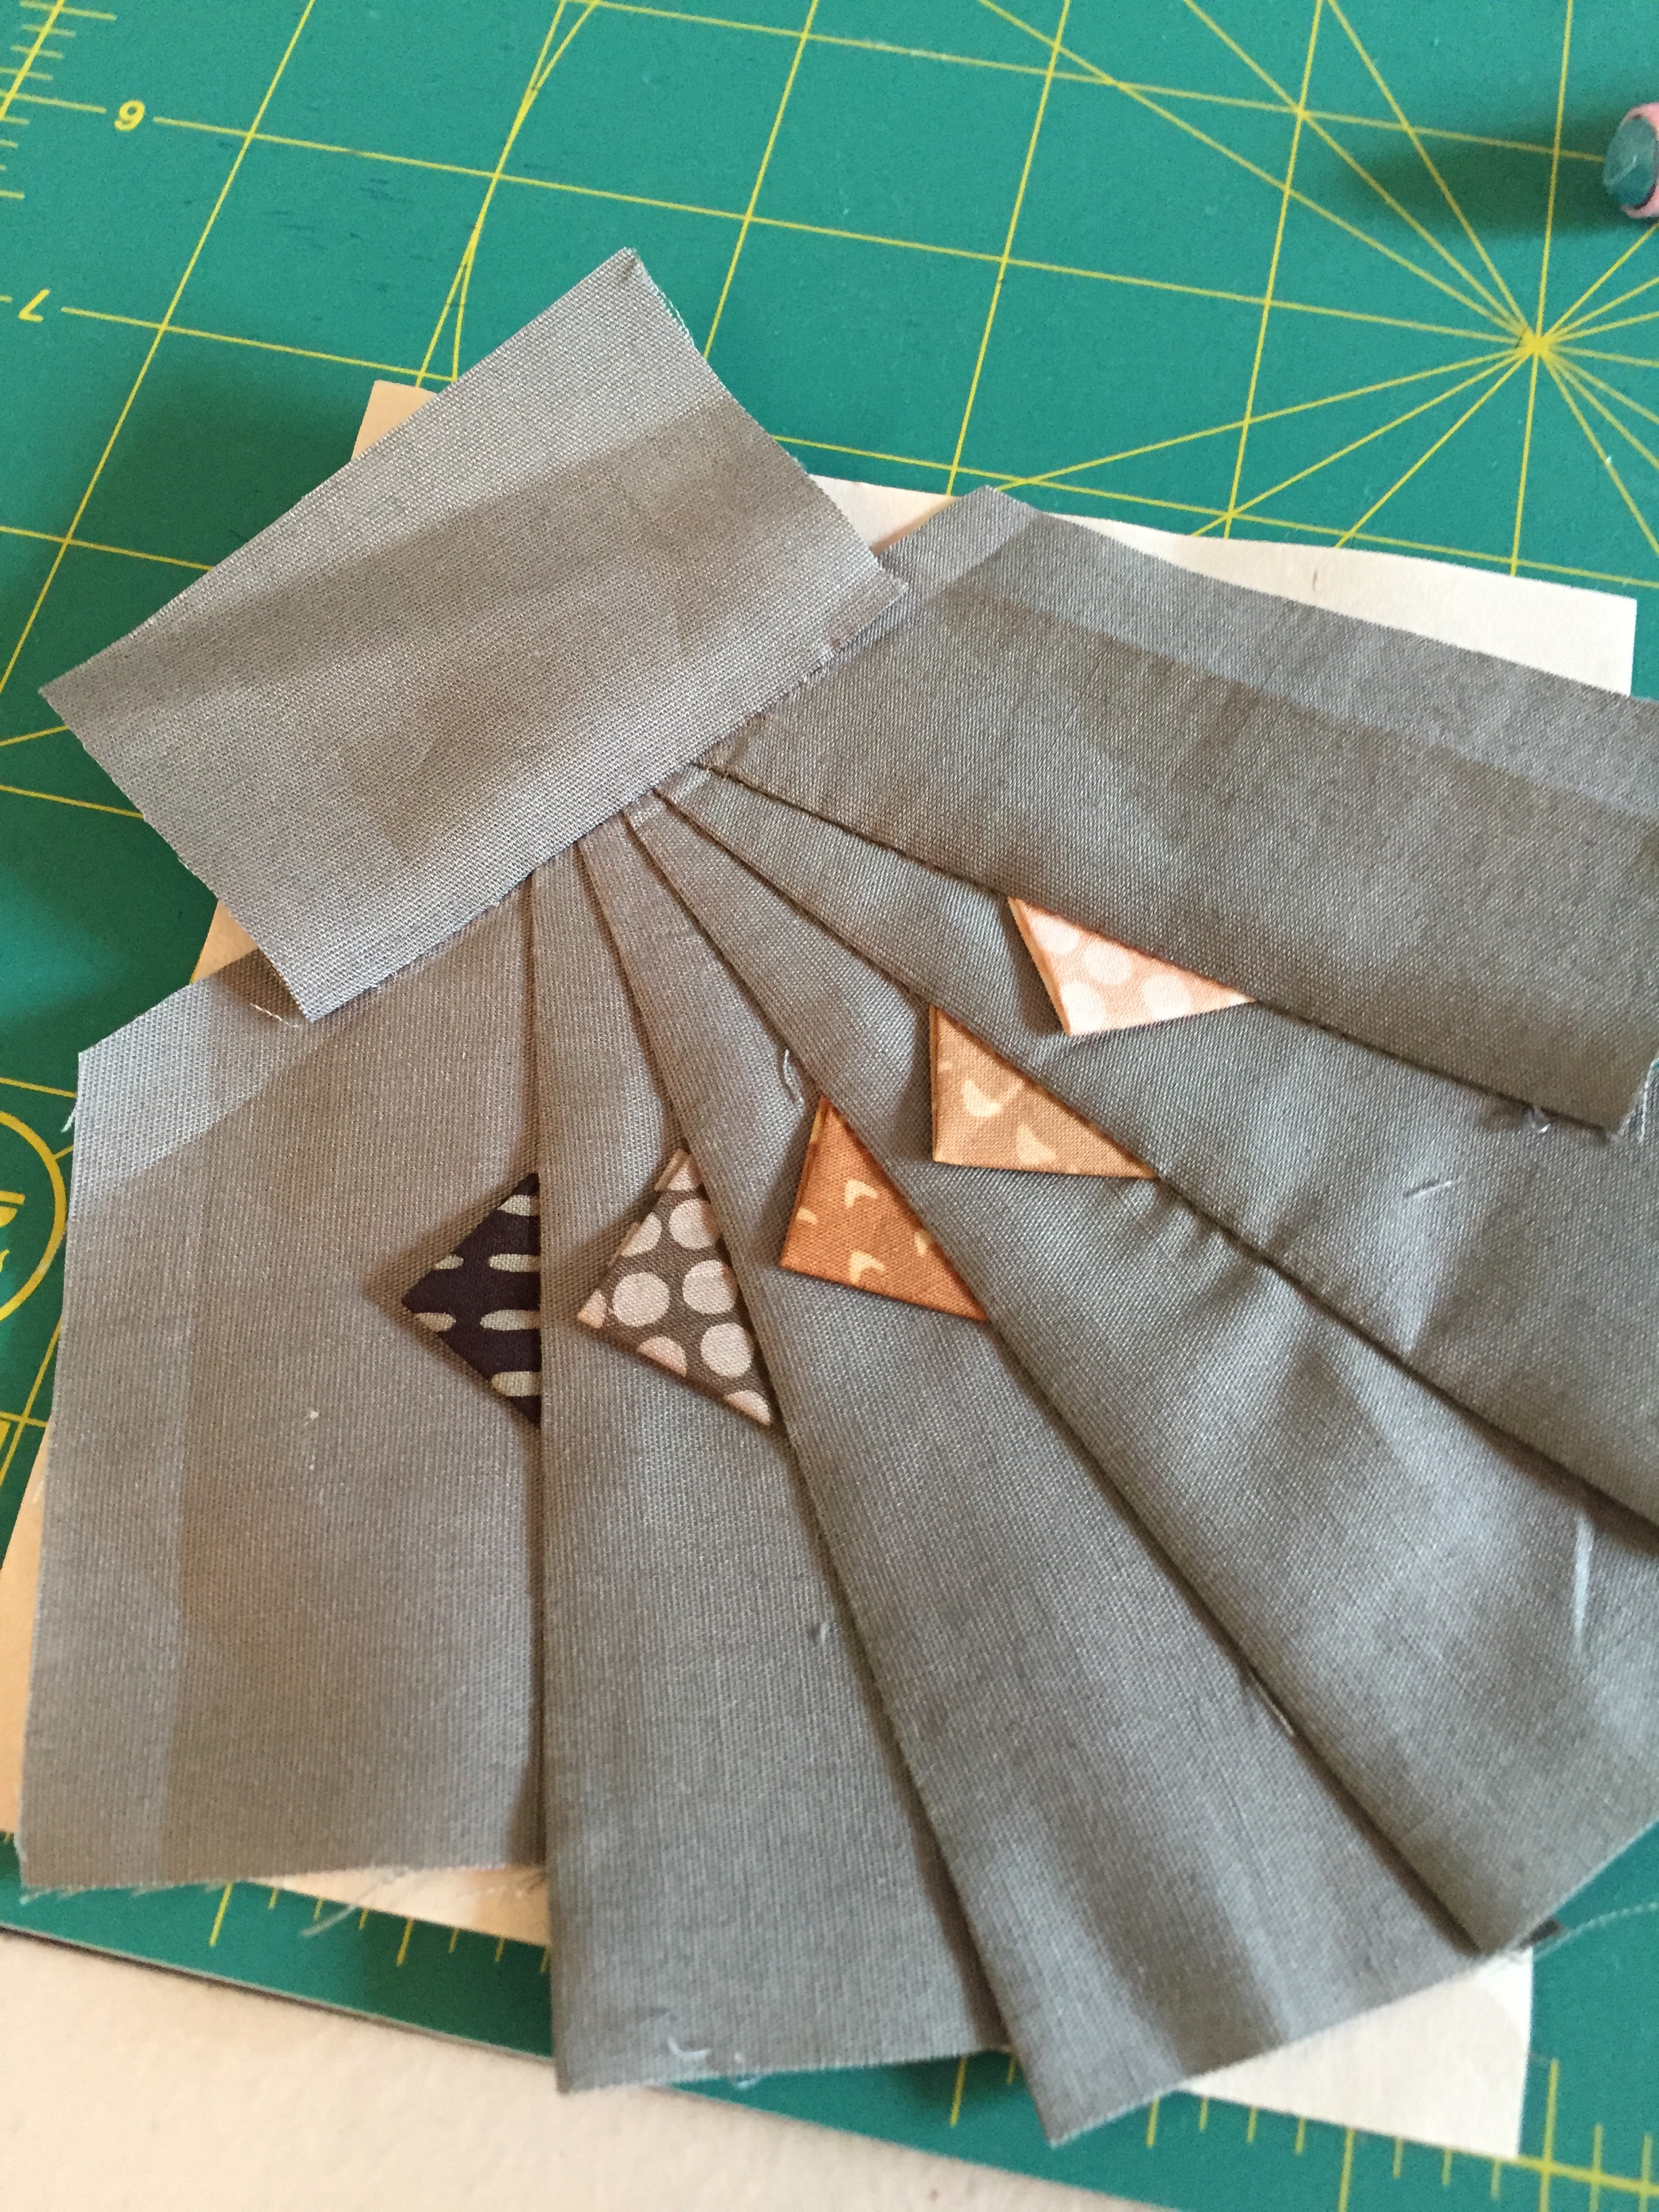
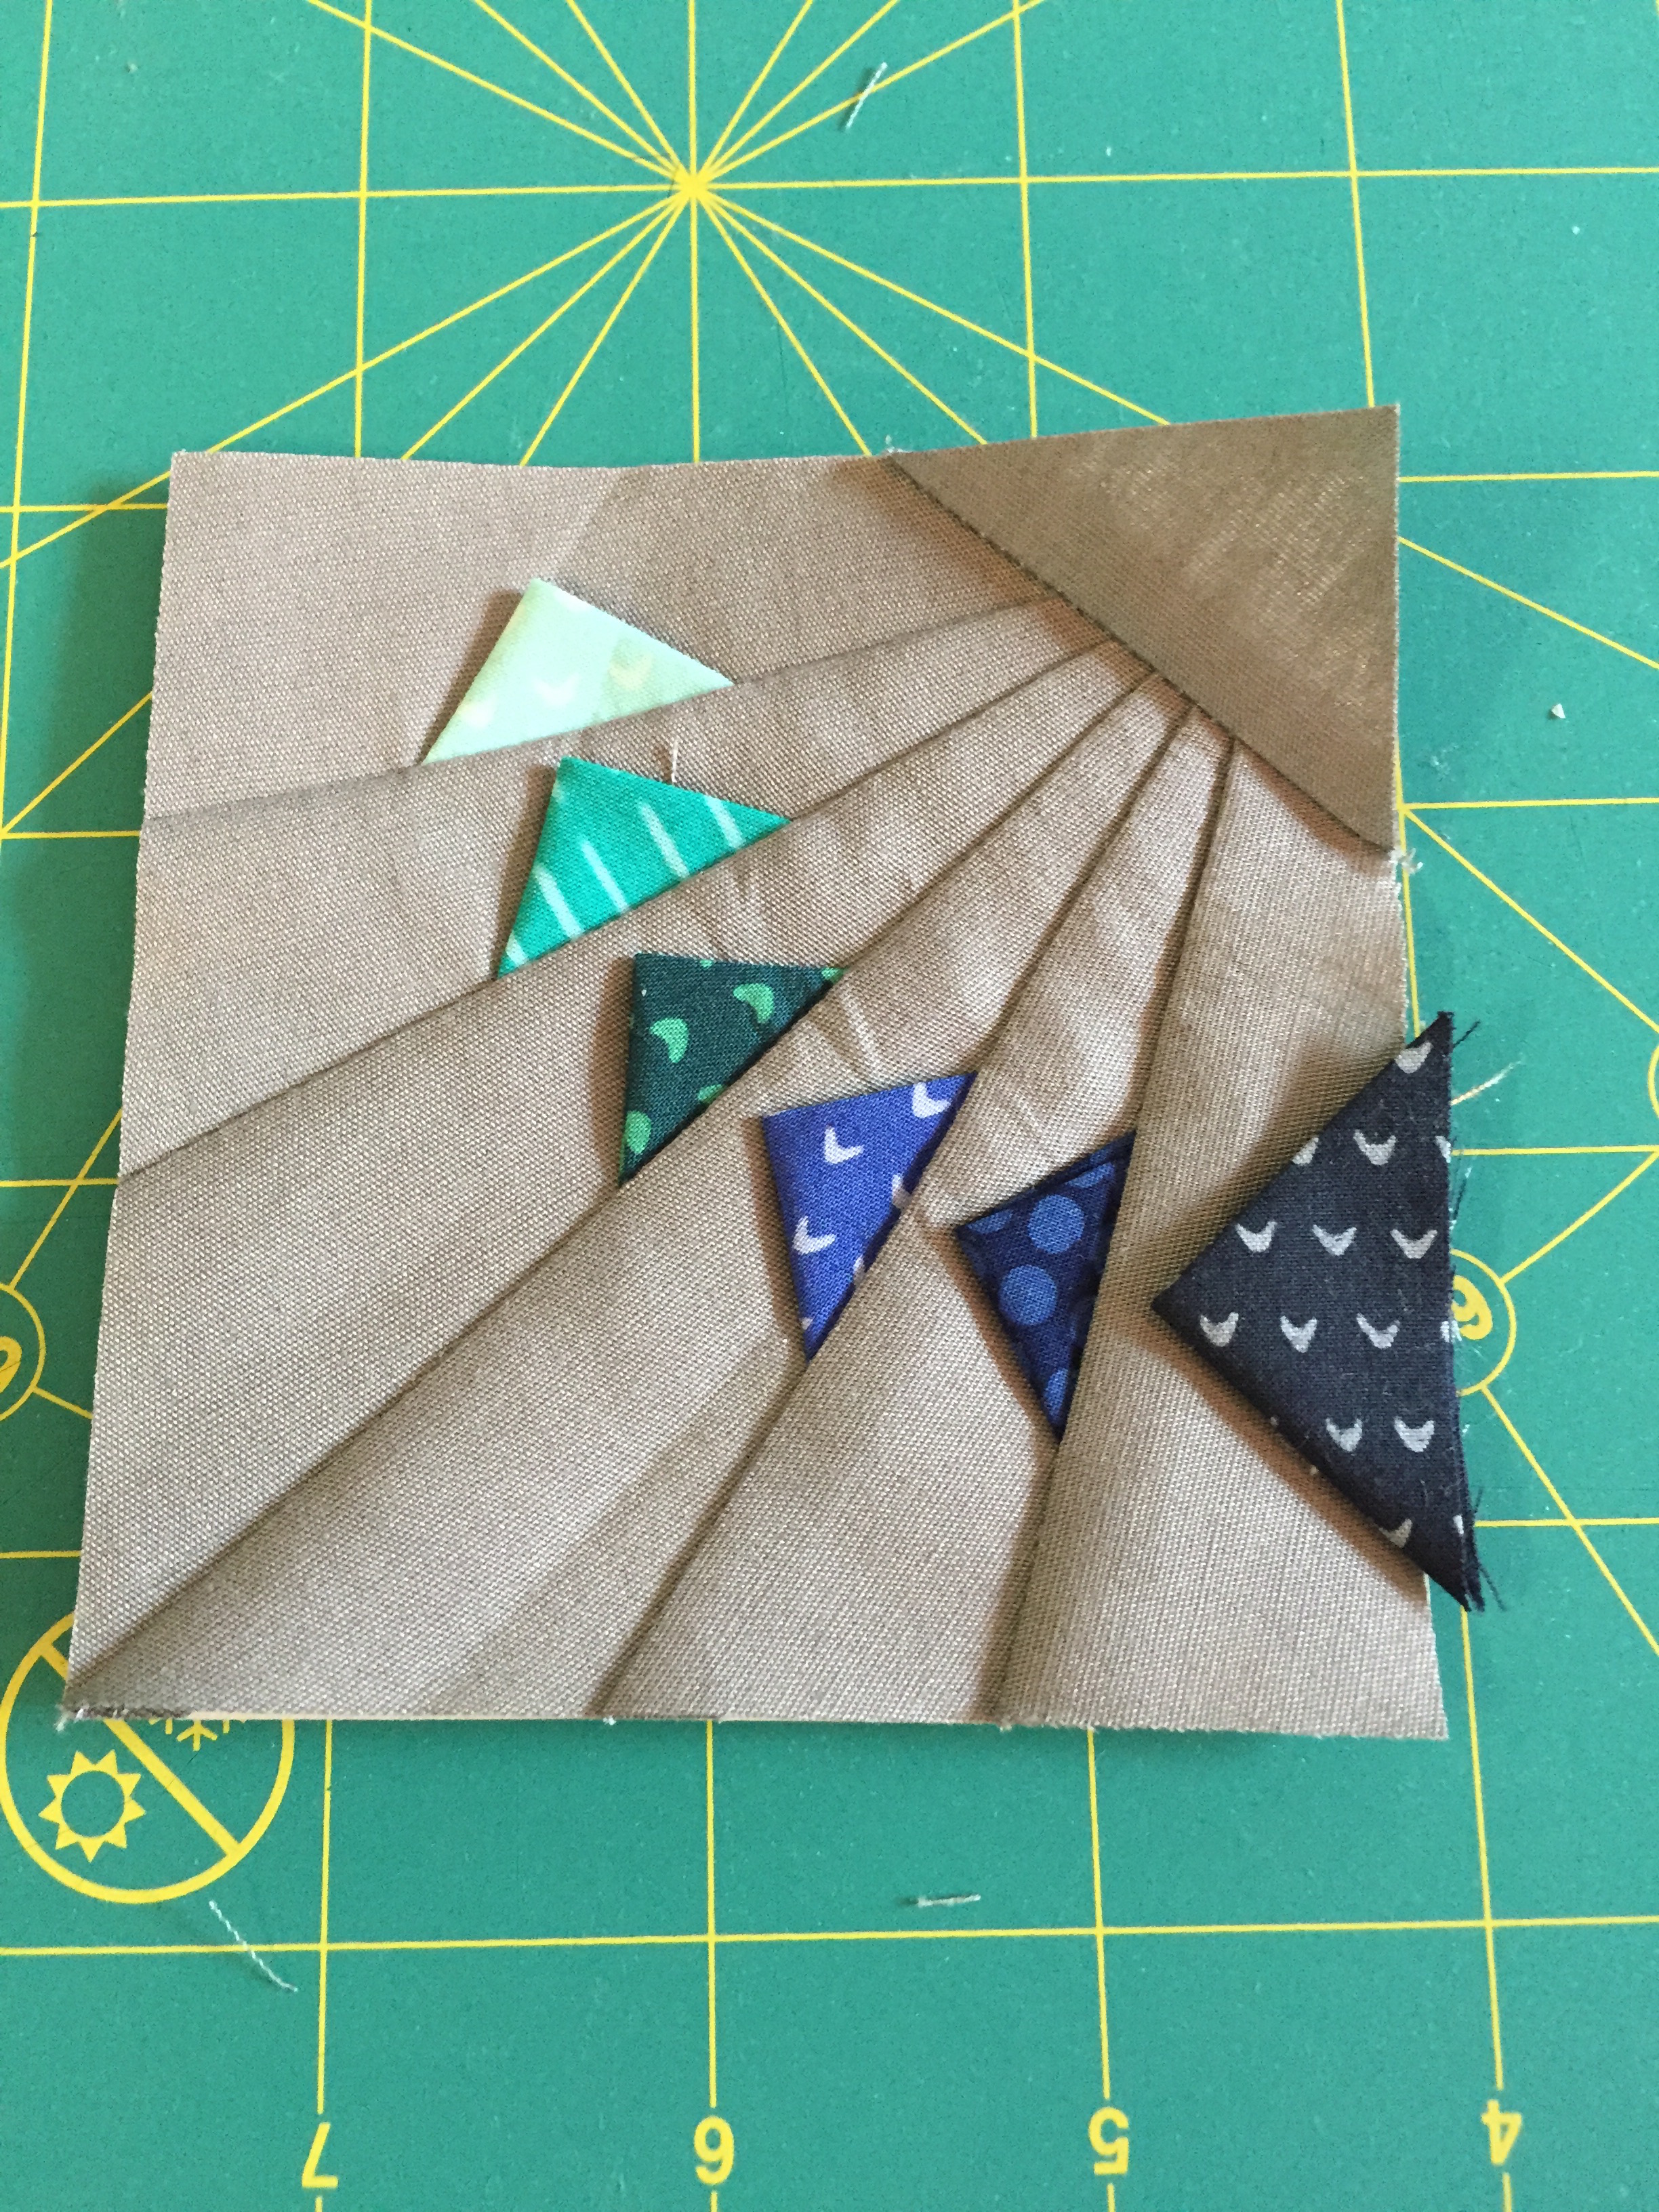
And align the second Prairie Point, with the help of a swipe of glue in the seam allowance. I find that I don’t need to use the pin for any of the points after the first as I can see where it should go in relation to the seam before it – which is good, because that whole pin thing is rather awkward!
And keep going until you get to the last piece – don’t forget piece D! But not Prairie Point 13:
Trim the block, adding a 1/4” seam allowance:
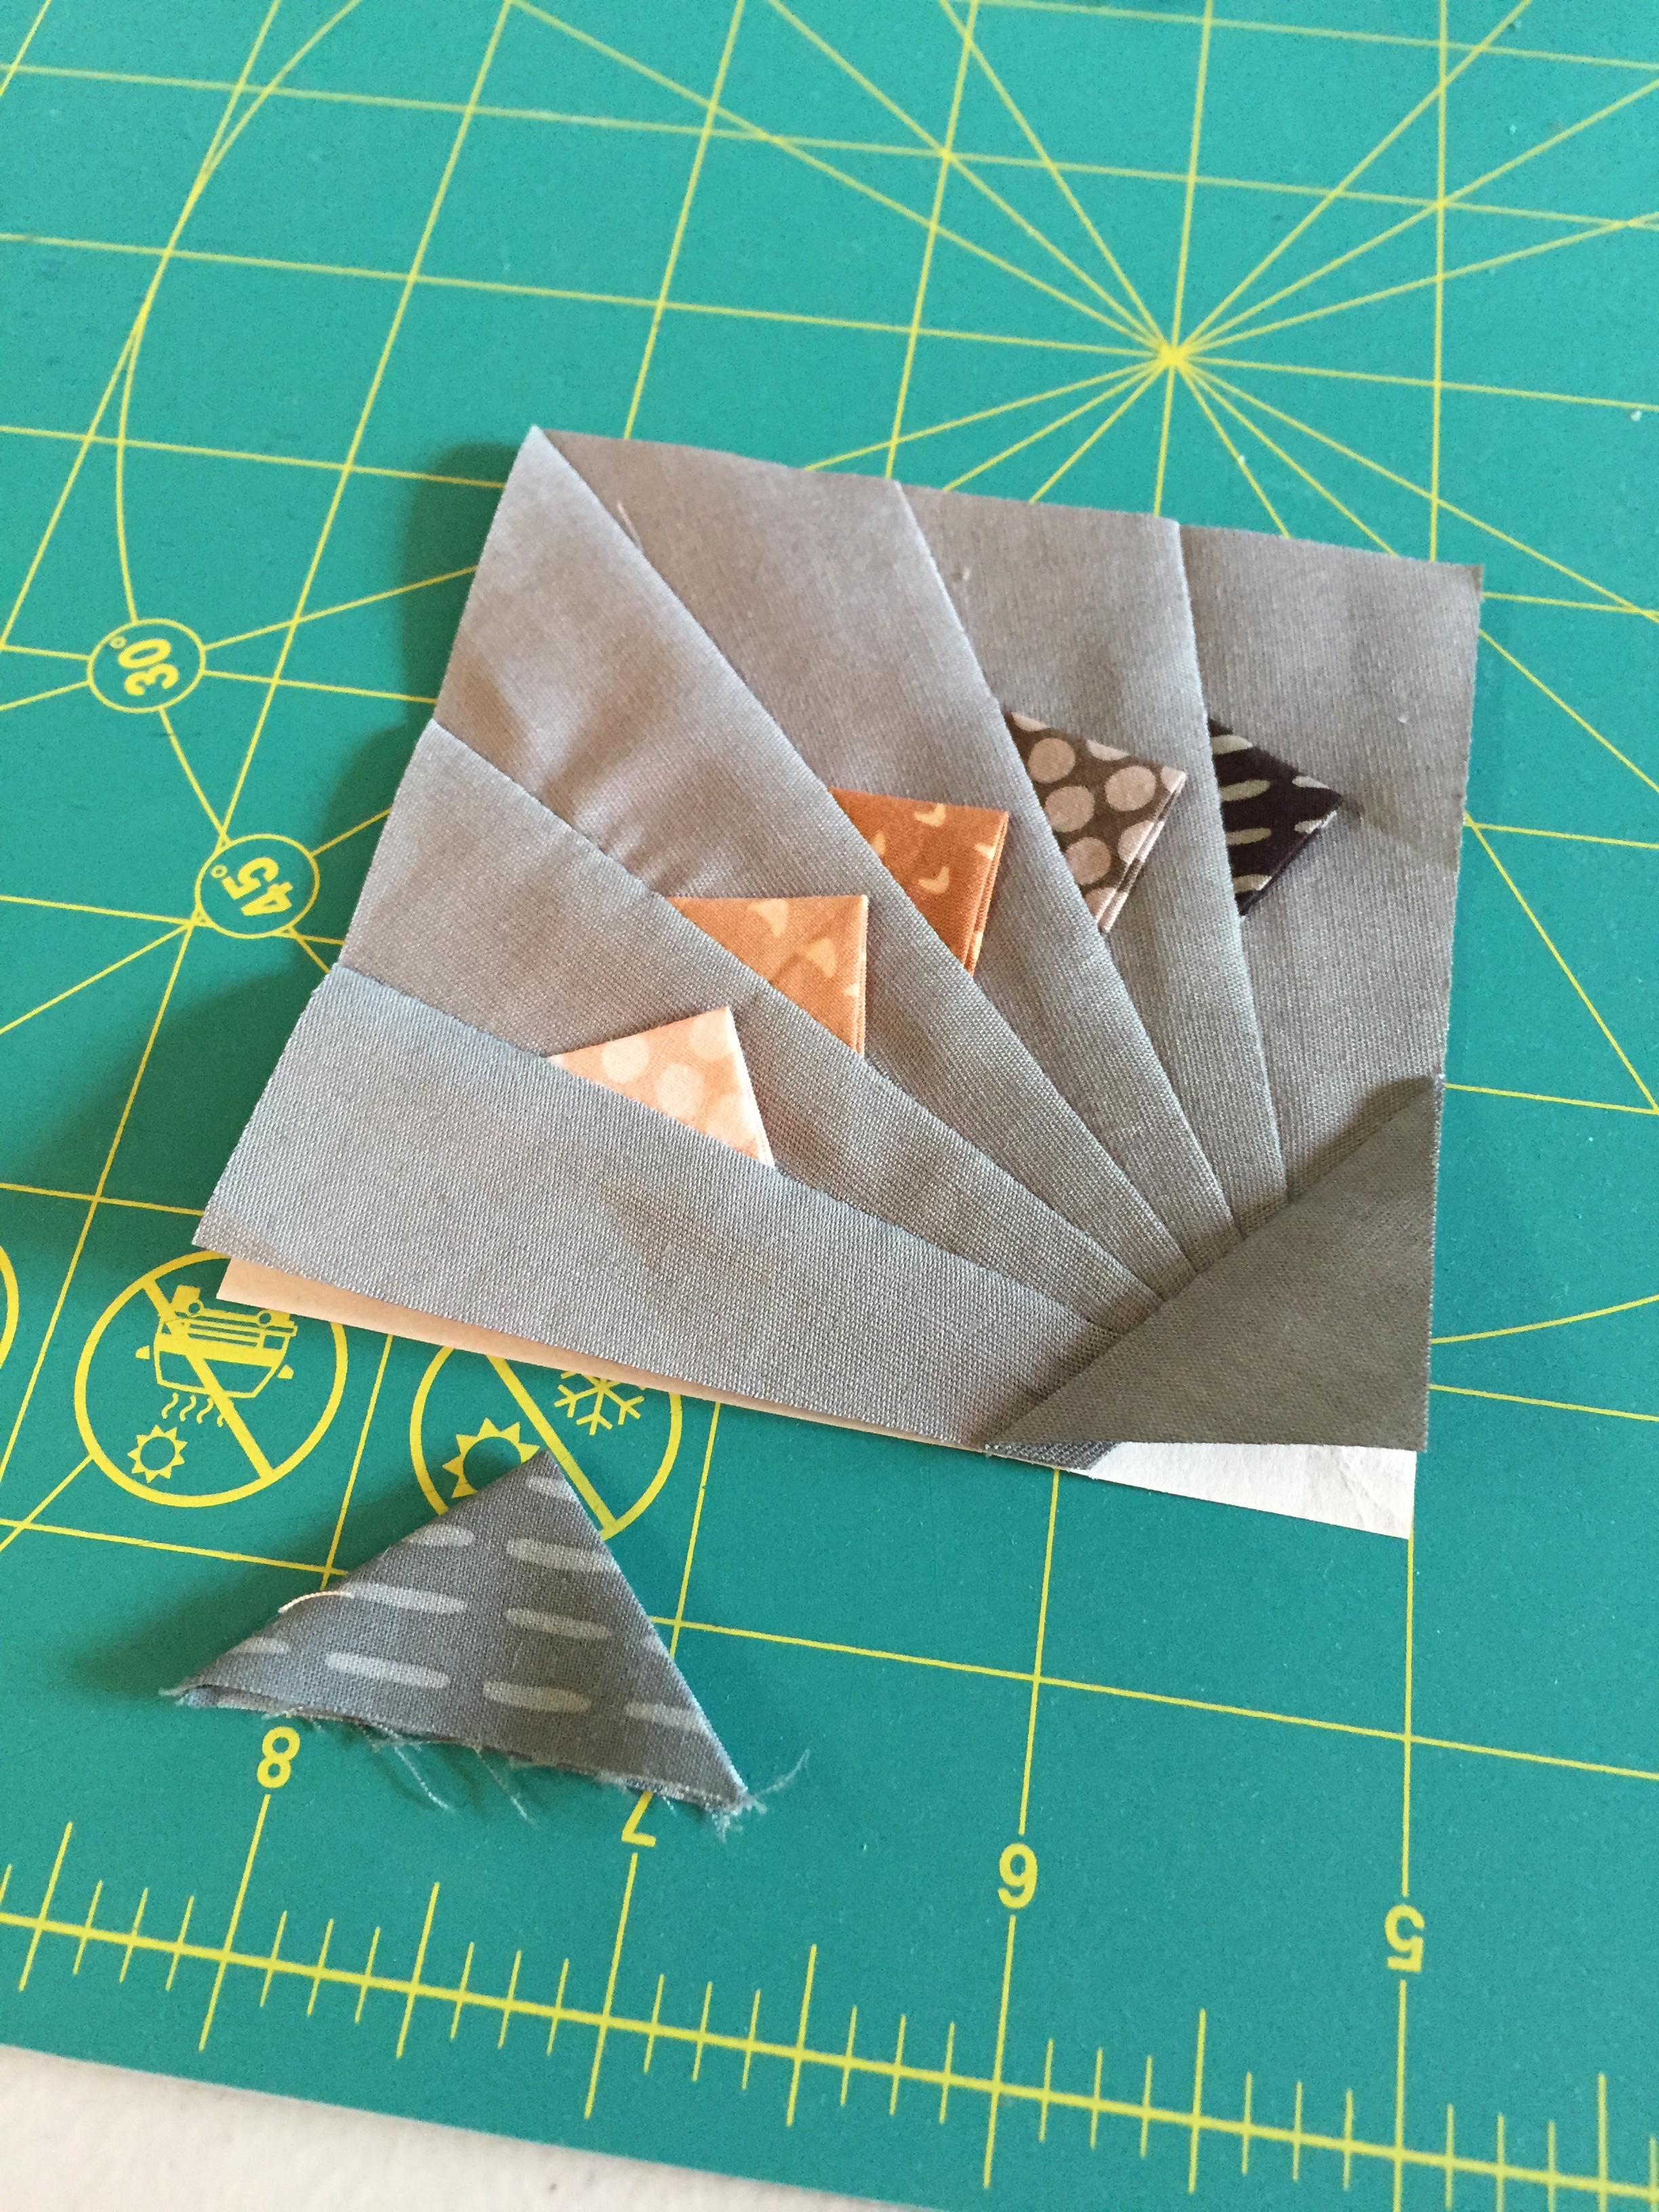
And with a swipe of glue stick in the seam allowance, glue the last Prairie Point in place (or sew baste it). It will get sewn in when you put the 4 quadrants together:
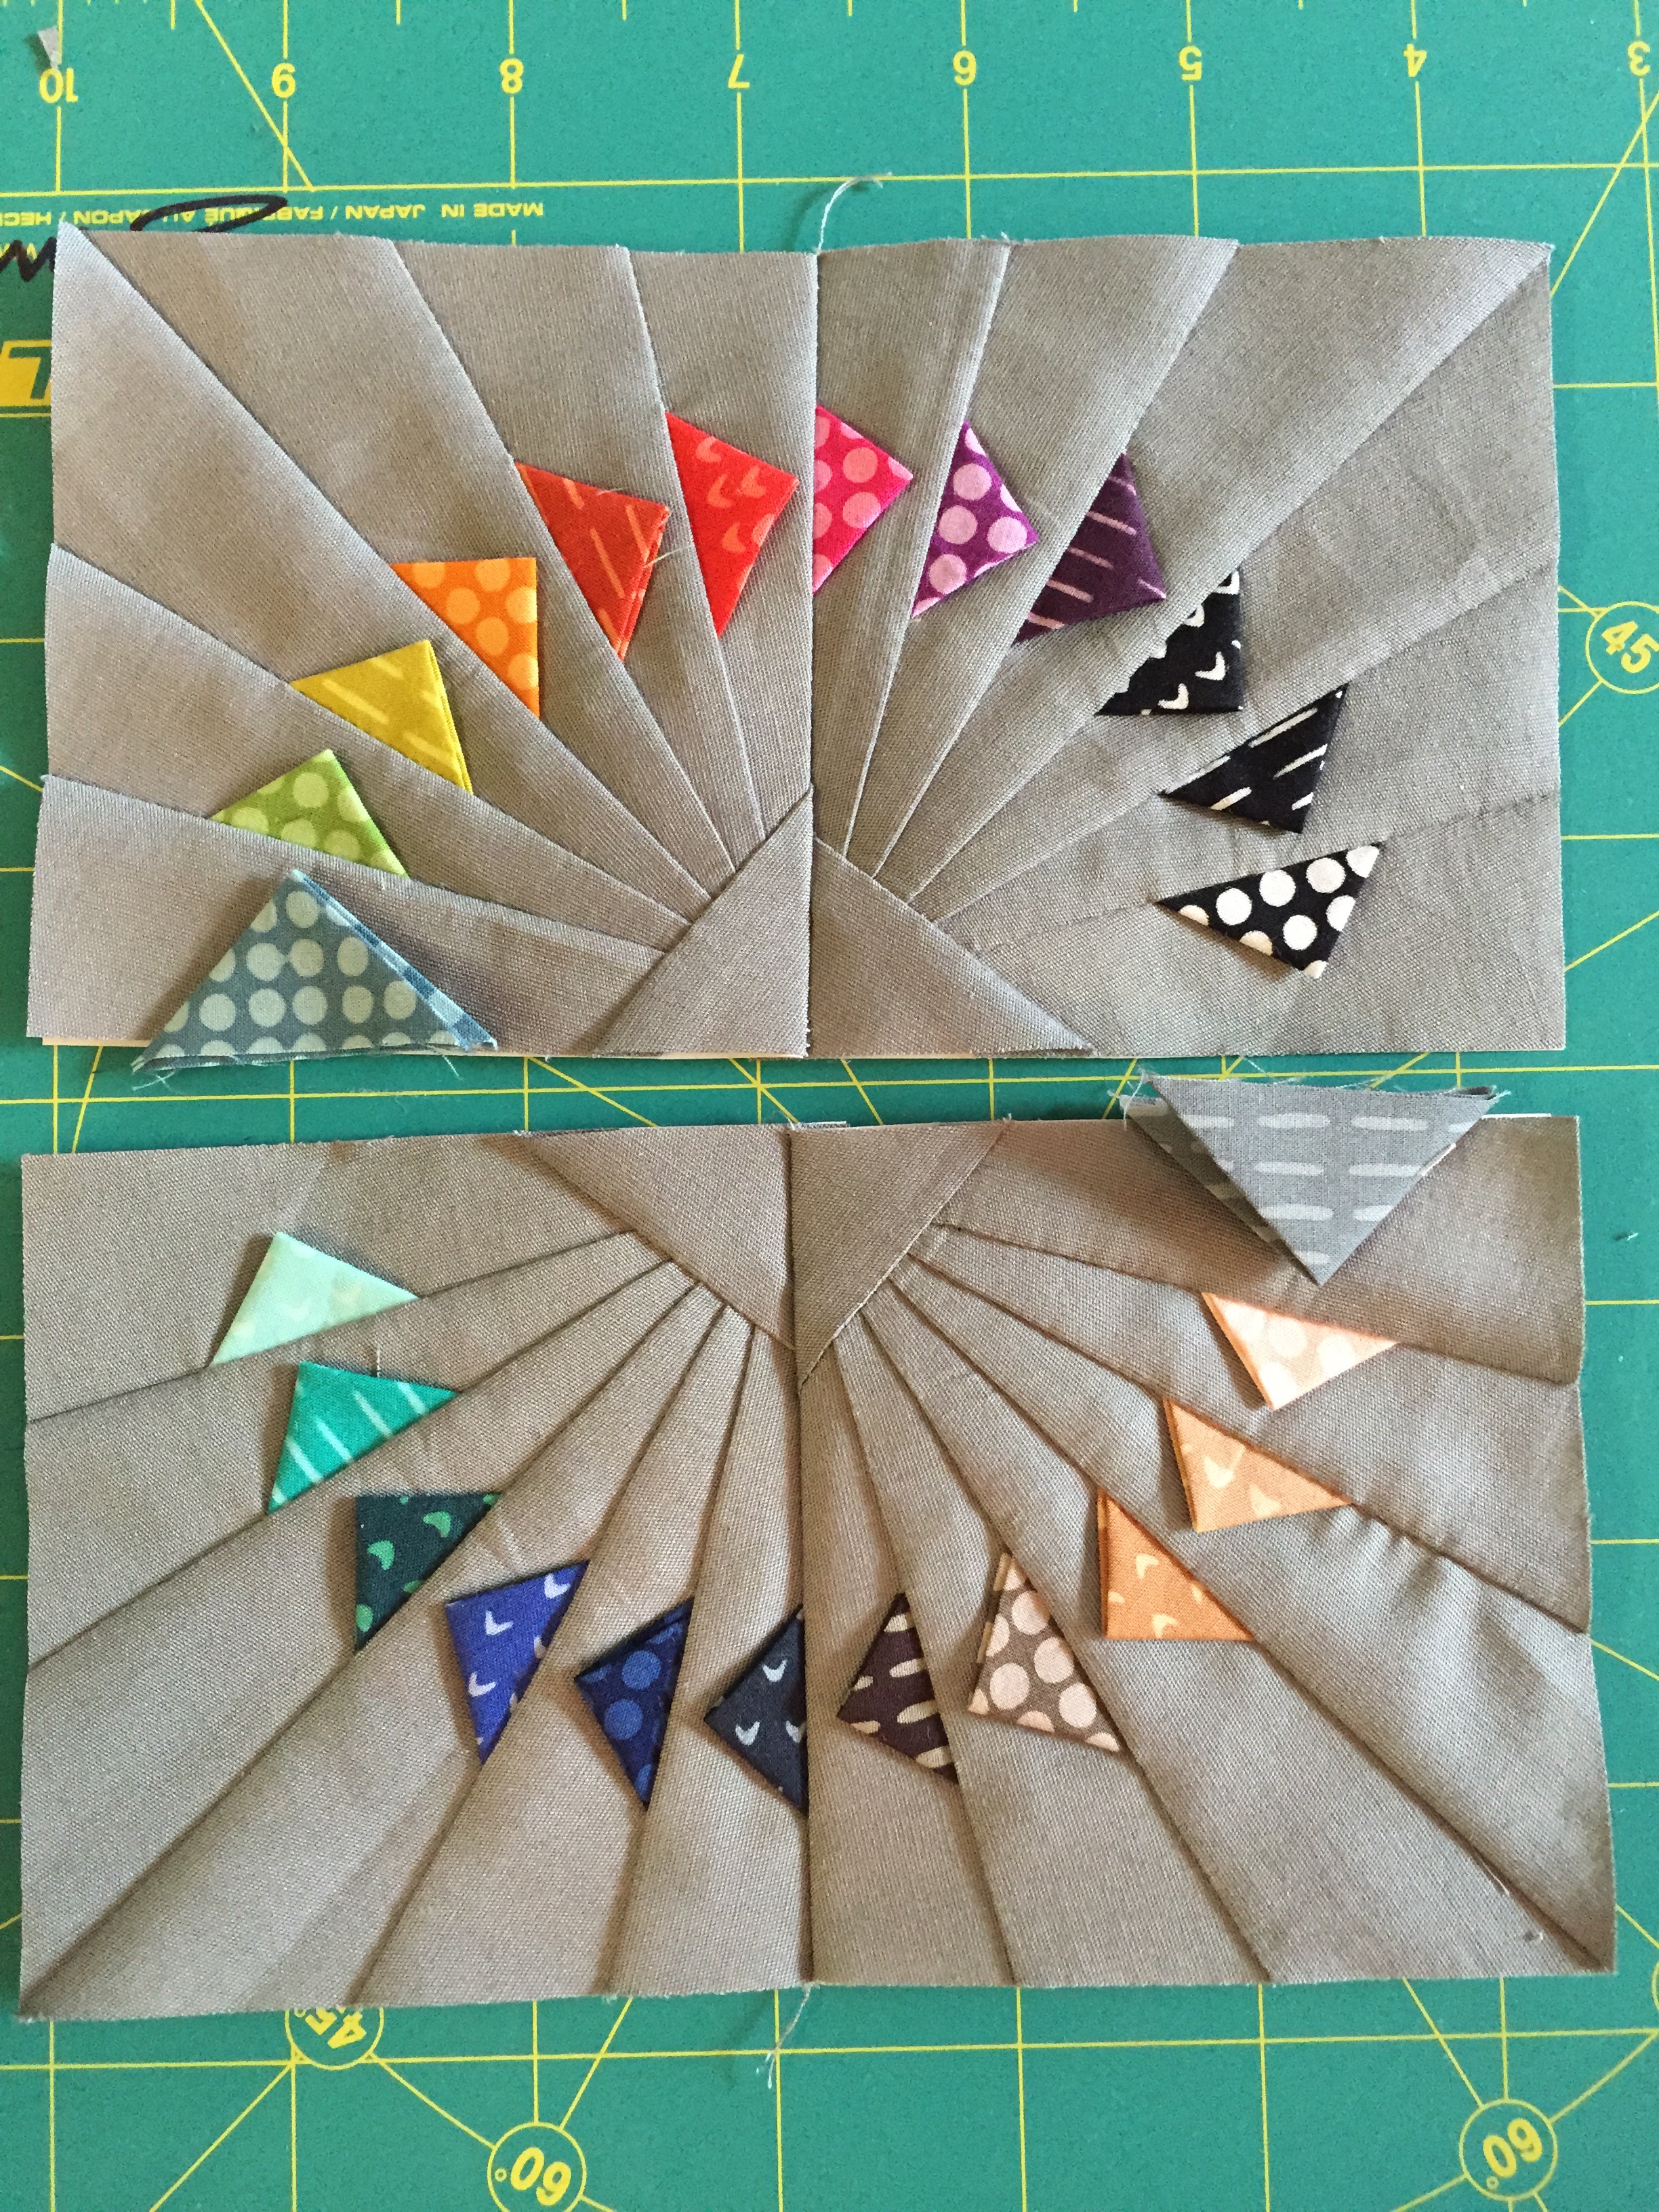
Piece the remaining quadrants, and don’t take off the paper yet:

Sew them together in pairs first, pressing away from the point of Prairie Point 13:
 Then sew the halves together:
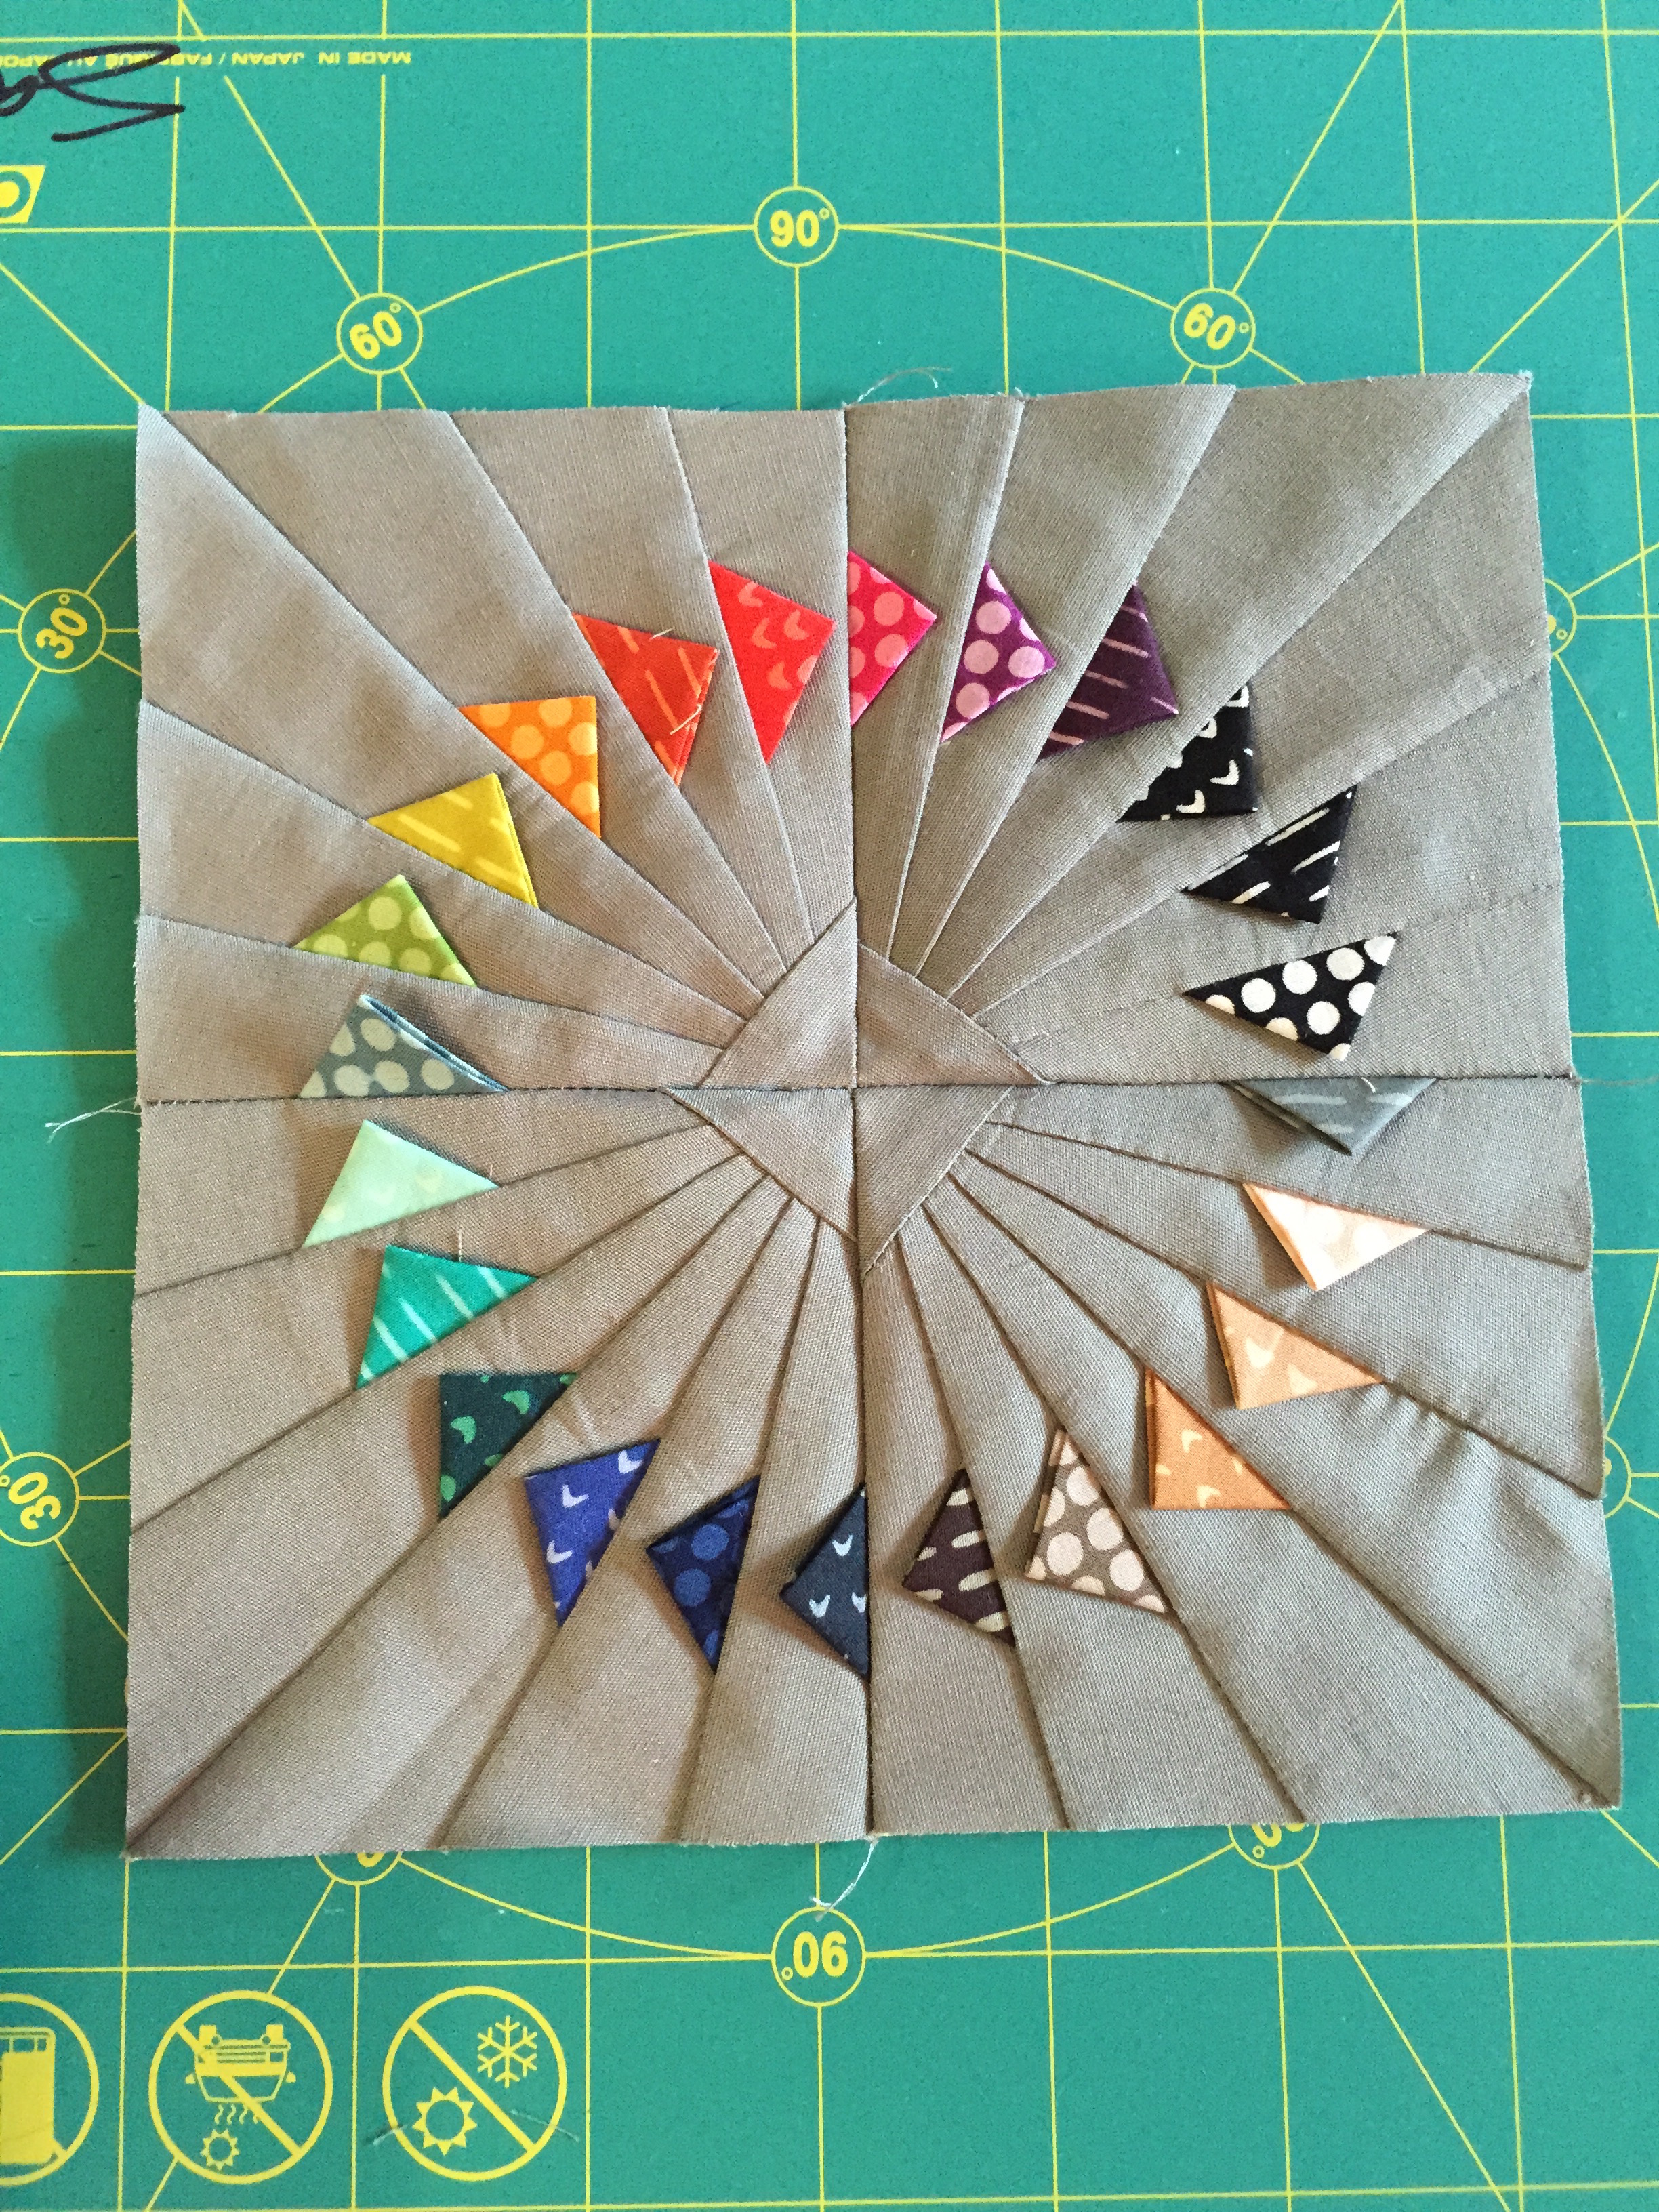
Flip the block over, and unpick the seam allowances in the center of the block – just the allowances, not the seams! Fan them out so they “spin” in the center. This allows you to press all four quadrant seams in the right direction to allow the prairie points to lay flat, while taking bulk out of the center.

Give the block a final press from the front! Peel the paper out, and perhaps press it one more time.
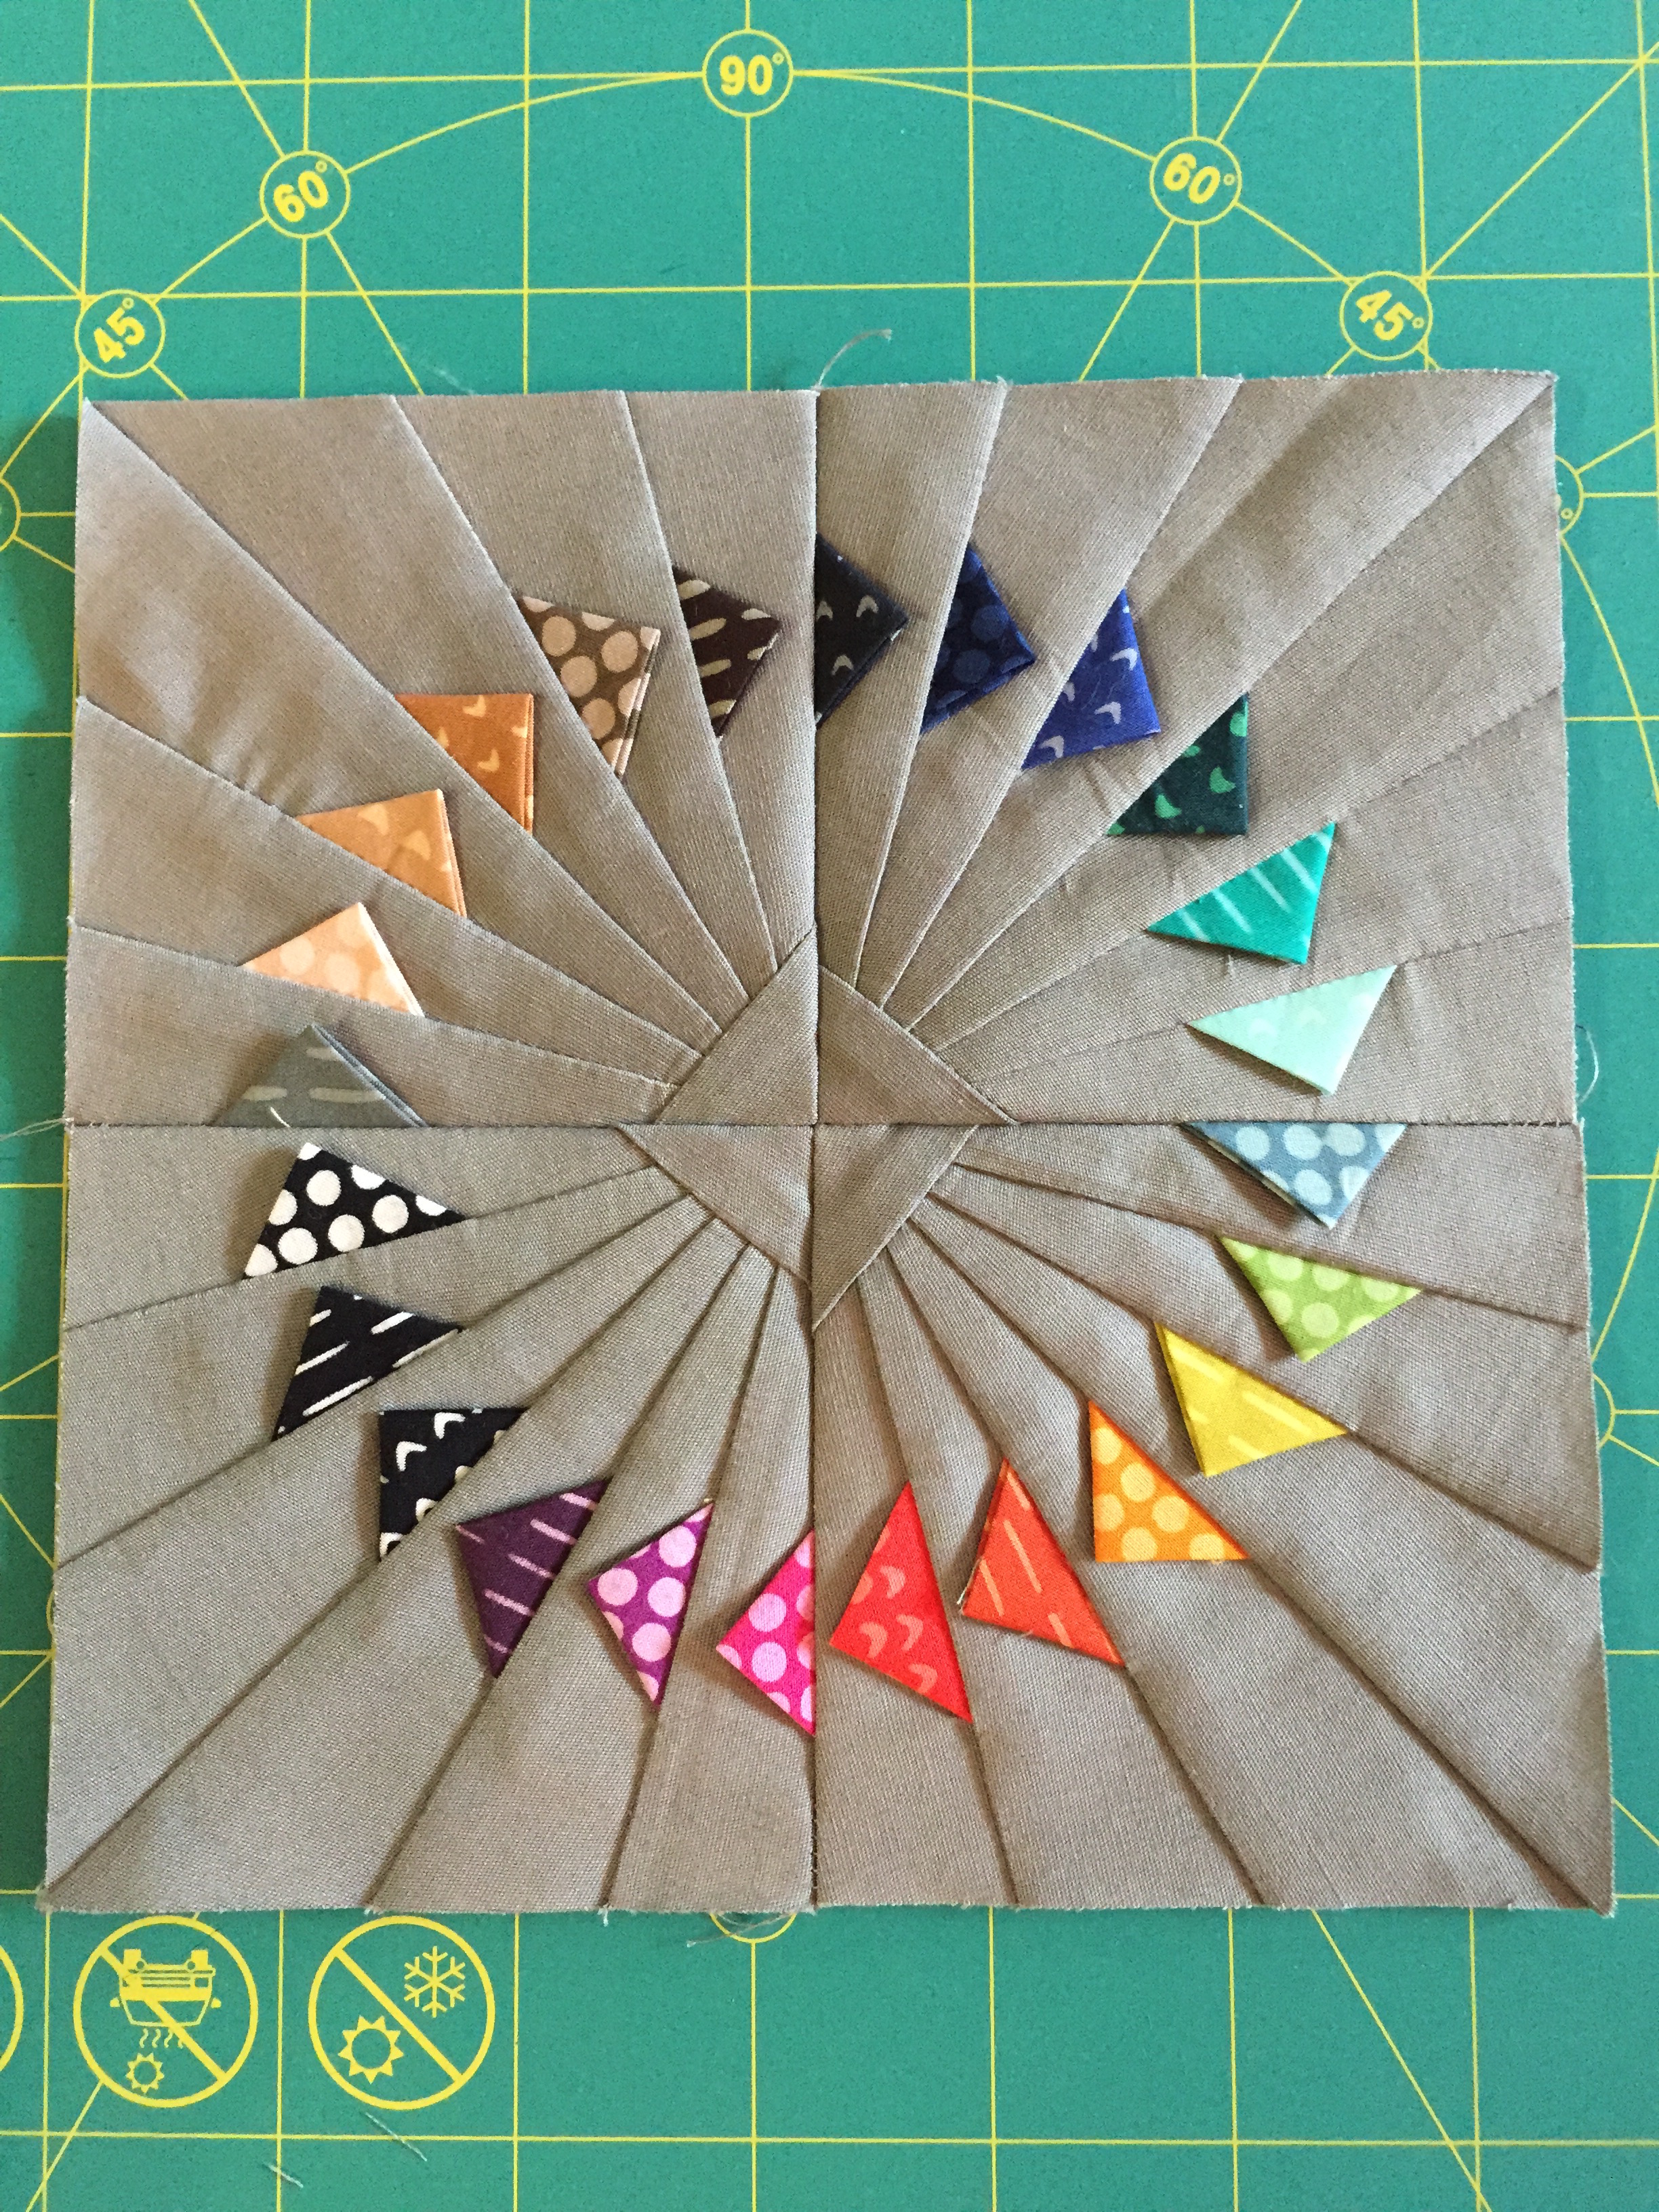
Turn your block into a thing!
What a fabulously tactile pattern! I would use the charms to try out the pattern right away!
Those little charms would make great mini prairie points for the pincushion. Love what you are designing and would love to win the charms and pattern.
My grandmother used prairie points all of the time. And she had a great sense of color. I would make a pincushion and display it with her picture.
Love, love, love Hoffman Batiks….nothing like them anywhere. I can see these cuties as trim focus on the yoke of a western shirt or maybe the hem area of a twirly skirt or border on a wallhanging or……….. and the list goes on and on. Would love to win this! Thanks for sharing your talents!
Ow I would make the pincushion and mug rug for sure!!!!!
That pin cushion is the cutest thing I’ve seen in forever. I would love to make some for presents for a retreat I’m going to in November.
I would use them for your pattern!
I would totally make mug rugs! Those are just tooooo cute!
I would start with the mug rug, but I would make it a hot pad. My mother used hot pads as trivets and I am always looking for new ideas. The pincushion is pretty tempting too.
With the inspiration of your pillows and pincushion, it’s impossible to think of doing anything else with the mini charms! Want, want, want!
I would love to make 3-D points on a big quilt for added layers and I think these minis are such a inspriation to do that.
I would use them to make the points. Love the patterns.
Prarie point blossoms on a baby quilt with borders made with 3D Prarie Point insets.
I would make a wall hanging. Love your projects, and your color combinations. Thank you for the giveaway.
I would make one of those gorgeous pincushions for my local guild’s silent raffle at the fall quilt show. Everybody will want it!
I’d love to win! I’d make a pillow with your pattern. And I’d use the swatches to also make a crib quilt patchwork center! I love working with pre-cut squares. thanks.
I LOVE THIS… your email really touched my fancy this morning. 16 shades of WOW.
I would make mug rugs for my family for the holiday gift giving season. I am also looking for the next thing to make for them and I think this could be IT!
These are gorgeous. I would love to make a couple of the pillows for myself and as gifts.
I think they need to decorate the bodice of my little grand’s dress!
I’d make the pincushion which is super cute.
These would look great on a wearable – maybe a vest or jacket. Also, on a border for a larger quilt. So many ideas are coming to my mind!
i would love to try the pincushion or mug rug if I win! (After I fondle each little piece that is!)
I really like these Me + You Indah solids & prints! They’re going to be sooo useful! Your pillow & pincushion patterns with Prairie Points are adorable. I would love to make a pincushion from your design. Thanks for the fun giveaway and your Tutorial.
just noticed that I typed my email incorrectly in previous comment…this one is correct!
I’d make doll quilts, planning ahead for Christmas–Portland Firefighters Toy and Joy.
That pincushion is just too divine!! Well, all of these are wonderful – I am completely SMITTEN and must do this even if I don’t win!! Love love LOVE your blog and your great creations!
I would try the pattern for the mug rug with these lovely little gems!
Well, first off I would HAVE to make that pincushion but then I might use those charms to do some tiny improv for our guild’s President’s Challenge.
I love these fabrics and the pattern is great! Can’t wait to try it out. The mini charm pack would be great for EPP projects too!
what a great idea a little pin cushion. I think I will be trying that out soon.
A mini postage stamp quilt
Seems like those charms would work well for a “roll around on the bed with them” kind of thing, you know, like you do with a lot of cash. No? Well, then I’d learn how to make prairie points them.
I would love to use this stunning pattern on the front of a Noodlehead tote or pouch! Please, pick me!
I adore the pin cushion and love, love, love the tiny! PickmepickmepickmeMrKotter!
lol
stacy
Oh my, that pin cushion just makes me smile, I would have to make that and the mug rug and I do have a BFF sewing buddy Sandra that would deserve one of each too. Yes I would have to share all this cuteness.
That pincushion is very clever, I think I need to make a few…
Love the added texture the prairie points add. Would be fun to work these up into a baby quilt. Something for little fingers to play with.
I would use them for this pattern! It is adorable, and I’d love to try it.
Wow – lovely pattern, love the triangles (that grey is perfect background!!) I have the pattern on my wishlist….but pick me pick me LOL!!!!
I’d use them to make up this gorgeous pattern if i won 🙂
Definitely your pattern!
Love everything mini so I’d try that pin cushion out first!
Cute cute cute!
i would love to make a wall hanging with the charms and your pattern!
I would start with your pincushion pattern and then make a mini quilt. Love the colors of those fabrics! Yummy!!
What fun! I would definitely make a pincushion, and use remaining charms to embellish art quilts. Thanks for the chance to win!
I would have to try the pattern with these. Love it
These look yummy! They would be fun to work with!
I would make the small pin cushion. I think it’s just adorable
I would make cards with flags on them! These things look darling!
I love all things miniature and would have to make the pincushion as soon as possible!
If those mini charms are the right size for the pincushion, that’s what I would make. and then I’d give it to my new grandbaby to play with as a toy. I bet she could grab on to those teeny tiny prairie points!
I’d use them to make some of those exceptionally cute miniature prairie points, of course, on a miniature quilt.
My first thought was to add a solid or tone-on-tone to make a checkerboard design and turn it into a tote bag.
I would use some to make that cute pincushion and the rest for a little hexie pouch!
I love these and I am downloading the pattern tonight! I will be making a pin cushion and a mini quilt! Love love love!!!!
I would absolutely use them to make one of those darling pincushions. I just bought more ground walnut shells yesterday so I’m all set.
I love this pattern! I would definitely use the squares to make a pincushion or two.
I just have to make that pincushion!
Your prairie/geese are adorbs on that tiny pincushion! I would use mini charms in a postage stamp quilt or maybe for some teeny epp.
I’d use them to make the pin cushion. It’s super cute!!!
I would love this to make me a new pillow for my sofa!
Having a blast checking out your website! I would make the pincushion ! Thank-you
I’d use them to make the pattern, twice! A mini and a pin cushion
I would make a mini quilt wallhanging out of the mini charms. I’m thinking something for fall.