
Welcome to my stop on the hop!

My preference for binding is to make BIAS binding, no matter if the quilt is straight edged or not. When I first started quilting, my amazing teacher, Marilyn George (Hi Marilyn!) taught me bias from the get-go.
Here are the reasons for bias over straight binding that matter to me:
- It lasts better before it starts splitting with age. This about the fact that there is one thread along the folded edge of straight binding. When that edge wears out, the result us usually a split running the entire length of the binding. With bias, at the fold, the threads are crossing in a pattern of XXXXXX, so if one thread gives out, it usually doesn’t take its neighbors with it!
- It goes onto the quilt with less chance of puckers. The little bit of stretch that happens with the bias just sits right down when you roll over to finish to the back.
- The joining of the two ends is a bit more forgiving. Again, the little bit of stretch makes it possible to not join up perfectly, yet still have it all come together.
- Making bias binding uses barely a couple inches more of fabric than straight strips. And with the way I cut it, there is no waste at the seams.
So how to calculate the amount of fabric you need:
- Measure the Width: W = __________________
- Measure the Length: L = __________________
- Add W + W + L + L to find the Perimeter of the quilt: P = ____________________
- Add 20 for fudge factor: P + 20 = PF (P with Fudge!) _________________________
- Multiply PF times the width of binding you want – for most of us, that’s 2 1/2” – to find the Area (yes, this is actually the area of the fabric needed, but no swooning just because you saw an algebra word!) PF x 2.5 = A ________________
- Divide A by W, the Width of the fabric you have… if it’s wider than 40”, just use 40 so that you have a bit more give in your fudge factor. NOTE: if you’re using an oddly sized scrap, just use the width here and it will work: A / W = __________________
- And that’s how much fabric you need! And I always round this up to the nearest inch PLUS ONE (or one inch more if it’s right on the line) again for a bit more give in my fudge factor. I’ll tell you what to do with the leftovers at the end 🙂
So if I had a quilt that was 45” x 60”, it would look like this:
- 45 + 45 + 60 + 60 + 20 = PF of 230
- PF 230 x 2.5 = 575
- 575 / Width of fabric of 40 = 14.375 – so I will cut 16” of fabric.
Now to show you how!
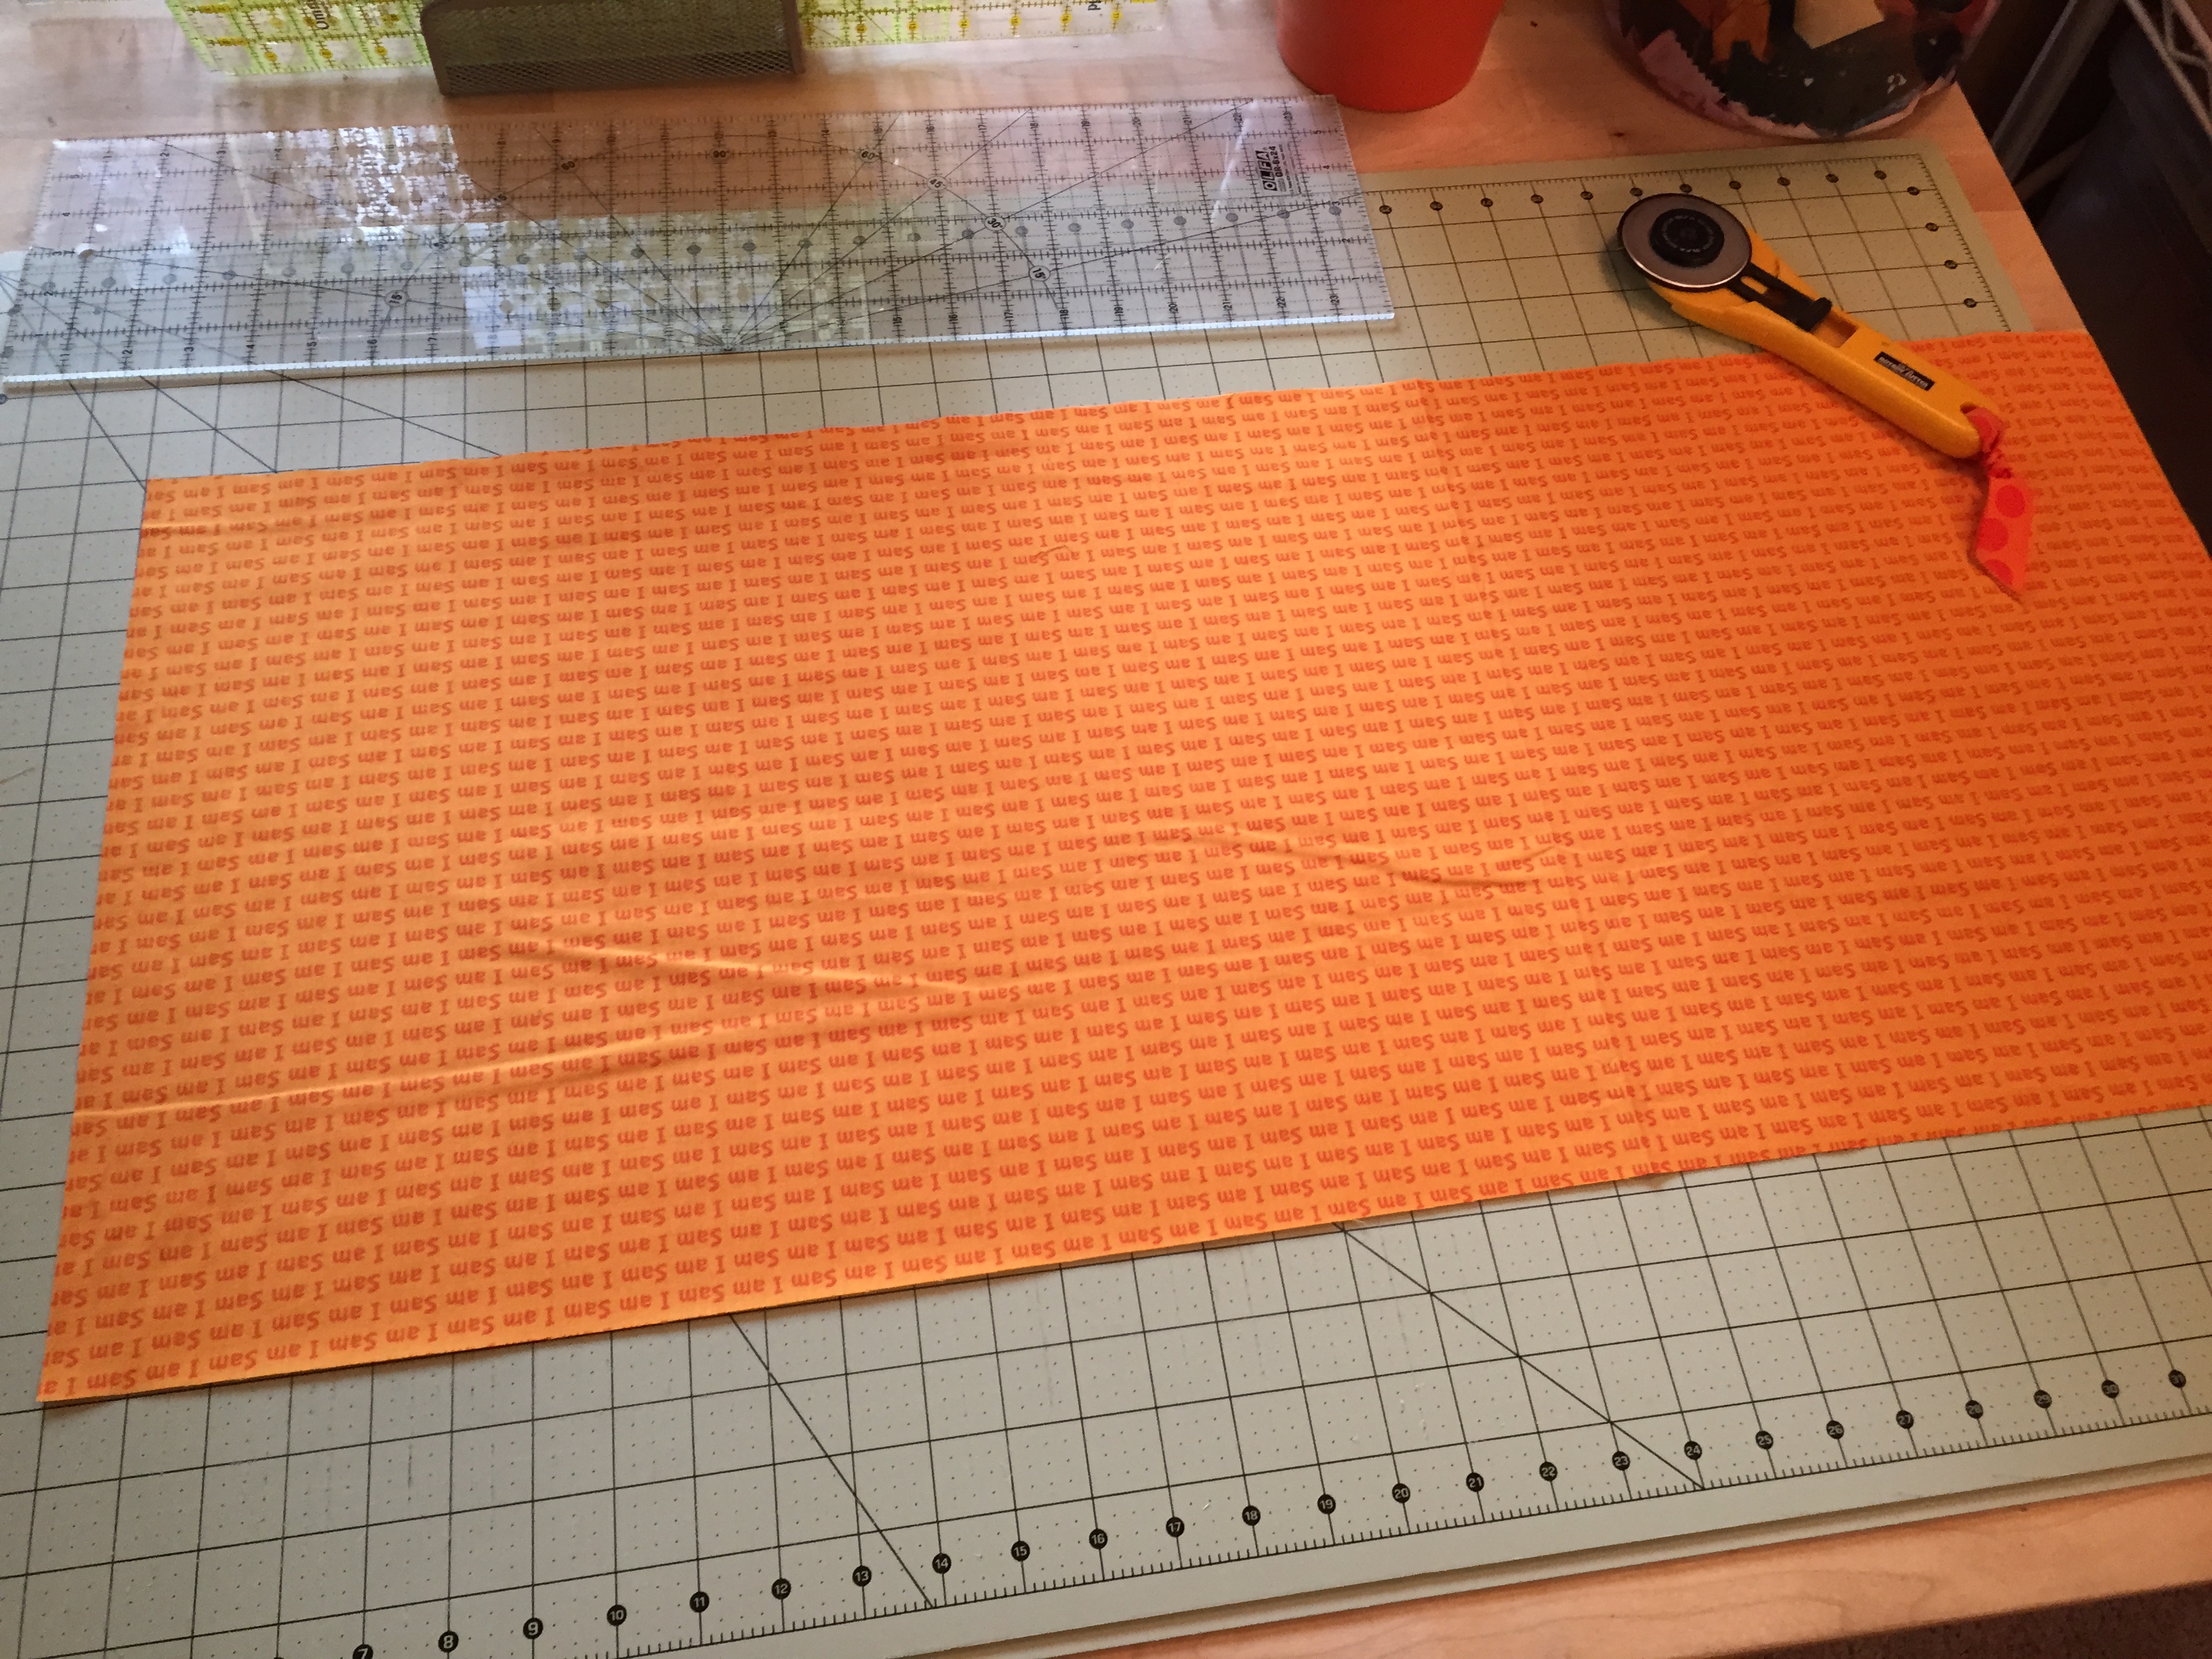
First cut that width of fabric, and remove the selvedges:
Lay the fabric in a single layer with the longest edge (the 40” if it’s full width) running horizontally:
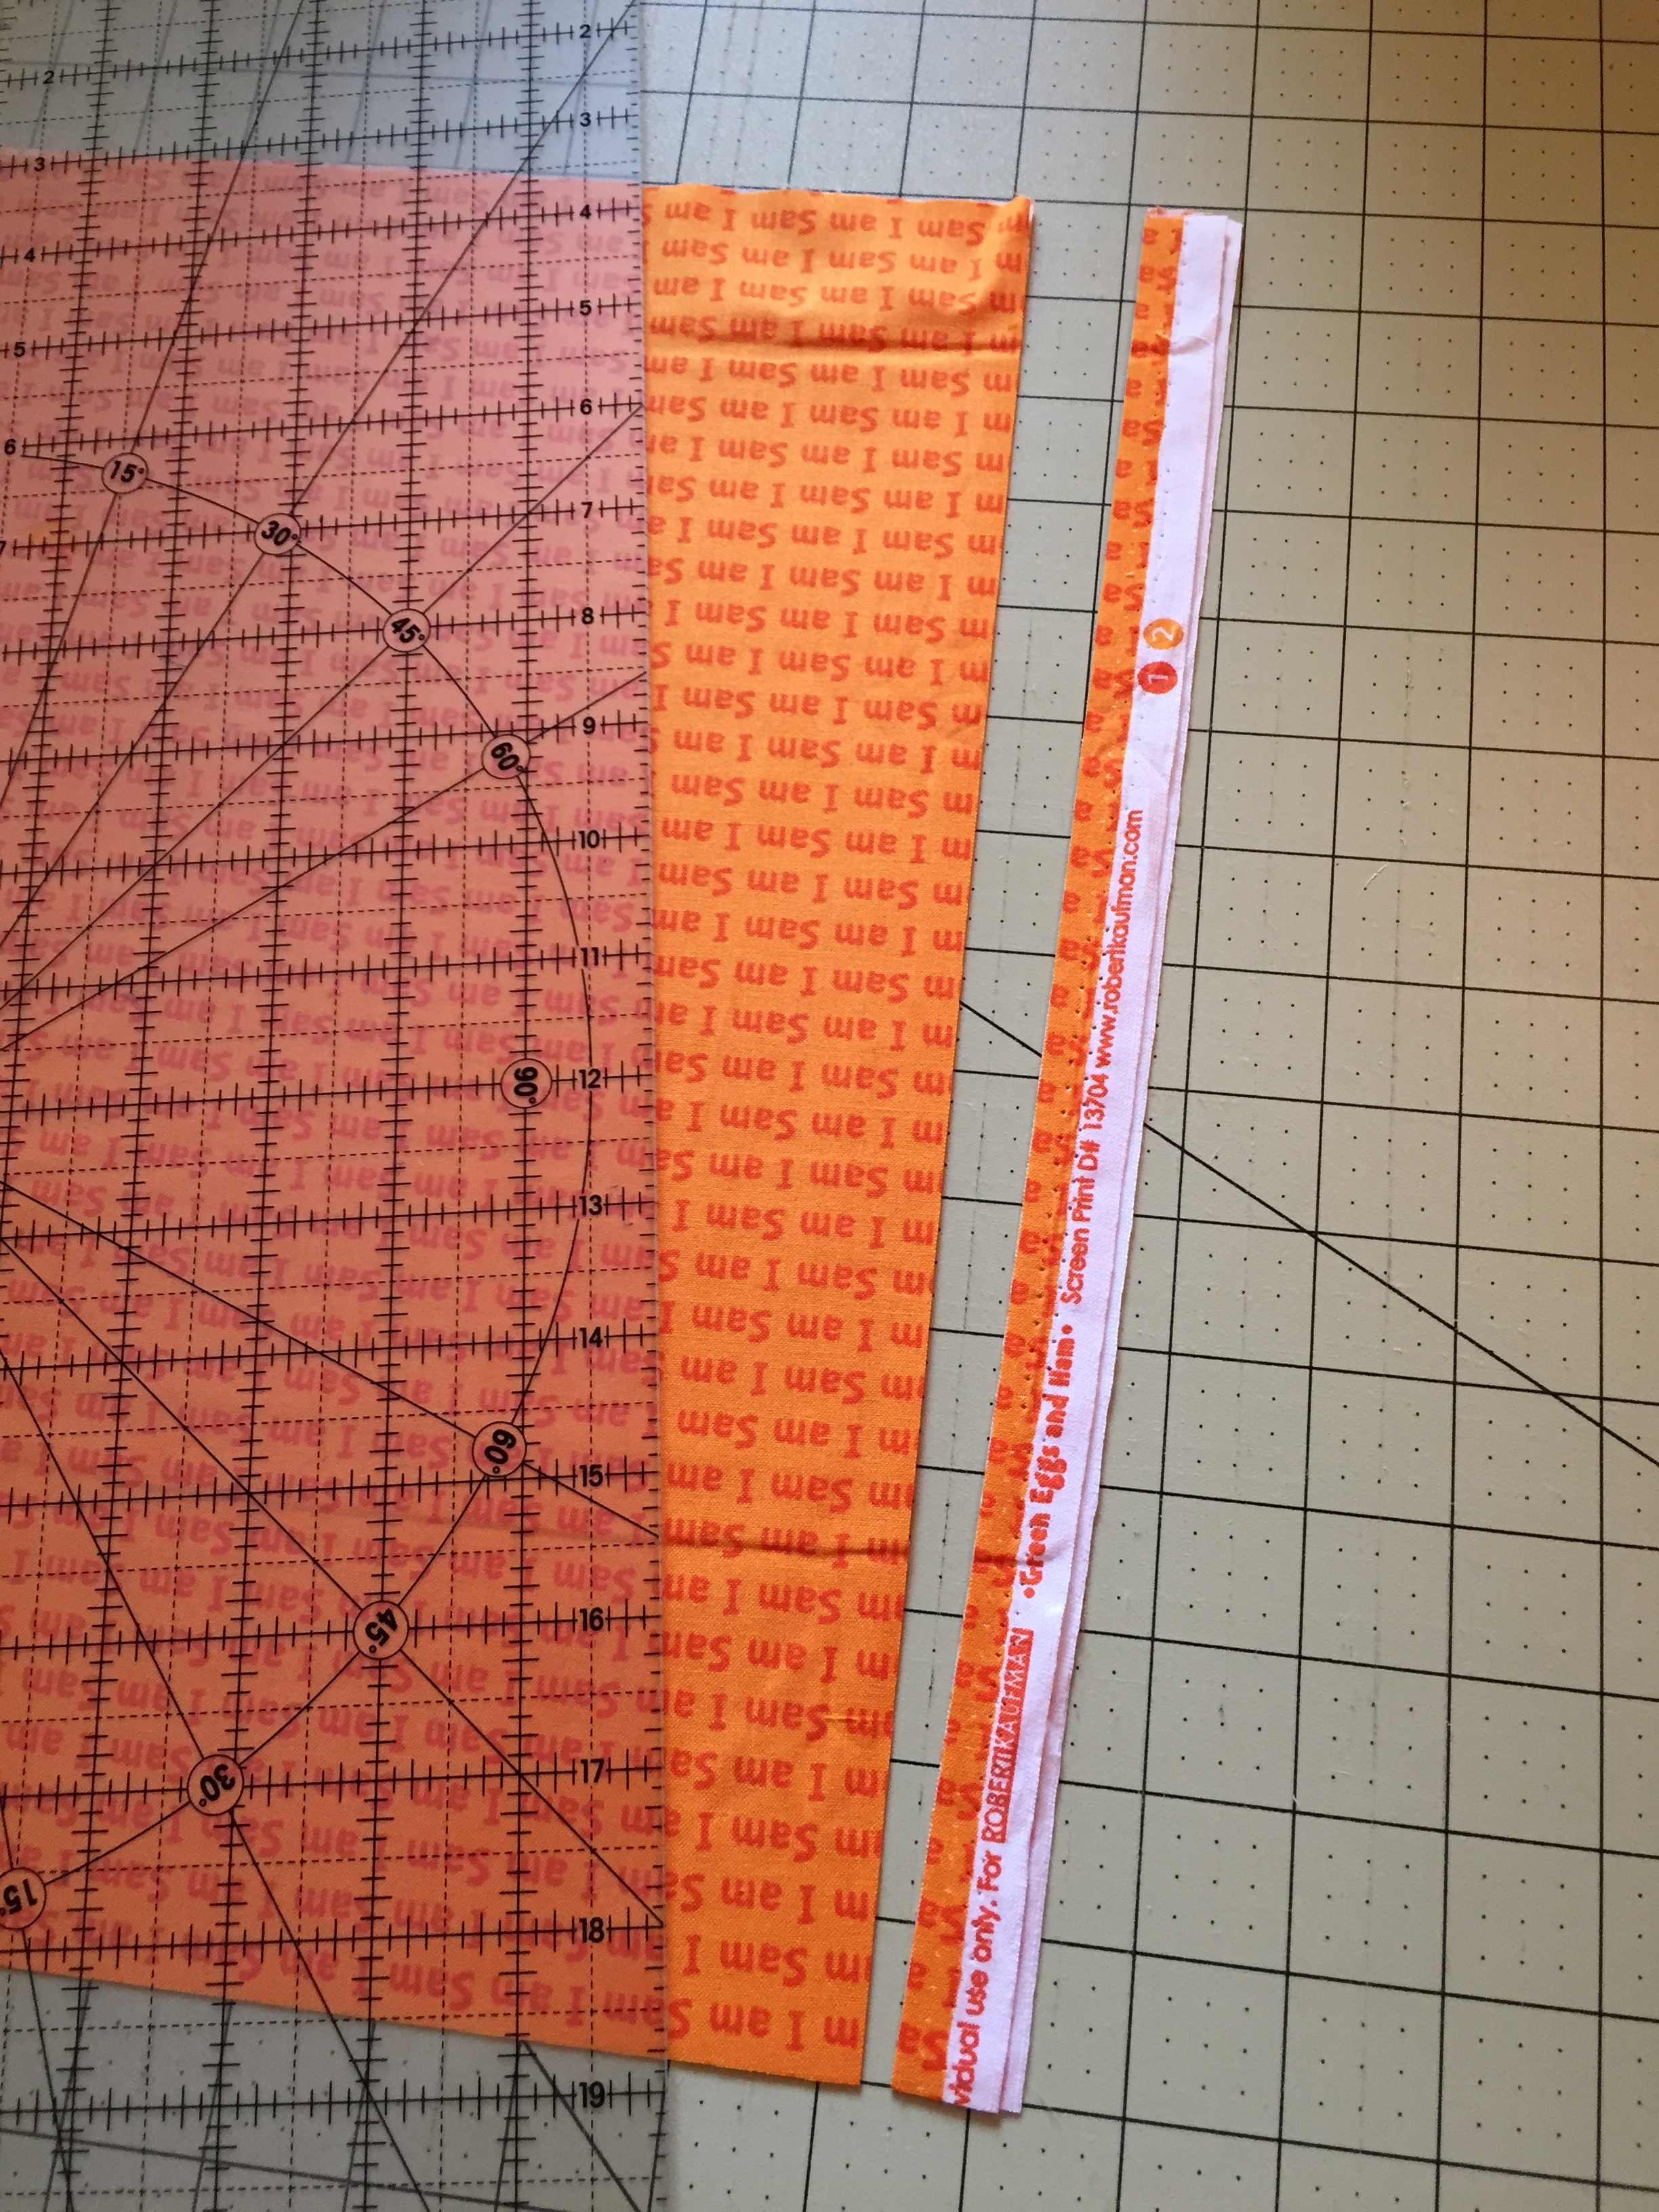
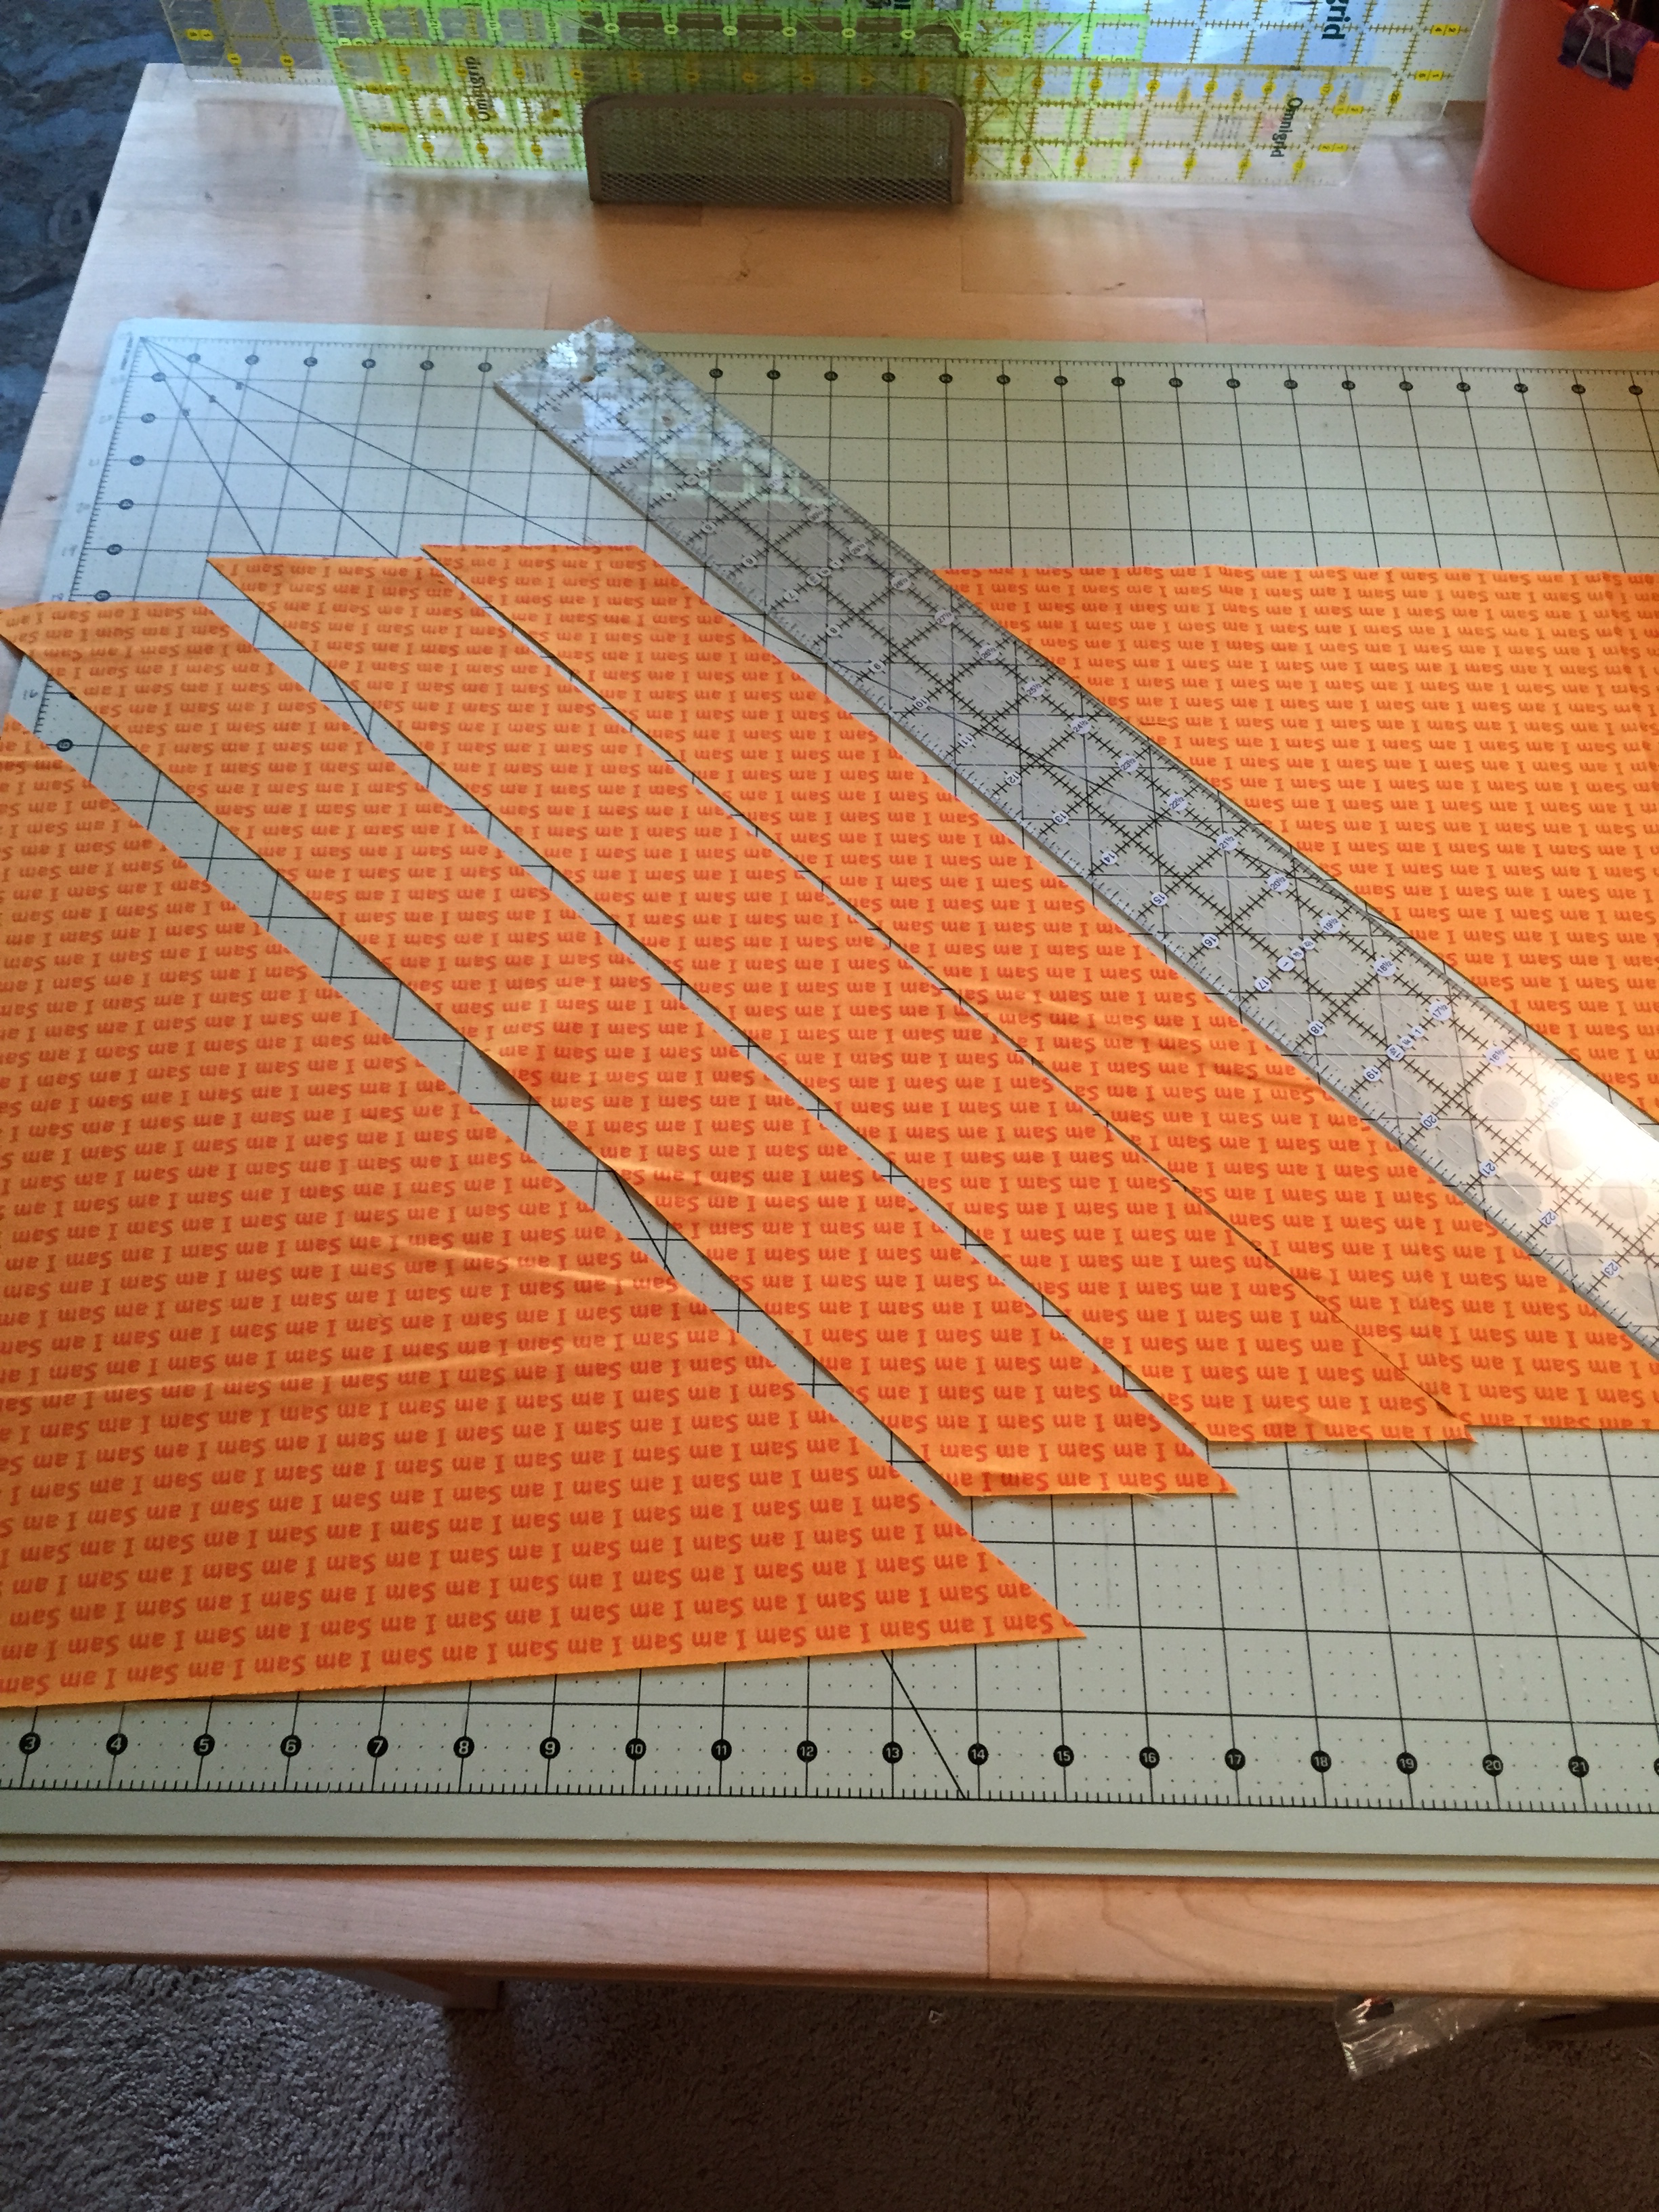
Position the 45 degree line of your ruler along the bottom of the fabric (this image is correct for right-handers – reverse it if you’re a leftie)….

… And the top corner at the upper left point. Use two rulers to do this if you have to. My second ruler is a 2 1/2” x 36 1/2” yardstick by Creative Grids, and it’s the perfect ruler for the job, especially if you’re cutting anything wider than about 15” (which you will be if you’re making binding for anything other than a lap quilt).
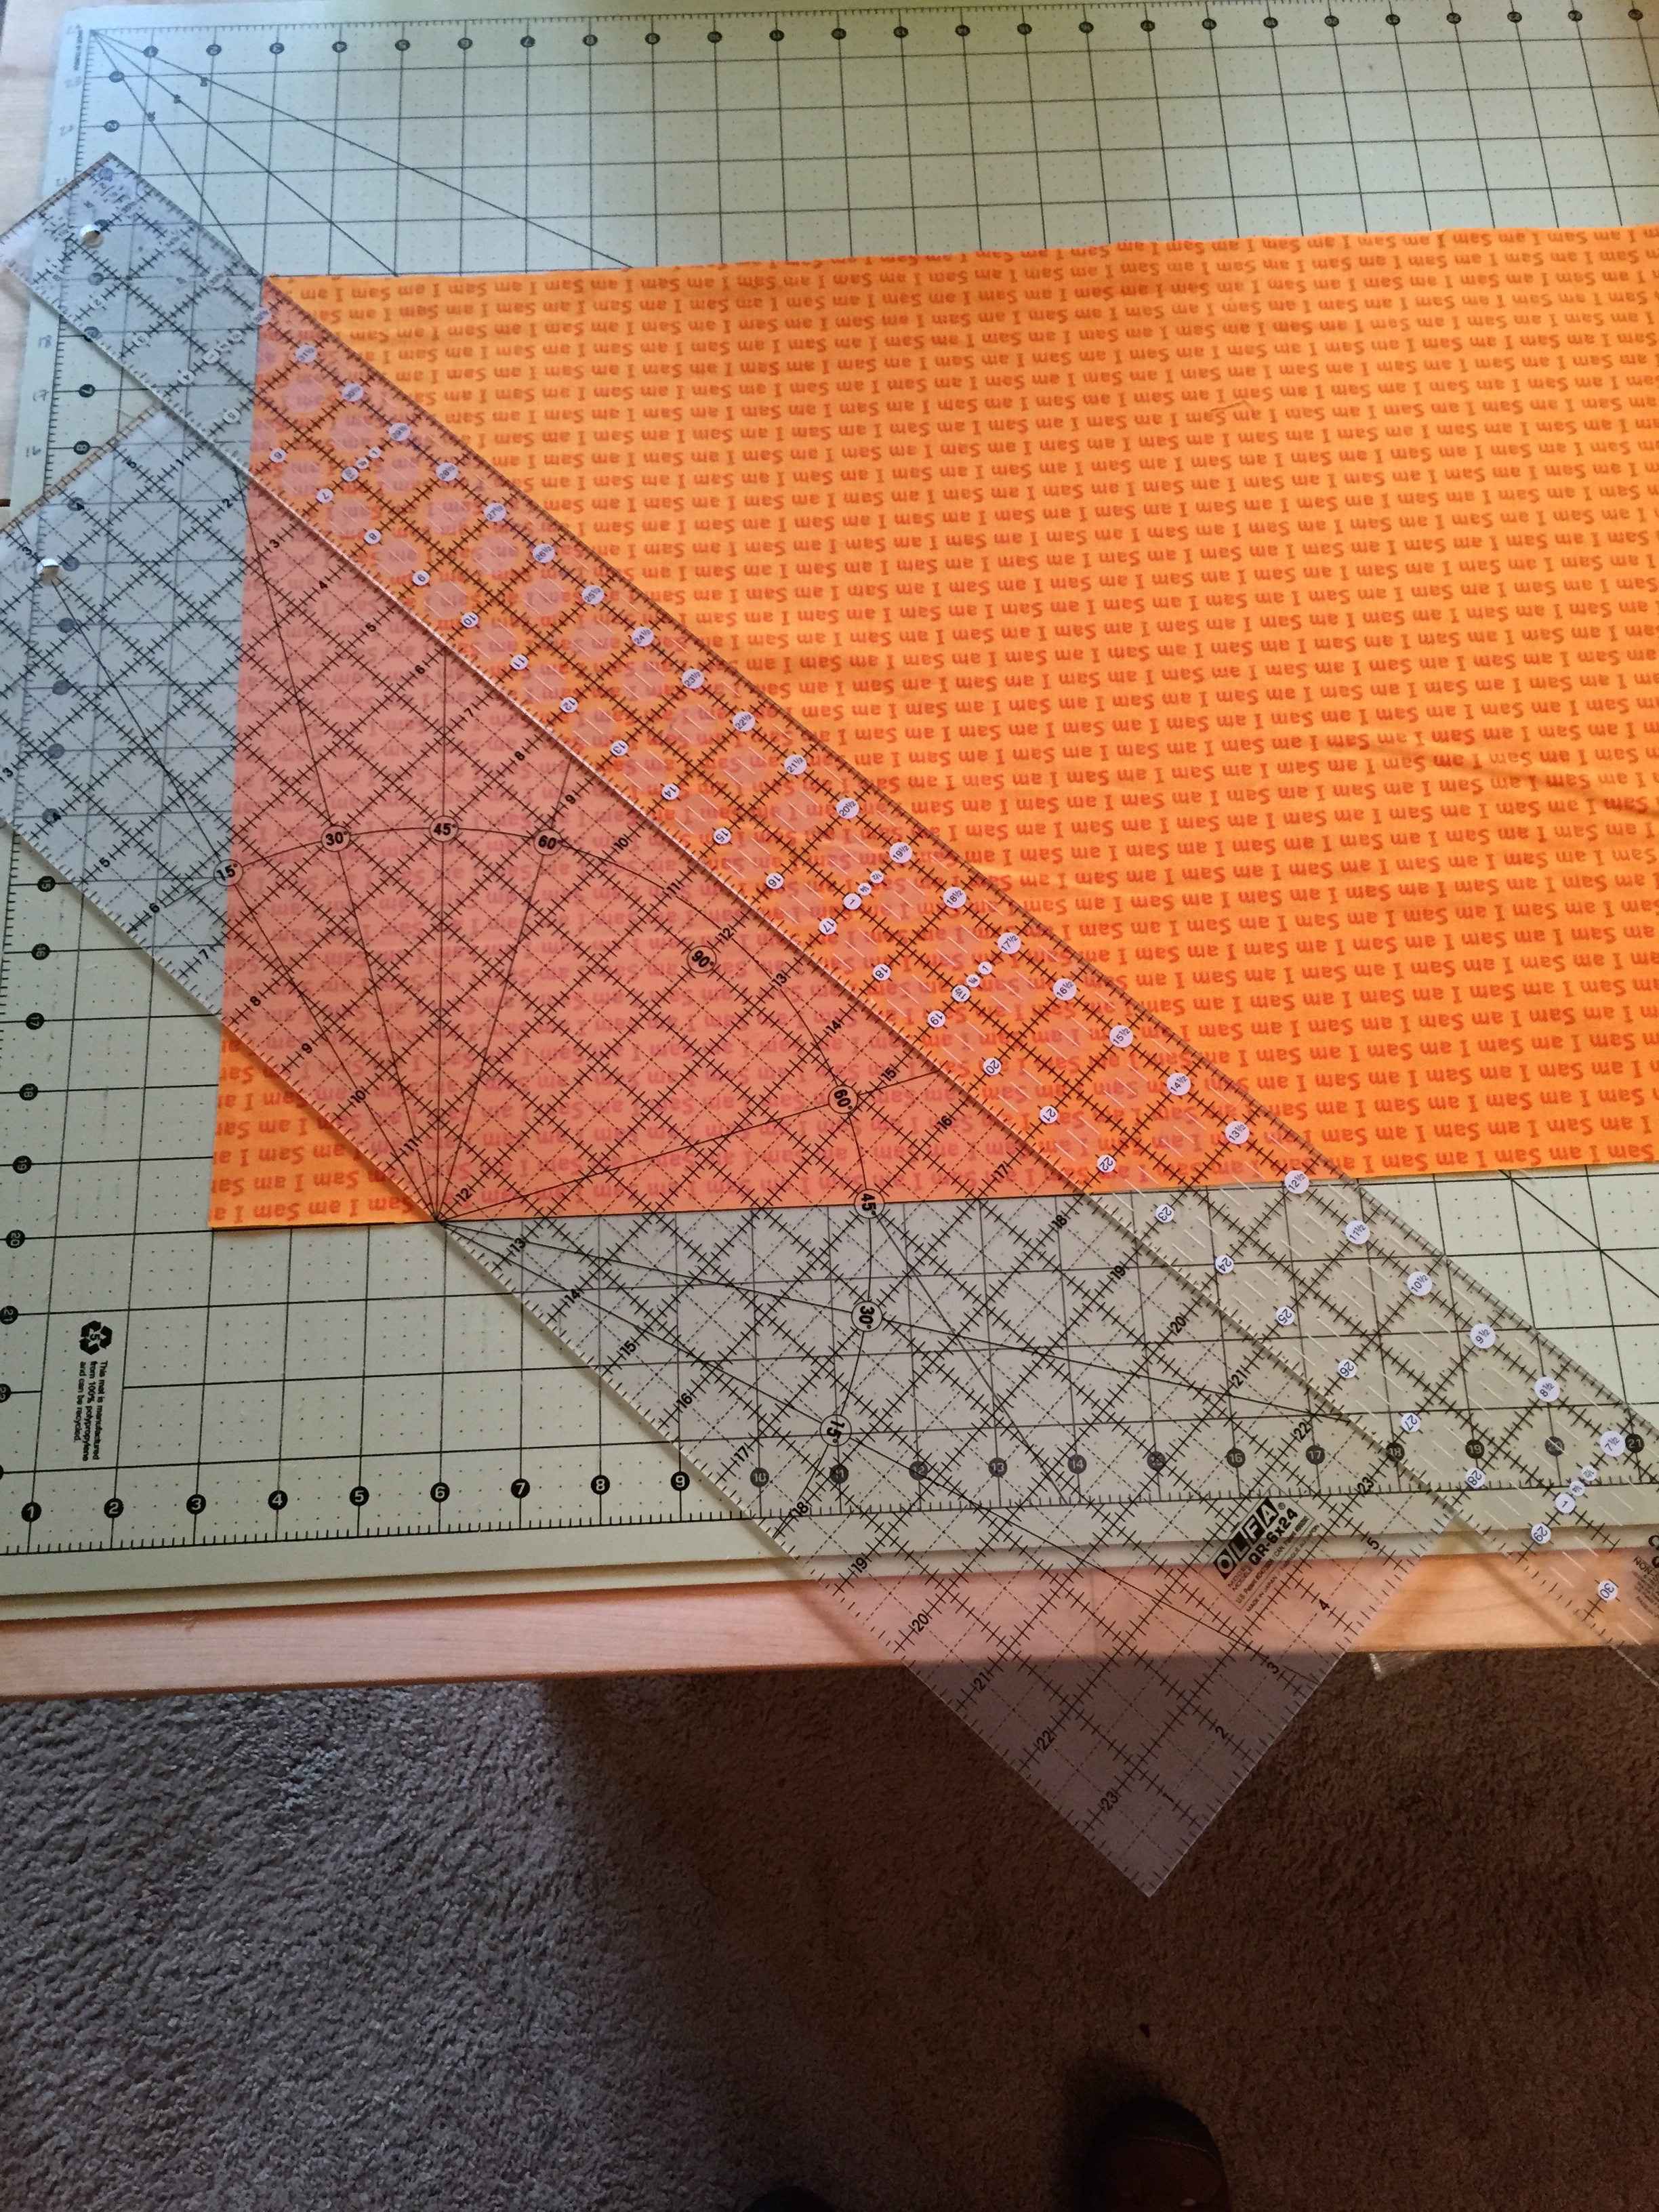
Make the first cut at 45 degrees into that top left corner:
Then cut the rest of the large piece in 2 1/2” strips (we’ll come back to that corner piece):
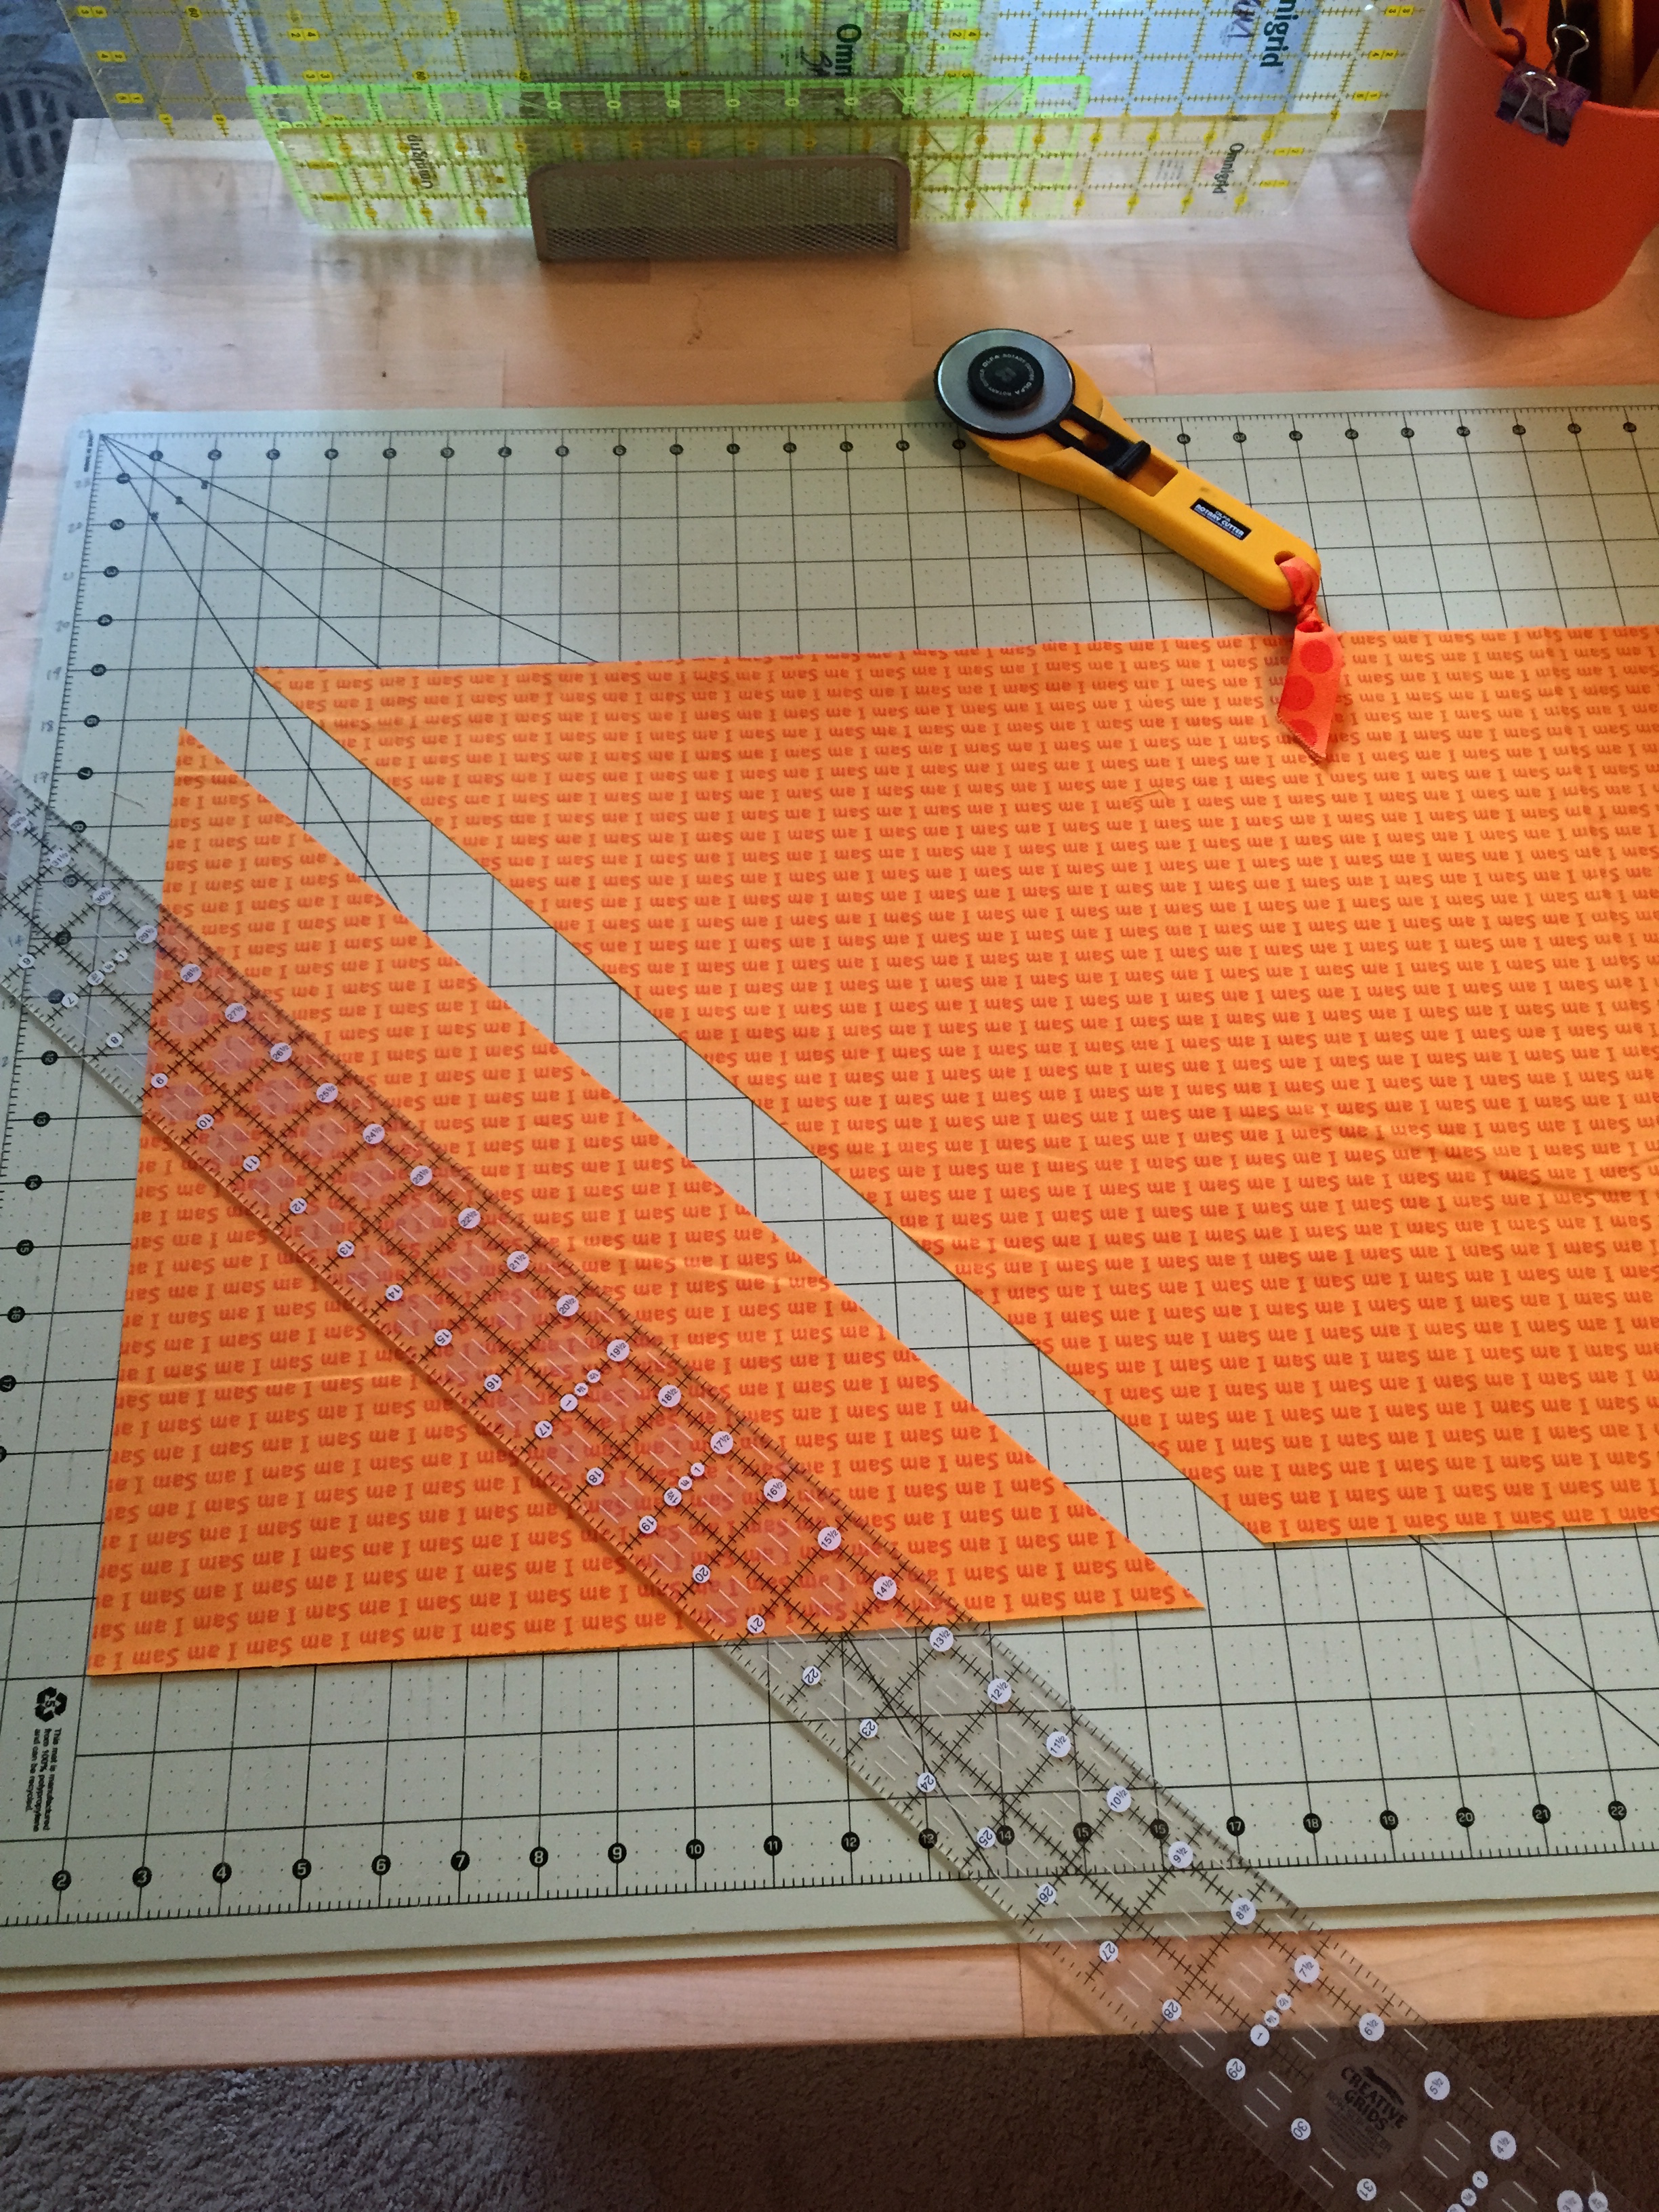
Cut until you make a big triangle at the end. You might need to trim the last cut to make it clean:

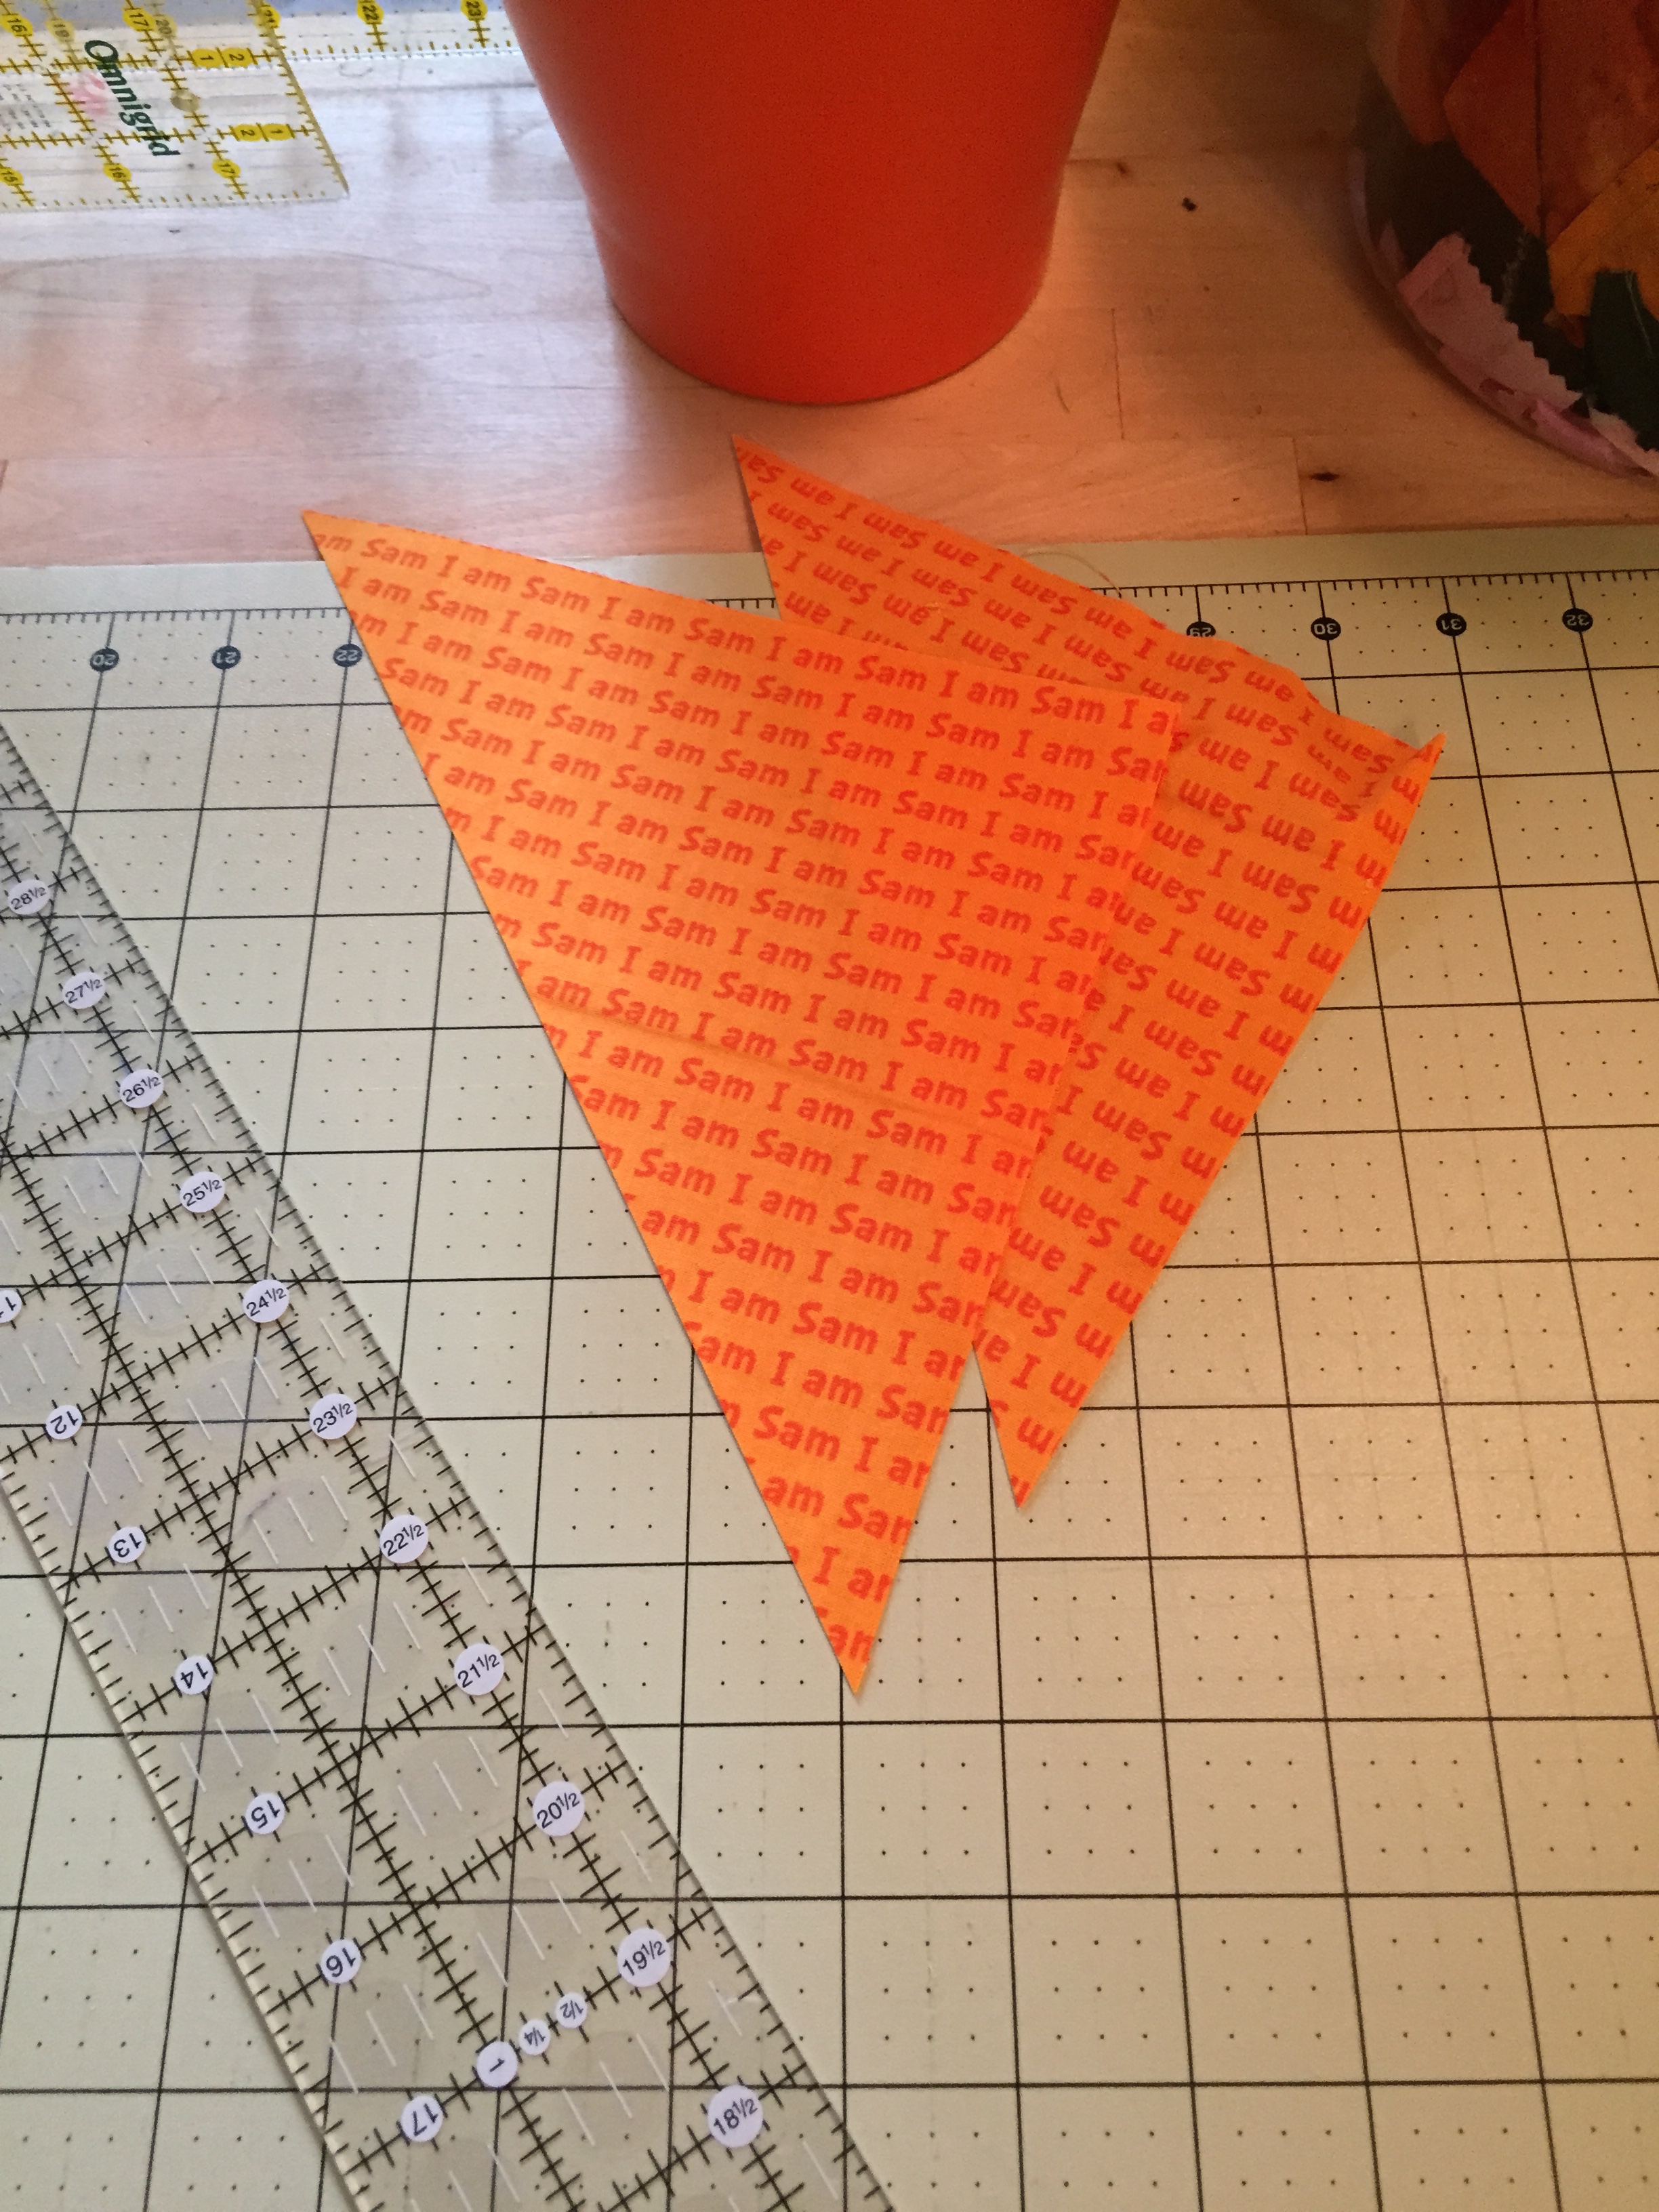
Cut both the beginning and ending triangles until they are down to around 6” or 8” (that’s why I add the fudge factor):
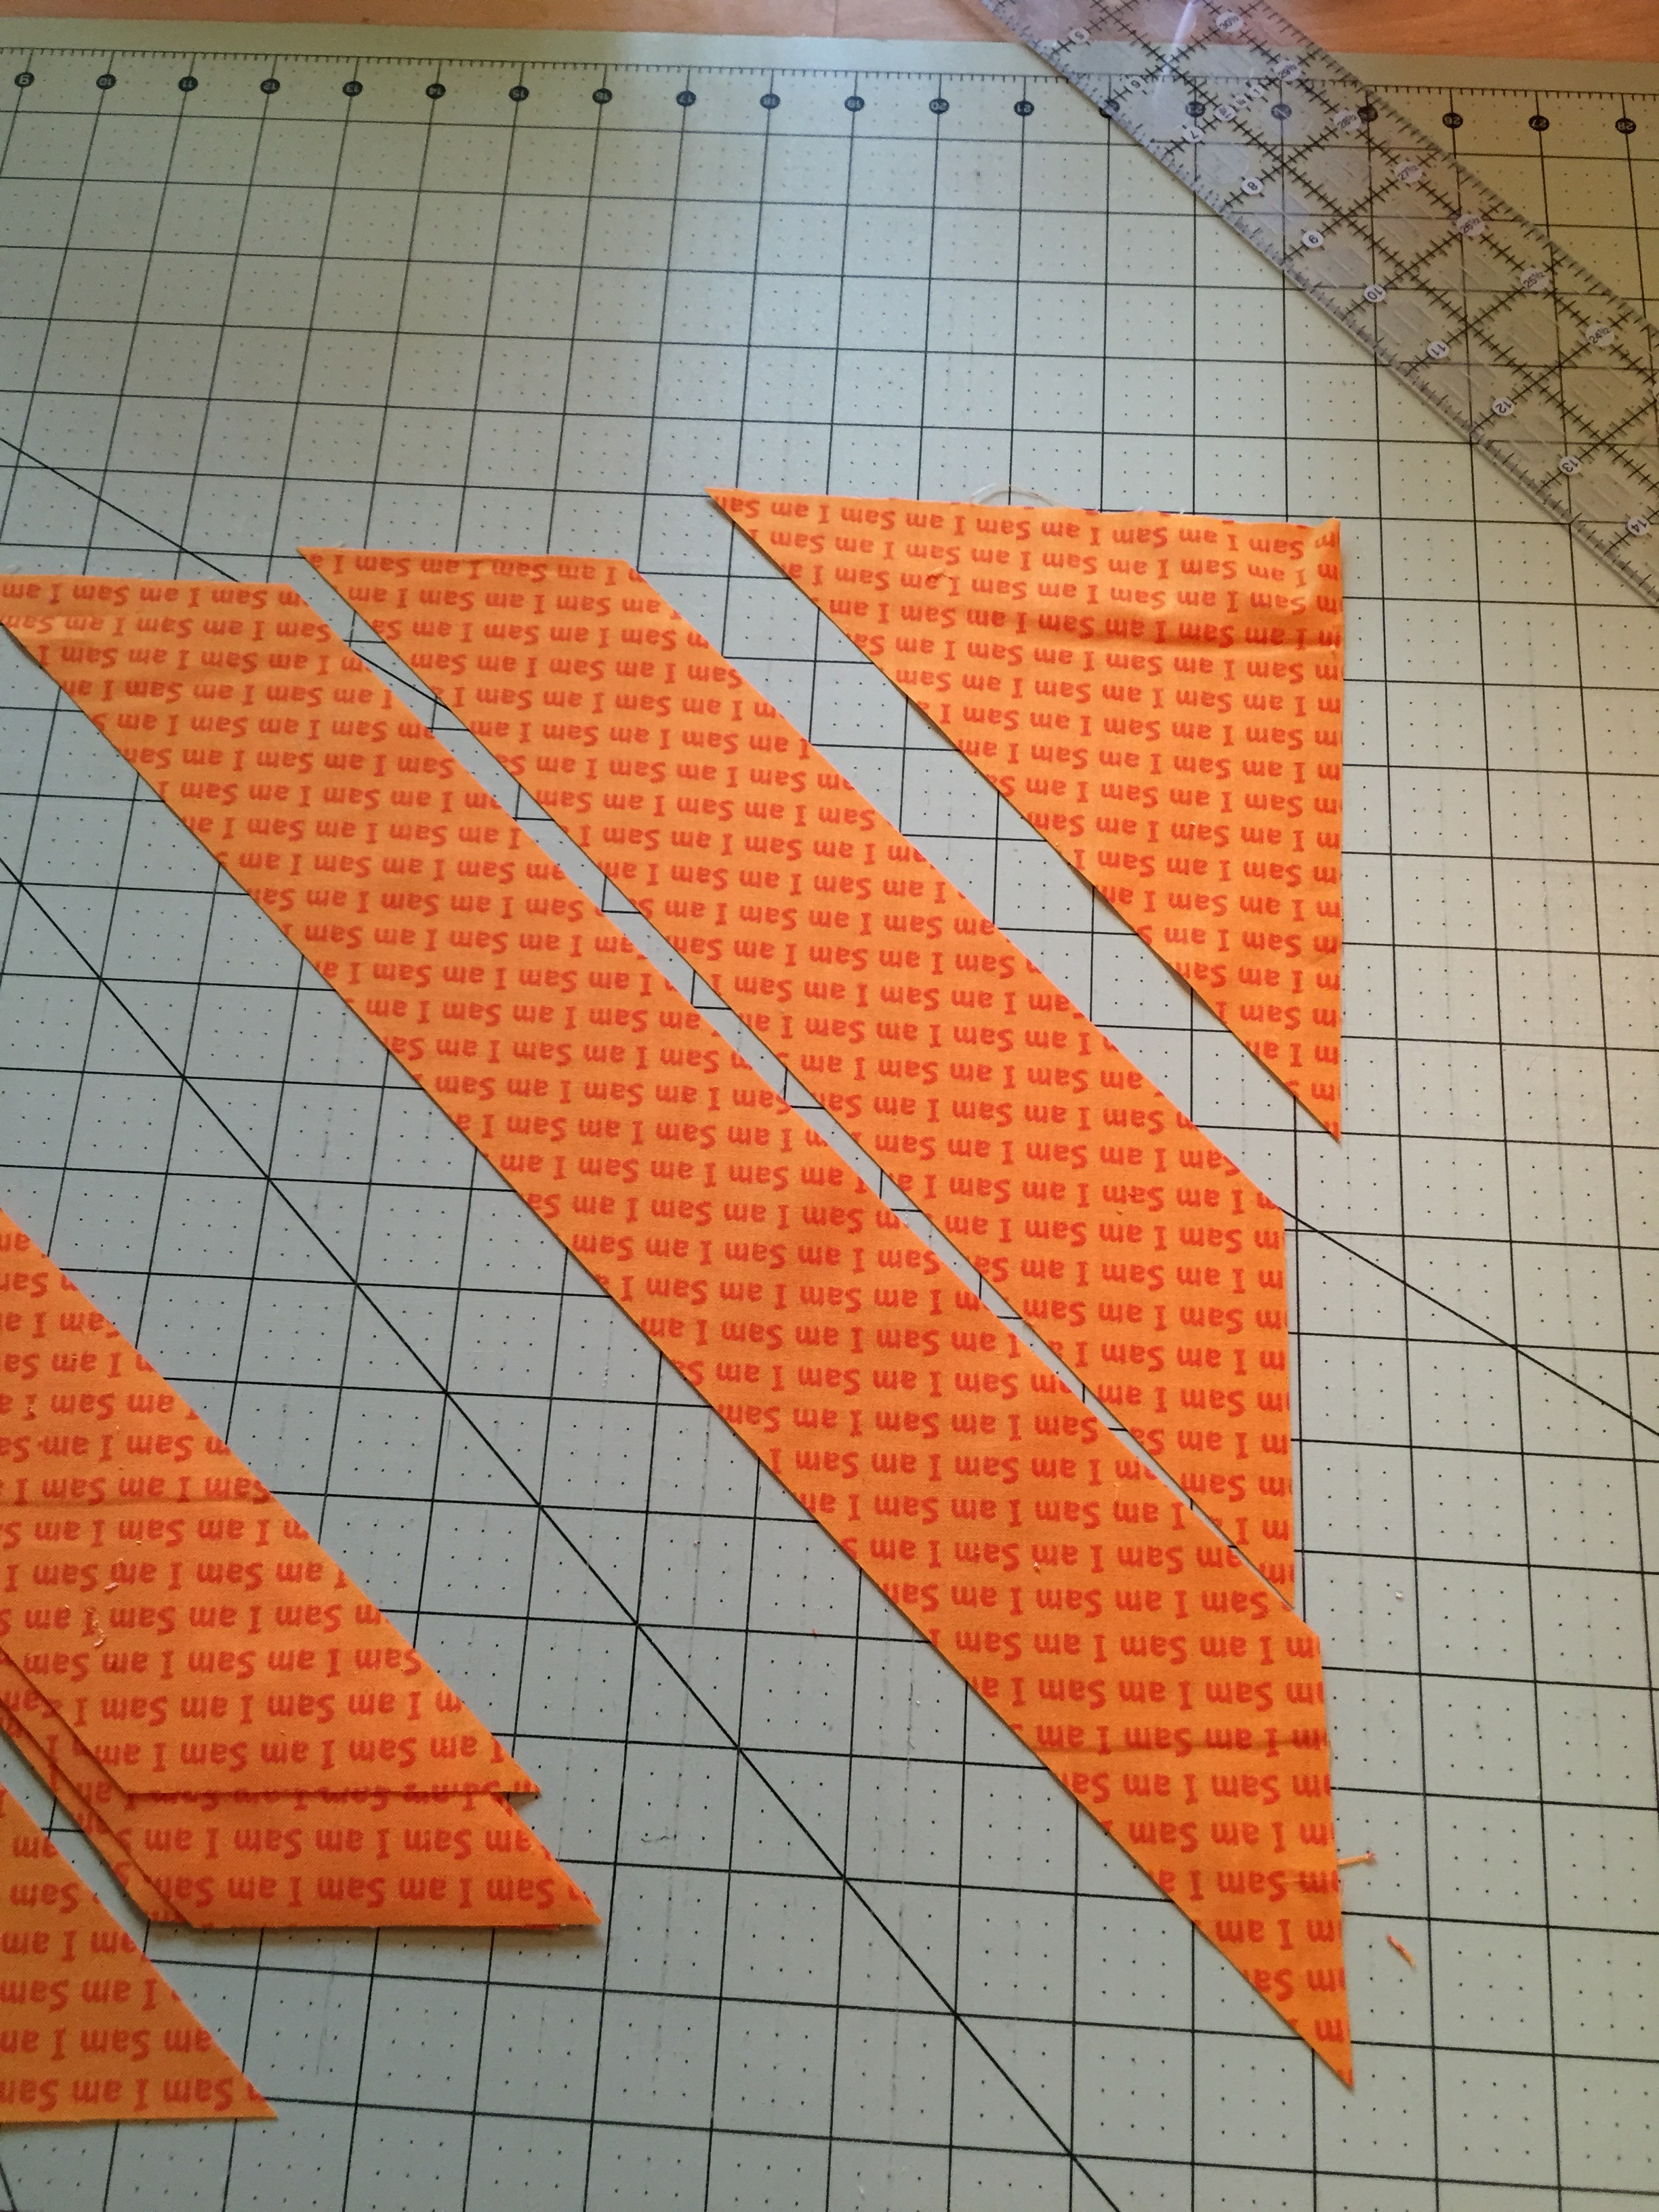
And add those last triangles to the scrap basket:
To the machine!
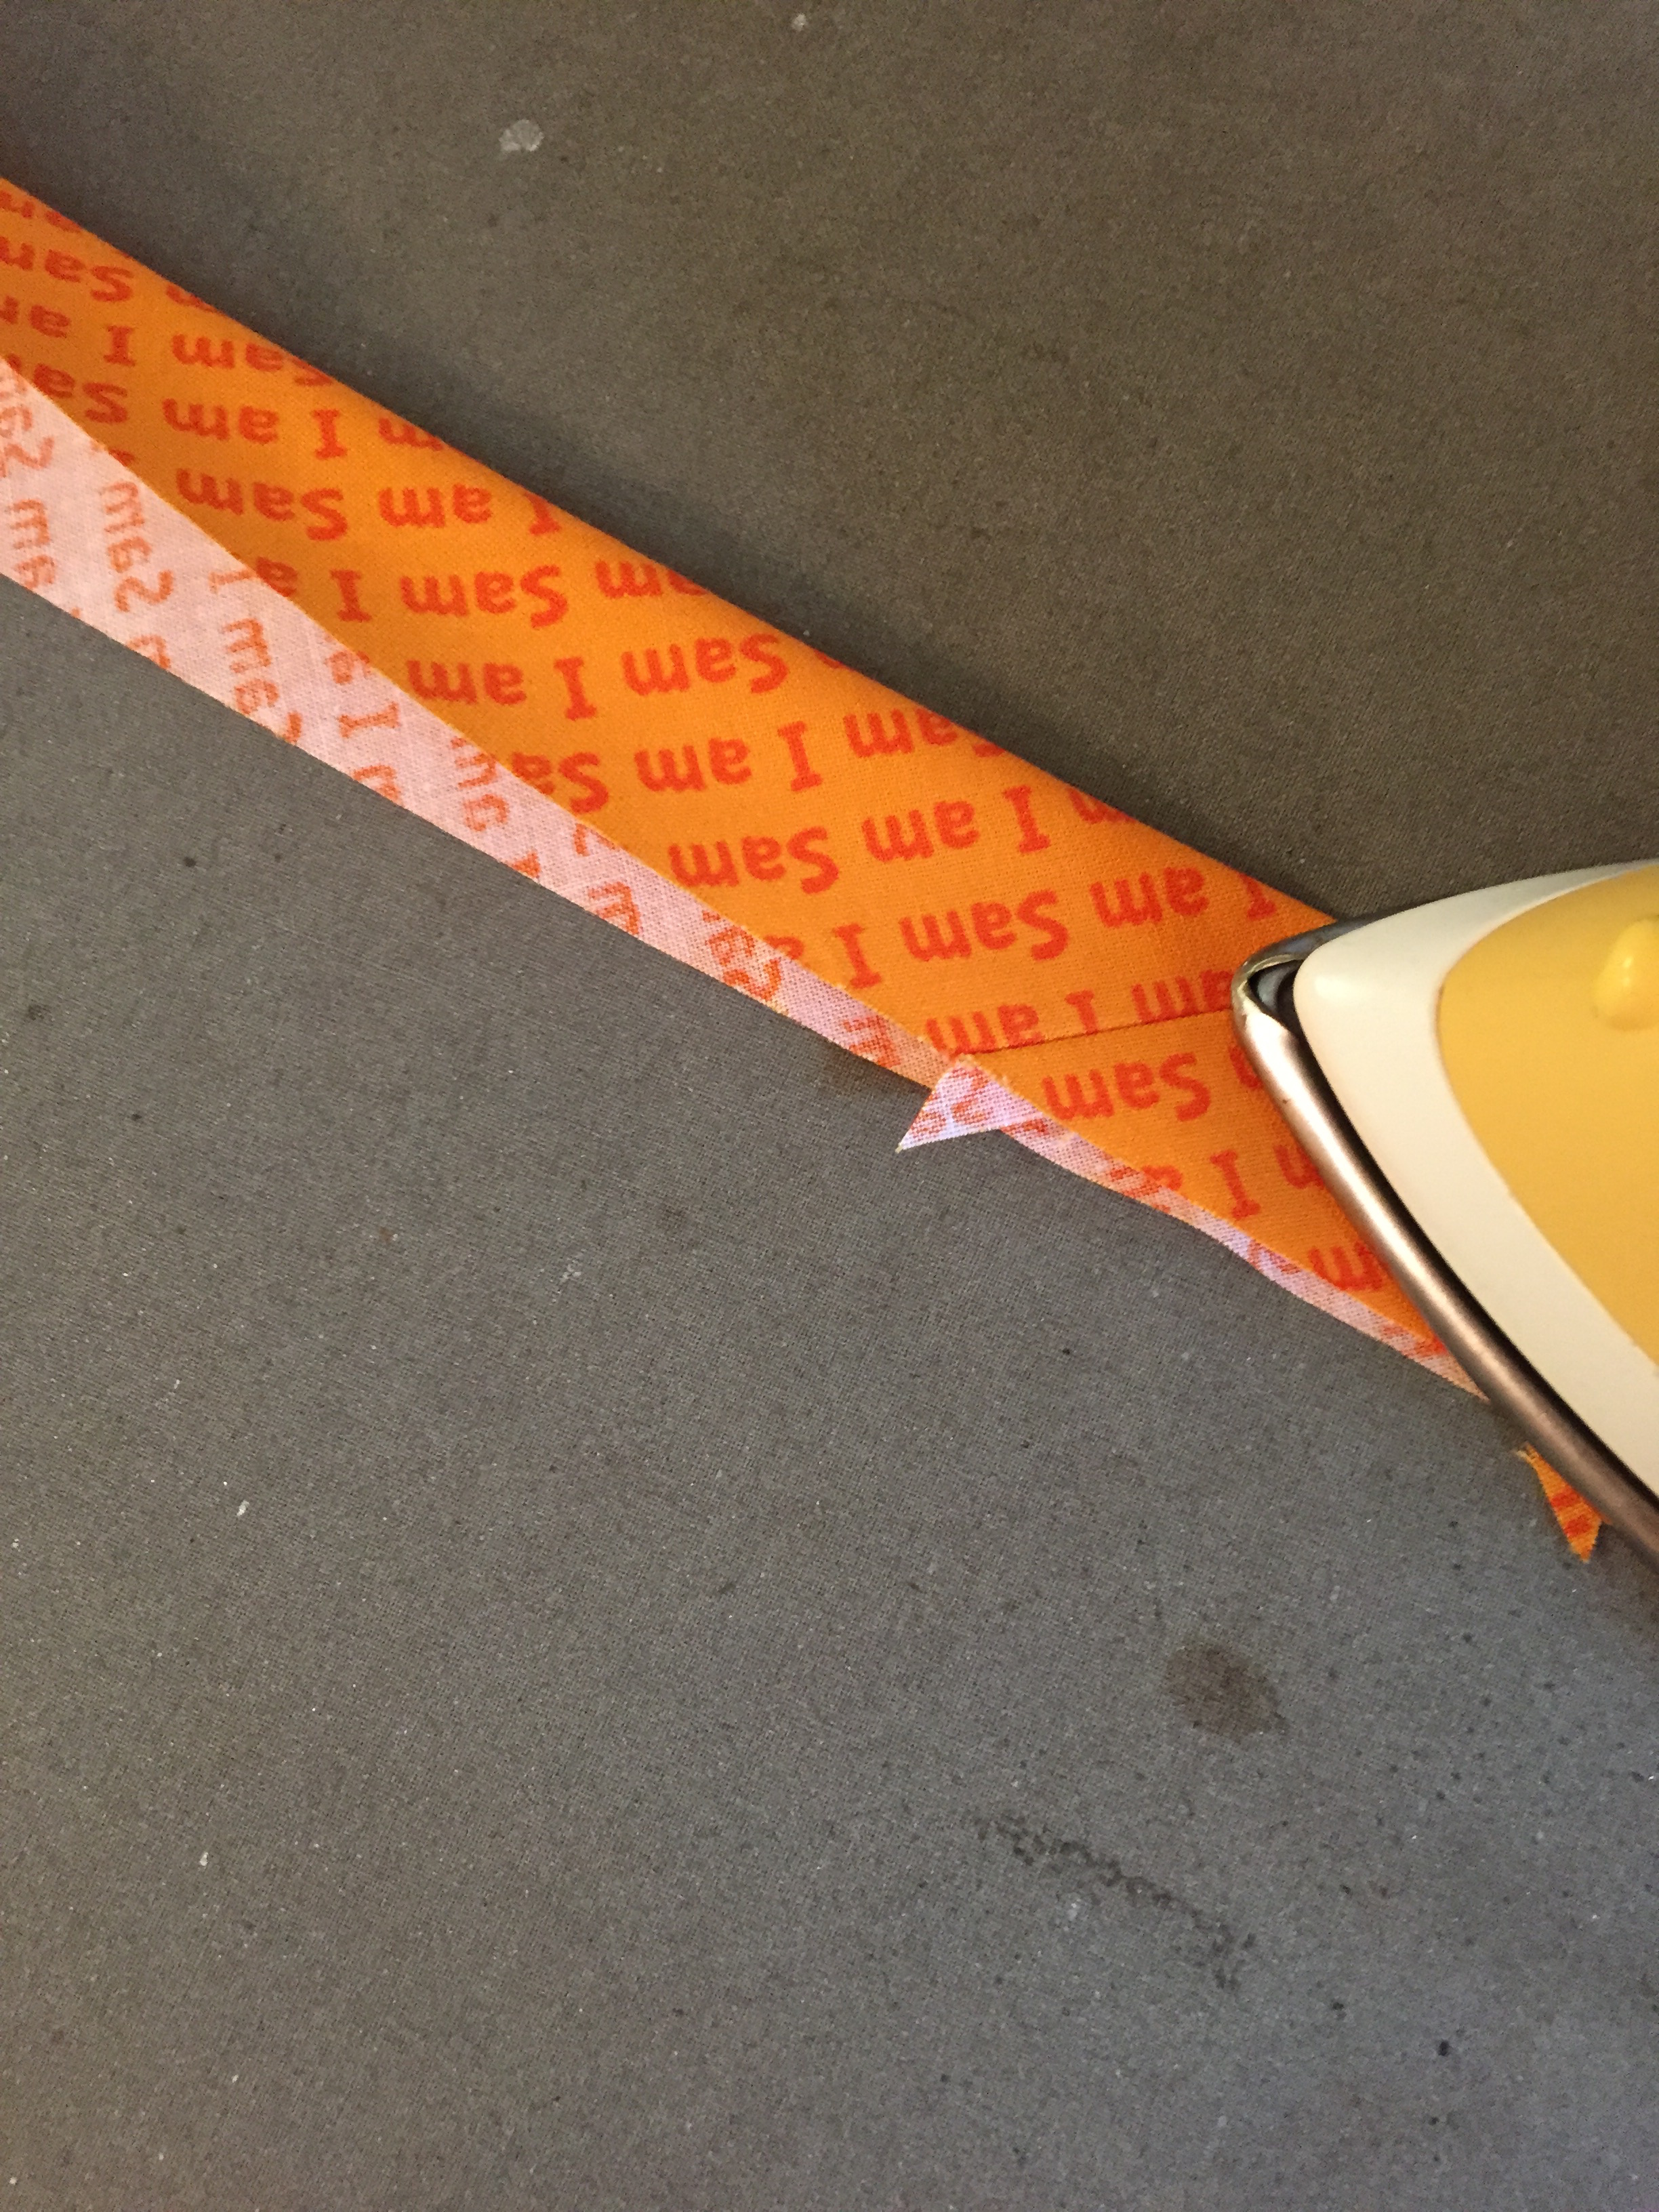
Place the strips, right sides together on the diagonal seams and sew. If you’re using solids or a batik, PAY ATTENTION to which is your “right” side! Overlap the strips with a dog-ear hanging out such that the V between them is at 1/4”. You can mark the first few to get the hang of it if you like. Chain piece them together:

Clip the chains apart, and press the seams open:

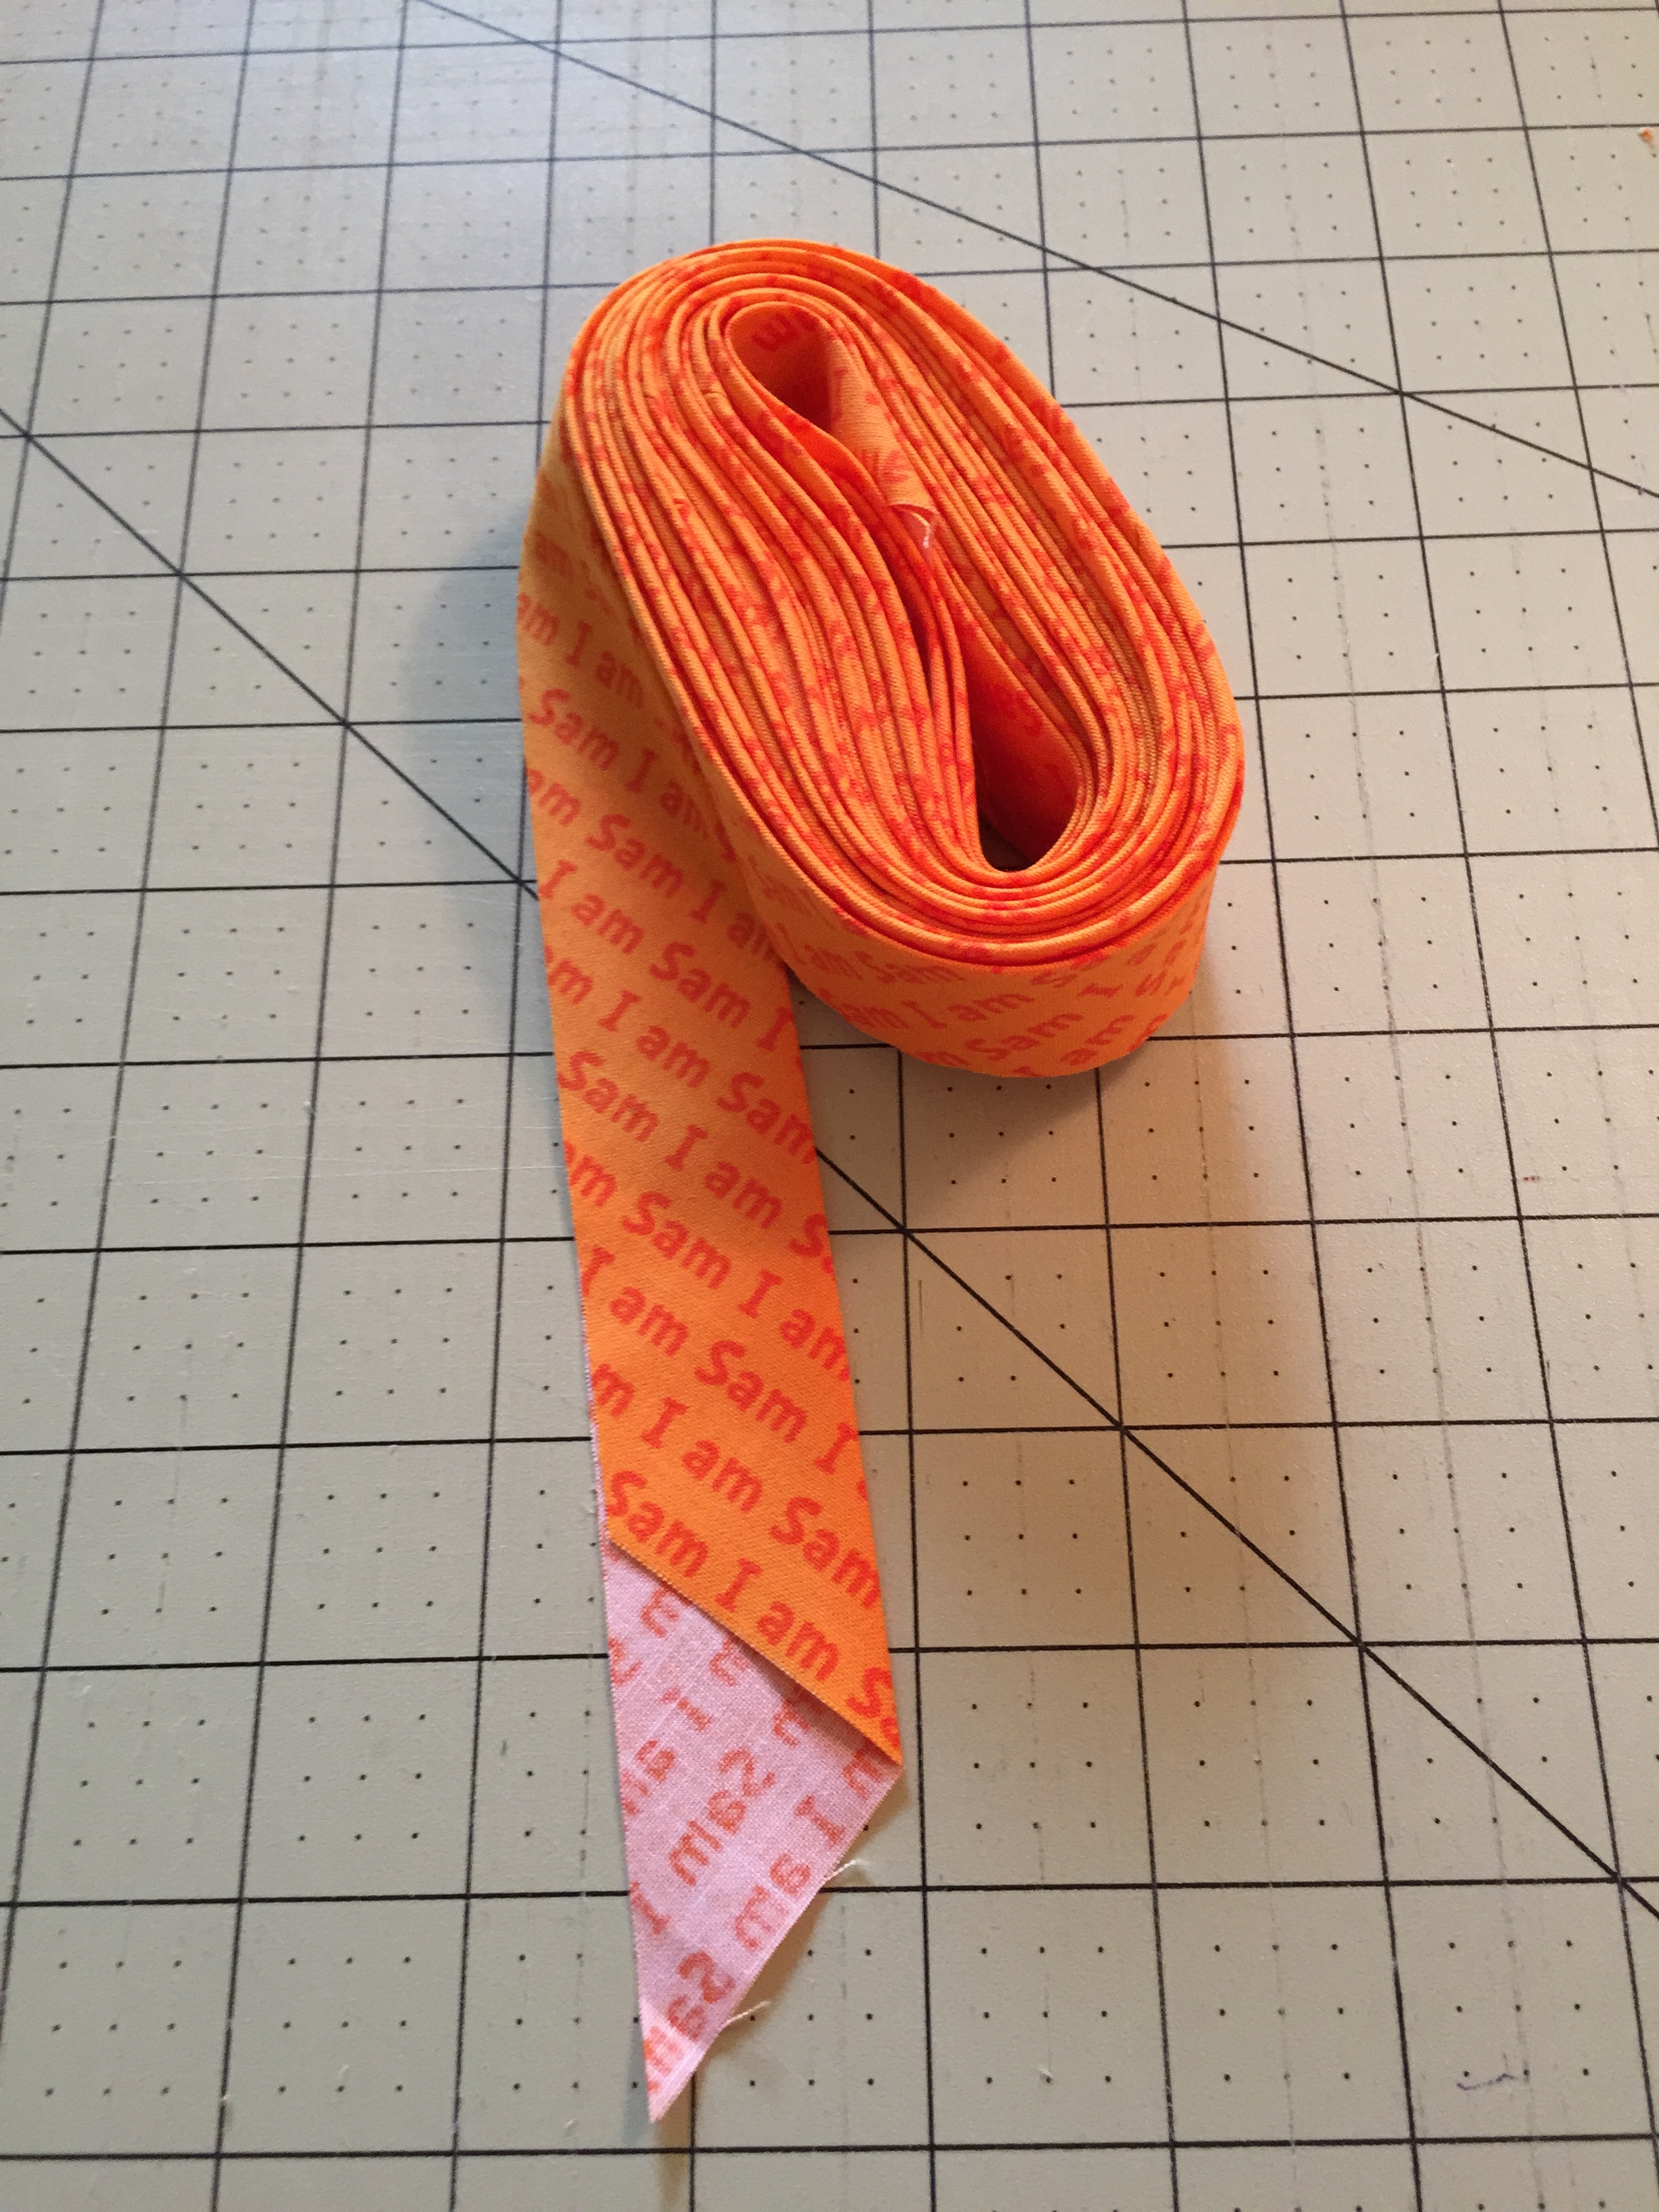
And press in half, wrong sides together, along the length of the binding:
And DONE!
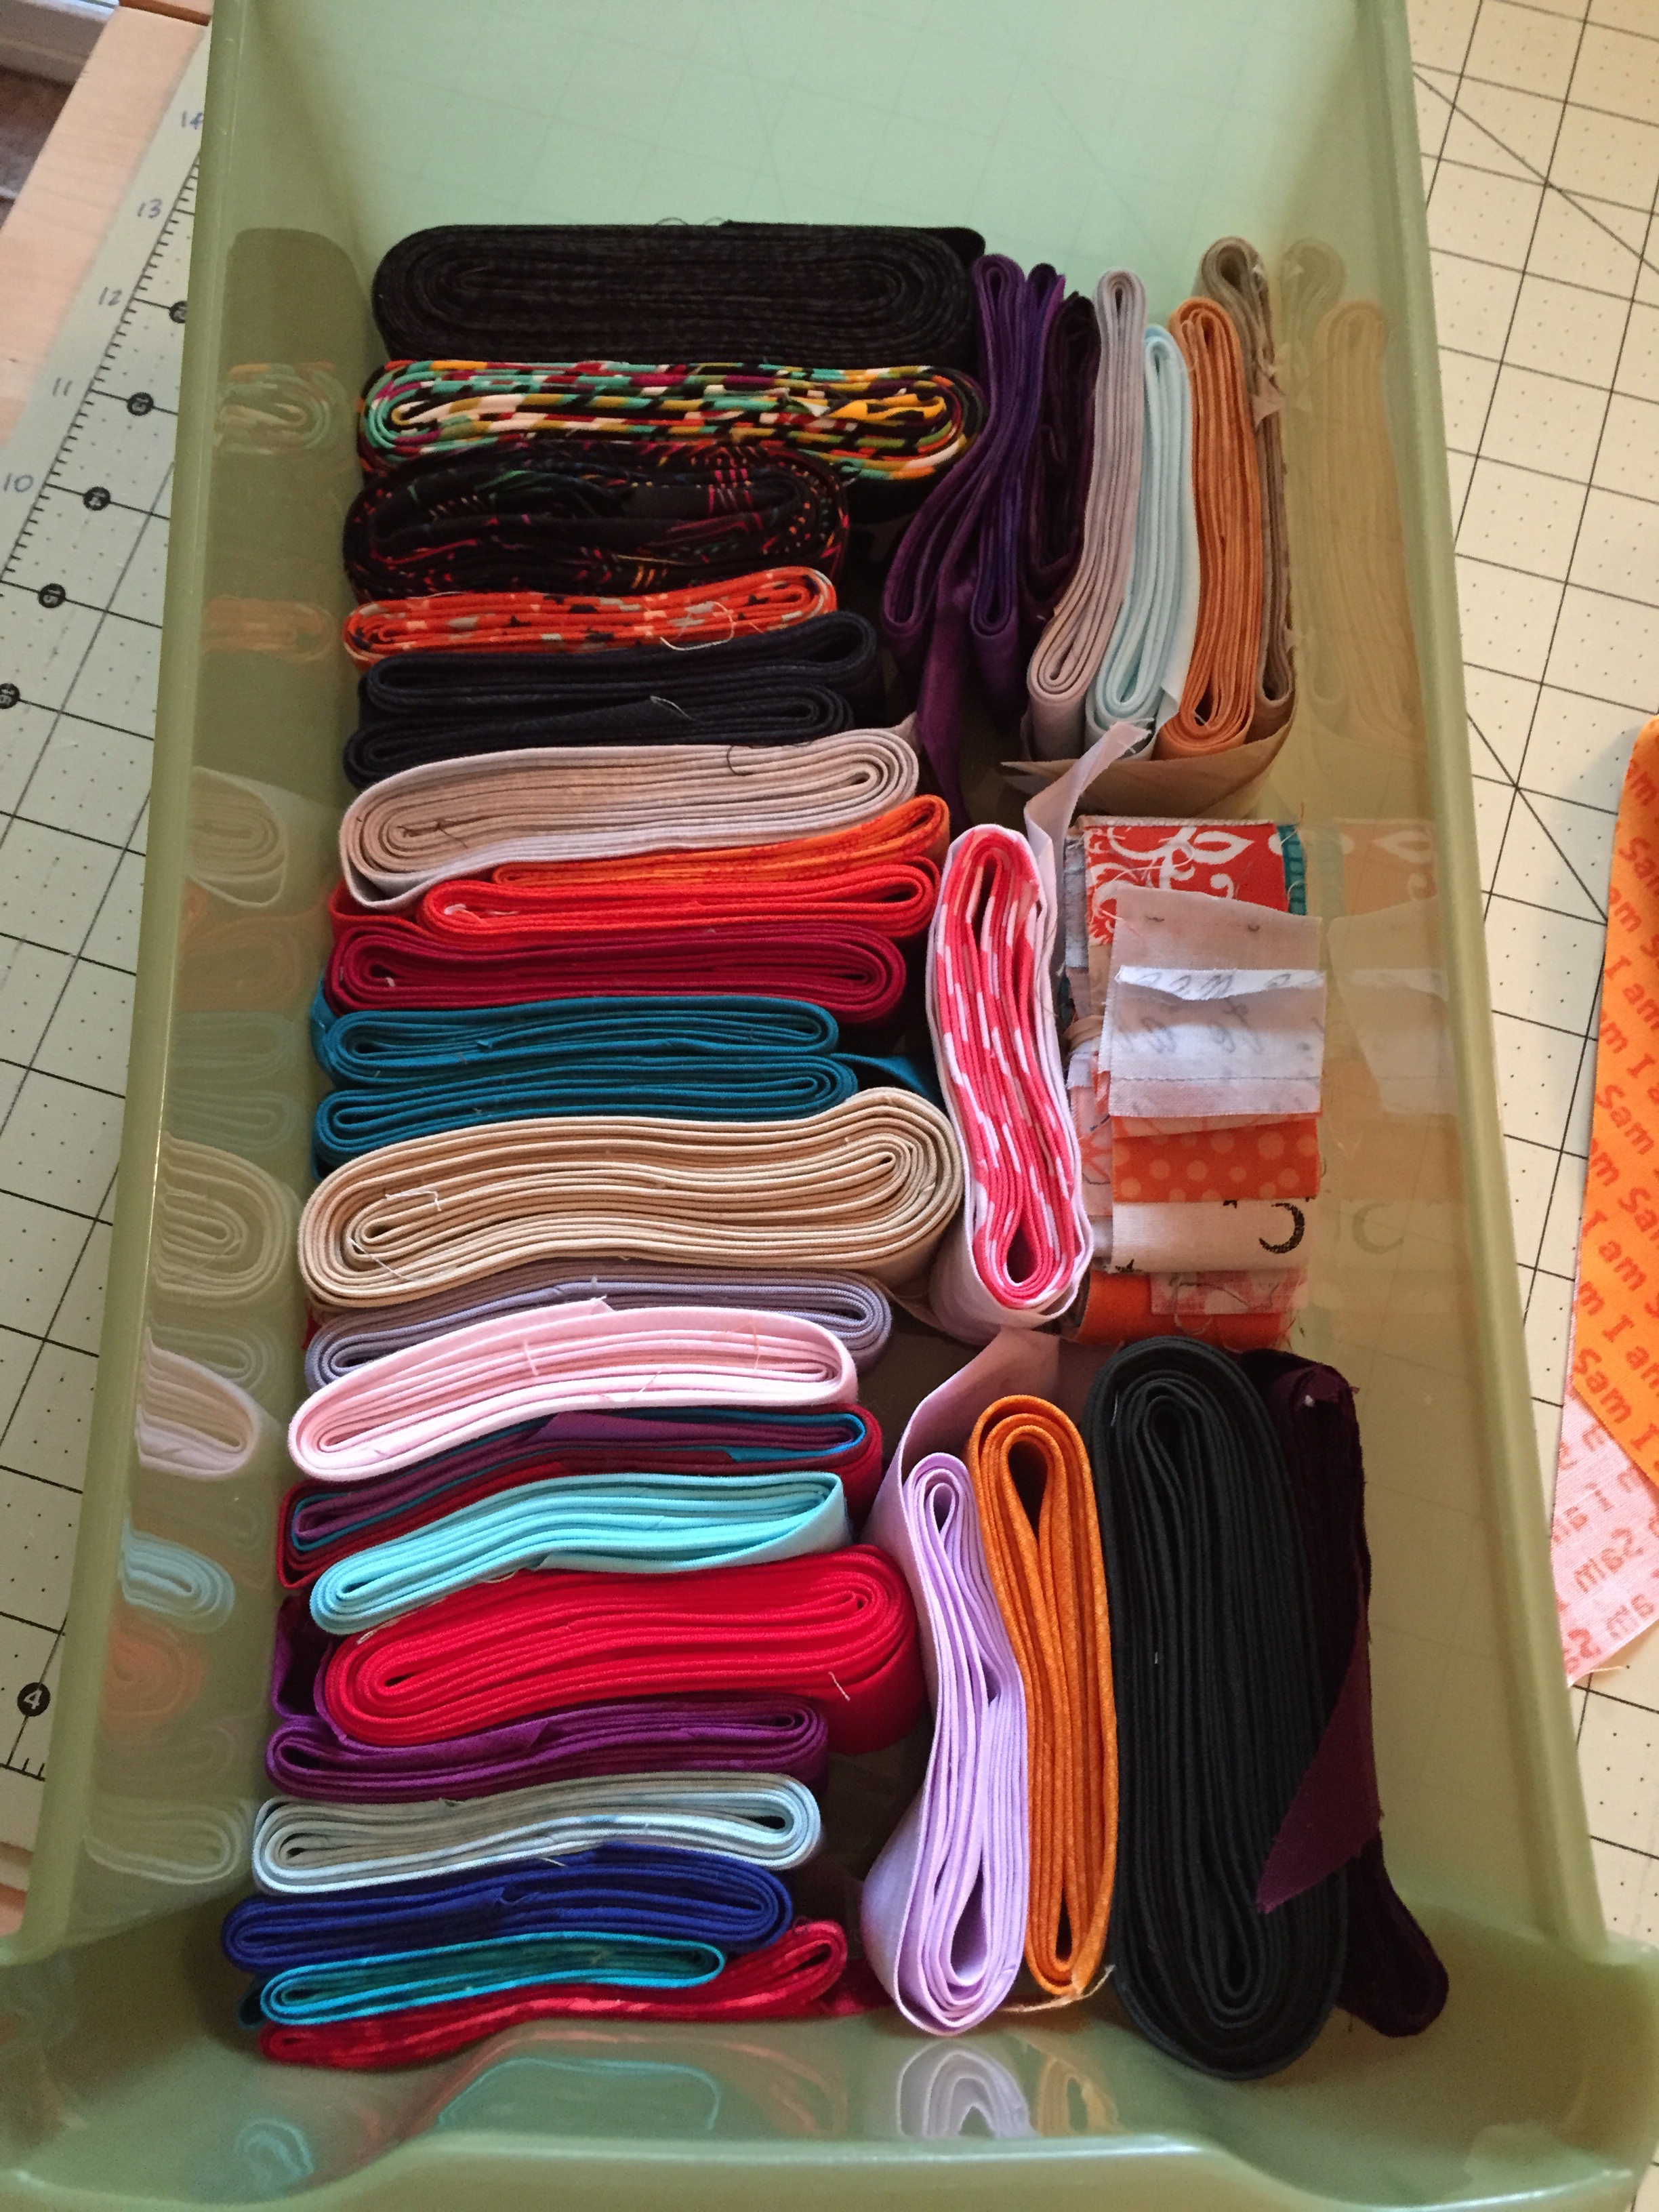
Once you’ve added the binding to your project, you can keep the leftovers to piece together into fun scrappy bindings. I keep a box of scrap binding just for this:
Dont miss the rest of the gang on the Blog Hop:
- Sept 1: Peta Minerof-Bartos of PetaQuilts – So, Does that Diagonal Method for a Pieced Backing Really Work
- Sept 2: Cheryl Sleboda of Muppin.com – The Quilter’s Knot
- Sept 3: Teresa Coates of Crinkle Dreams – The Importance of Pressing
- Sept 4: Cath Hall of Wombat Quilts – Color Coding for Paper-piecing
- Sept 5: Sam Hunter of Hunter’s Design Studio – How to Calculate and Cut Bias Binding
- Sept 6: Melanie McNeil of Catbird Quilt Studio – Credit where Credit is Due
- Sept 7: Mandy Leins of Mandalei Quilts – How to Keep a Perfect 1/4” Seam Between Different Machines
- Sept 8: Rose Hughes of Rose Hughes – Fast Pieced Applique
- Sept 9: Megan Dougherty of The Bitchy Stitcher – The Care and Feeding of the Domestic Sewing Machine
- Sept 10: Lynn Krawczyk of Smudged Design Studio – Make a Mobile Art Kit
- Sept 11: Susan Beal of West Coast Crafty – Log Cabin 101
- Sept 12: Sarah Lawson of Sew Sweetness – Zipper Tips
- Sept 13: Jane Victoria of Jolly and Delilah – Matching Seams
- Sept 14: Jemelia Hilfiger of JemJam– Garment Making Tips and Tricks
- Sept 15: Ebony Love of LoveBug Studios – Curved Piecing Without Pins
- Sept 16: Misty Cole of Daily Design Wall – Types of Basting
- Sept 17: Kim Lapacek of Persimon Dreams – Setting your Seams
- Sept 18: Christina Cameli of A Few Scraps – Joining Quilted Pieces by Machine
- Sept 19: Bill Volckening of WonkyWorld – The Importance of Labels
- Sept 20: Jessica Darling of Jessica Darling – How to Make a Quilt Back
- Sept 21: Debbie Kleve Birkebile of Mountain Trail Quilt Treasures – Perfectly Sized No-Wave Quilt Borders
- Sept 22: Heather Kinion of Heather K is a Quilter – Baby Quilts for Baby Steps
- Sept 23: Michelle Freedman of Design Camp PDX – TNT: Thread, Needle, Tension
- Sept 24: Kathy Mathews of Chicago Now Quilting Sewing Creation – Button Holes
- Sept 25: Jane Shallala Davidson of Quilt Jane – Corner Triangle Methods
- Sept 27: Cristy Fincher of Purple Daisies Quilting – The Power of Glue Basting
- Sept 28: Catherine Redford of Catherine Redford – Change the Needle!
- Sept 29: Amalia Teresa Parra Morusiewicz of Fun From A to Z – French Knots, – ooh la la!
- Sept 30: Victoria Findlay Wolfe of Victoria Findlay Wolfe Quilts – How to Align Your Fabrics for Dog Ears
- October 1: Tracy Mooney of 3LittleBrds – Teaching Kiddos to Sew on a Sewing Machine
- October 2: Trish Frankland, guest posting on Persimon Dreams – The Straight Stitch Throat Plate
- October 3: Flaun Cline of I Plead Quilty – Lining Strips Up
I haven’t used bias binding, mostly because it seems like a bit of a pain for cutting. But you’ve laid it out clearly — not such a big deal, and you already have bias-cut ends to join, making that just a bit simpler. Thanks for the tutorial.
This is great! Your photos make it so easy to understand. I will try it.
I always just make binding till there is enough. Its so nice to have the math now to be able to make it in one go and know that I have enough! thank you so much.
Do you ever use the continuous tube method of making binding? It can be a little fiddly but I find it to be quicker.
The tube was the first way I learned it, and I really hated it so developed this 🙂
Question: Are you cutting a single layer of fabric when you make your diagonal cuts? I once tried making bias binding by marking lines on the fabric and then sewing the fabric in a tube, lining up the lines, and then cutting on the lines, which I found to be kind of tricky. I’m curious which method gives you less seams in the binding. Or maybe it would be the same? I like your method though, because the math makes certain to end up with enough binding for the project.
I cut a single layer of fabric/ I don’t like the tube method at all!
oops . . . didn’t see Tracie’s comment . . . guess we’re talking about the same thing!
This was interesting and I’m glad that you responded to the question about the tube method as well. That’s the way I had heard it done. It’s always a good idea to have an alternative method and this made a lot of sense.
I am enjoying your blog hop very much!
I’ve made a bias binding for two recent quilt finishes. Both times I had trouble when sewing the strips together. I’m not sure what I was doing wrong. Sometimes the angles of the ends didn’t fit and so I had to re-cut the end so it went the other way. This happened for both quilts and only on maybe two of the strips for each. (It didn’t work to use the other end of the strip.) Does this ever happen for you? Or do you know what I did wrong? Lucky for me I used a big fudge factor so I had plenty of fabric to re-angle the end!
By the way, this is an excellent blog hop. Thanks for participating.
When you cut the strips this way, most of them will all angle the same way, but the ones that come from the triangles will have ends that are opposite in cut direction. I just turn them around. Occasionally I’ll end with one odd piece that doesn’t fit either end of the strip that’s already together, and I either I re-cut it to work, or I leave it off until I’m sure I need it.
[…] your binding on the bias. That’s a scary thing for many quilters, not just newbies. HERE is a great tutorial on Making Bias Binding. Sam at Hunters Design Studio prefers to use bias […]
Well that does it! You’ve convinced me to give bias binding a try Sam! Great tutorial!
I love anyone who thinks about binding and edge finishes. With the antique and vintage quilts, I pay special attention to the edge finishes and have even blogged about it. Sometimes these fine details can help with dating old quilts. In 100 years, when people are examining the quilts of the early 21st century, they will see a lot of bias binding.
[…] 5: Sam Hunter of Hunter’s Design Studio – How to Calculate and Cut Bias […]
[…] 5: Sam Hunter of Hunter’s Design Studio – How to Calculate and Cut Bias […]